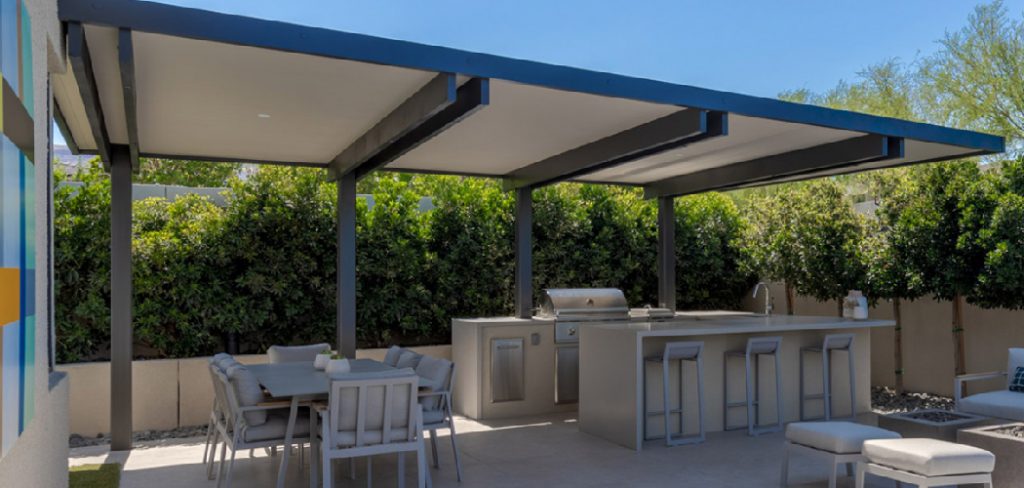
Installing tarps to your patio is an excellent way to create shade, protect your outdoor space from the elements, and enhance its functionality. Whether you’re looking to shield your patio from rain, direct sunlight, or falling debris, tarps offer a durable and cost-effective solution.

This guide will walk you through the steps of how to install tarps to patio, ensuring both effectiveness and a clean appearance. By following these steps, you can enjoy a more comfortable and versatile outdoor experience all year round.
Benefits of Installing a Tarp
Installing a tarp on your patio comes with numerous advantages that enhance both the functionality and comfort of your outdoor space. One of the primary benefits is protection from weather conditions. A tarp provides shade on hot, sunny days, reducing heat and protecting furniture from sun damage, while also offering a shield against rain, allowing you to enjoy your patio in various weather conditions.
Additionally, tarps help keep your patio clean by preventing leaves, debris, and bird droppings from accumulating. They also contribute to energy efficiency by minimizing sunlight exposure, which can help reduce cooling costs for adjacent indoor spaces. Overall, installing a tarp is a practical and versatile solution that increases the usability and enjoyment of your outdoor area.
Choosing the Right Tarp for Your Patio
Selecting the appropriate tarp for your patio is crucial to ensuring durability, functionality, and aesthetic appeal. Start by considering the material of the tarp—common options include polyethylene, vinyl, and canvas.
Polyethylene tarps are lightweight, waterproof, and UV-resistant, making them ideal for areas with unpredictable weather. Vinyl tarps are heavier and highly durable, suitable for long-term use in harsher environments. Canvas tarps, on the other hand, are breathable and eco-friendly, perfect for a more natural look.
Next, take measurements of your patio to determine the size of tarp needed, ensuring adequate coverage without unnecessary overhanging. Pay attention to the color and style of the tarp to complement your outdoor decor. Look for additional features such as grommets for easier installation or reinforced edges for added strength.
Weather resistance and ease of cleaning should also factor into your decision. By carefully considering these elements, you can choose a tarp that provides both practical benefits and visual harmony for your patio.
10 Methods How to Install Tarps to Patio
1. Using Grommet and Rope Method
Most tarps come with built-in grommets along the edges. To install using this method, pass a strong rope through the grommets and secure the tarp to nearby structures such as trees, poles, or hooks on a wall. Ensure the rope is taut to prevent sagging or flapping in the wind.
2. Attaching to Wooden Beams
If your patio has wooden beams or a pergola structure, you can staple or nail the tarp directly onto the beams. Use heavy-duty staples or nails along the edges of the tarp, making sure to stretch it evenly to avoid wrinkles or pooling water.
3. Using Bungee Cords for Flexibility
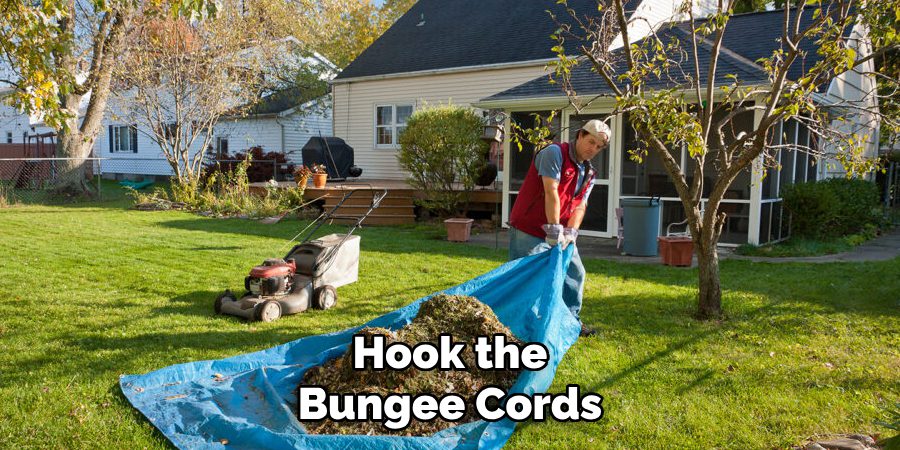
Bungee cords provide a secure yet flexible way to attach a tarp. Hook the bungee cords through the grommets and anchor them to fixed points around the patio. This method absorbs tension from wind, preventing the tarp from tearing.

4. Installing with PVC Pipe Frame
For a more stable and professional setup, create a frame using PVC pipes. Cut the pipes to size and connect them with elbow joints to form a rectangular or square shape. Attach the tarp over the frame using zip ties or clips to keep it stretched and secure.
5. Using Metal Eye Bolts and Carabiners
Install metal eye bolts into sturdy points around the patio, such as wooden beams or concrete walls. Hook carabiners through the tarp grommets and attach them to the eye bolts. This setup allows for easy removal and reinstallation when needed.
6. Creating a Sloped Setup for Drainage
To prevent water pooling during rain, install the tarp at a slight angle so that water can run off. Attach one side higher than the other by using longer ropes or poles, ensuring a smooth slope for proper drainage.
7. Using Tarp Clamps for Extra Hold
If your tarp lacks grommets or they are spaced too far apart, use tarp clamps to create additional anchor points. These clamps grip the tarp securely and can be attached to ropes, bungee cords, or poles.
8. Mounting with Screw Hooks and Washers
For a semi-permanent installation, drill screw hooks into the walls or posts surrounding your patio. Place washers over the grommets and secure them onto the hooks. This method provides a tight hold and prevents the tarp from shifting in the wind.

9. Securing with Weighted Anchors
If there are no overhead attachment points, consider weighing down the tarp edges with sandbags or heavy objects. This method is useful for temporary setups where drilling or tying isn’t possible.
10. Attaching to a Fence or Railing
If your patio has a fence or railing, you can attach the tarp by looping zip ties or ropes through the grommets and securing them to the railing. This method provides a sturdy yet removable installation option.
Tips for Achieving the Best Tarp Installation
To ensure your tarp installation is both effective and long-lasting, consider the following tips:
Choose High-Quality Materials
Invest in a durable tarp made from weather-resistant materials to withstand harsh conditions and prolonged exposure to the elements. Reinforced edges and UV protection are also valuable features to look for.
Prepare the Surface
Clean and inspect the area where you plan to install the tarp. Remove any sharp objects or debris that could potentially damage the tarp during installation.
Tension is Key
Make sure the tarp is pulled tightly during installation. A taut tarp not only provides a cleaner appearance but also reduces flapping and wear caused by the wind.
Reinforce Weak Points
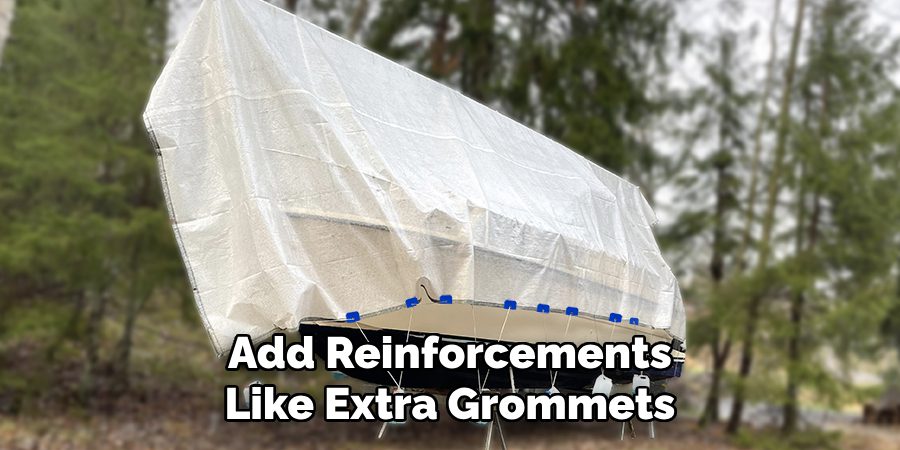
If you notice any areas where the tarp may experience extra tension, such as corners or edges, add reinforcements like extra grommets or clamps to distribute the pressure evenly.

Troubleshooting Common Issues
Even with a well-planned tarp installation, issues may occasionally arise. Here are some common problems and solutions to ensure your setup remains effective and functional:
1. Tarp Sagging
- Cause: Insufficient tension or pooling water.
- Solution: Adjust the tarp to ensure it is taut by tightening ropes, bungee cords, or other attachments. Check for proper drainage by creating a slope to allow water to run off.
2. Tearing or Damage to Tarp
- Cause: Excessive tension, sharp edges, or prolonged exposure to extreme weather.
- Solution: Inspect the tarp regularly for weak points or damage. Use tarp repair tape to patch small tears, or replace the tarp if the damage is extensive. Adding reinforcements like extra grommets or clamps can also help prevent future tears.
3. Loose Attachments
- Cause: Attachments such as ropes, bungee cords, or zip ties becoming slack or disconnected.
- Solution: Check all attachment points for proper security. Replace any worn-out or broken fasteners and ensure all connections are tight.
4. Wind Damage
- Cause: Strong winds causing flapping or pulling in the tarp.
- Solution: Use additional anchor points or weighted anchors to secure the tarp more effectively. Bungee cords can help absorb tension and reduce damage caused by wind.
5. Water Pooling
- Cause: Flat installations without proper drainage.
- Solution: Reposition the tarp to create a slope for water runoff. Ensure one side is higher than the other, or use poles to elevate certain points.
6. Mold or Mildew Growth
- Cause: Prolonged exposure to moisture and lack of ventilation.
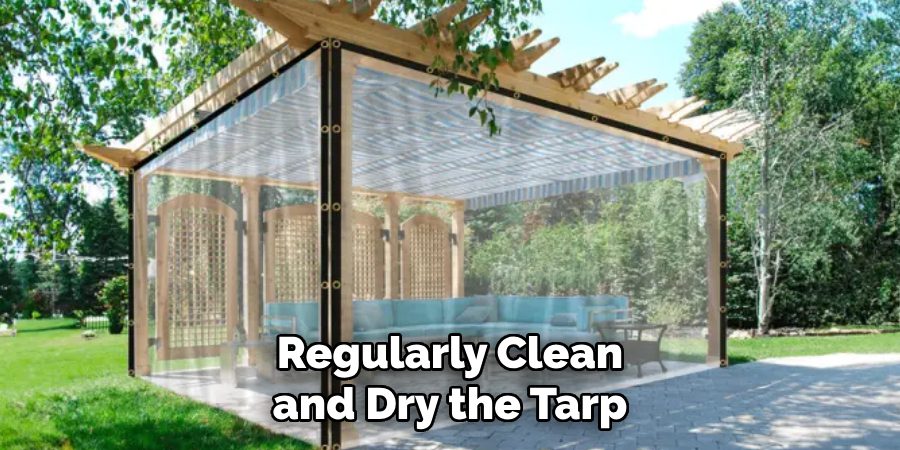
- Solution: Regularly clean and dry the tarp to prevent mold and mildew buildup. Store the tarp in a dry place when not in use, and opt for breathable materials like canvas if ventilation is a concern.

7. Fading or Brittleness
- Cause: Sun exposure weakening the material over time.
- Solution: Choose a tarp with UV protection for added durability. Replace tarps that have become brittle or discolored to maintain effectiveness.
By addressing these common problems promptly and maintaining proper care, you can extend the life of your tarp and ensure it continues to serve its purpose effectively.
Safety Considerations
When installing and using a tarp, it’s essential to prioritize safety to prevent injuries or damage. Keep these safety considerations in mind during setup and maintenance:
1. Use Proper Tools
Ensure you use the correct tools, such as step ladders, hammers, or drills, when securing the tarp. Always check that tools are in good condition and appropriate for the task to avoid accidents.
2. Avoid Overstretching
Do not overstretch the tarp during installation, as this can create excessive tension that might cause sudden tears or lead to snapped ropes or bungee cords, posing safety hazards.
3. Secure Ladders and Scaffolding
If working at height, make sure ladders or scaffolding are stable and firmly positioned before climbing. Always follow proper ladder safety protocols to reduce the risk of falls.
4. Be Cautious in Windy Conditions
Avoid setting up or adjusting a tarp in strong winds. Gusts can make it difficult to control the tarp, increasing the risk of injury or damage to surrounding areas.
5. Inspect for Hazards
Inspect the surrounding area for sharp objects, unstable surfaces, or obstacles that could interfere with the tarp setup or create additional risks.
Conclusion
Installing a tarp over your patio requires careful planning to ensure stability and longevity. By using one of these ten methods, you can create a shaded and protected outdoor space that enhances comfort and usability. Whether opting for a temporary or permanent setup, proper attachment techniques will keep your tarp secure and functional.

Professional Focus
Oliver Wood, a passionate patio designer, specializes in creating comfortable and inviting outdoor spaces that enhance relaxation and entertainment. His work combines a deep understanding of design with a love for nature, making him a standout professional in the field of outdoor living spaces. Through his thoughtful approach, he transforms everyday patios into extraordinary retreats for family and friends.
About the Author
Oliver Wood, a skilled patio designer, shares his expertise on outdoor living through his designs and insights. With a background in patio design and a genuine passion for creating beautiful spaces, he encourages others to invest in their outdoor environments, enhancing their homes with functional and inviting spaces for relaxation and entertainment.
Education History
University: Virginia Union University
Oliver’s education equipped him with the knowledge and skills to design patios that merge aesthetics with comfort, transforming outdoor areas into beautiful extensions of the home.
Expertise:
- Patio Design and Outdoor Living Spaces
- Functional and Aesthetic Landscaping
- Comfortable and Inviting Outdoor Environments
- Design Philosophy for Family-Oriented Spaces
- Creating Spaces for Relaxation and Entertainment
