Adding a roof to a patio is a fantastic way to enhance your outdoor space, providing shade, weather protection, and a more comfortable environment for relaxation or entertaining guests.
A well-designed patio roof ensures year-round usability and adds value to your property by improving its functionality and visual appeal. Beyond practical benefits, it creates an inviting space that fosters a stronger connection with the outdoor surroundings.
The key advantage of a patio roof lies in its ability to extend your living area while shielding it from harsh sun, rain, or wind. It also enhances the aesthetic appeal of your backyard, letting you customize the design to match your personal style and home architecture.
This guide on how to build a patio roof offers clear, step-by-step instructions, from planning and securing permits to construction and adding finishing touches. Whether you’re a DIY enthusiast or hiring professionals, this guide will help you create a sturdy, stylish patio roof suited to your needs.
Planning and Choosing the Right Roof Design
Types of Patio Roofs
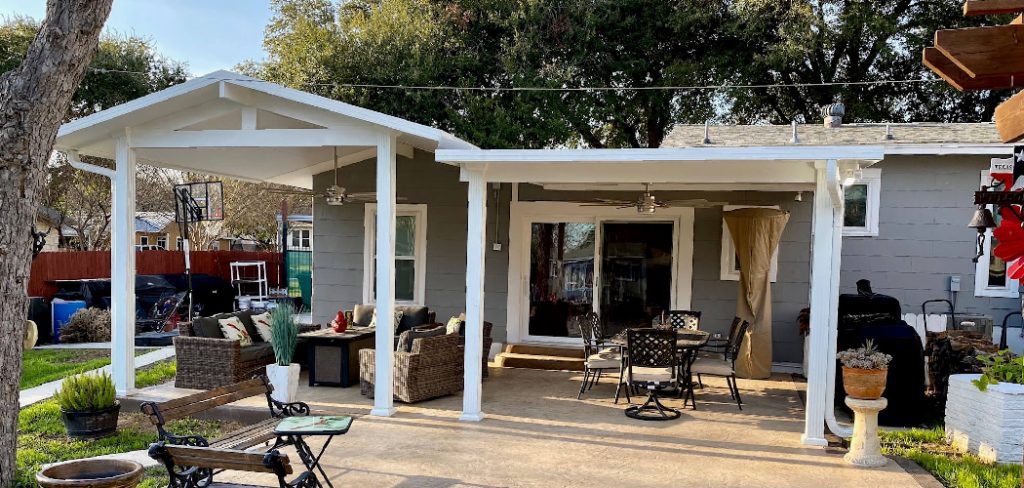
The first step in designing your patio roof is deciding which type best suits your needs. An attached roof extends directly from your house, seamlessly transitioning between indoor and outdoor spaces. This type often uses existing walls or beams for support. Conversely, a freestanding roof is an independent structure that can be placed anywhere in your yard, offering flexibility in location and design.
There are several style options to consider, including gable roofs, which provide a peaked design for excellent water runoff and ventilation; hip roofs, with sloped sides that offer great stability against the wind; flat roofs, giving a minimalist and modern feel; and pergola-style roofs, which allow partial sunlight for an open-air ambiance. The choice depends on your home’s architecture, climate conditions, and personal preferences.
Determining Roof Size and Shape
To determine the size and shape, measure your patio area thoroughly, accounting for the amount of shading and protection desired. Consider factors like furniture placement, entertaining needs, and pathways to ensure ample coverage without overcrowding the space.
Material Selection
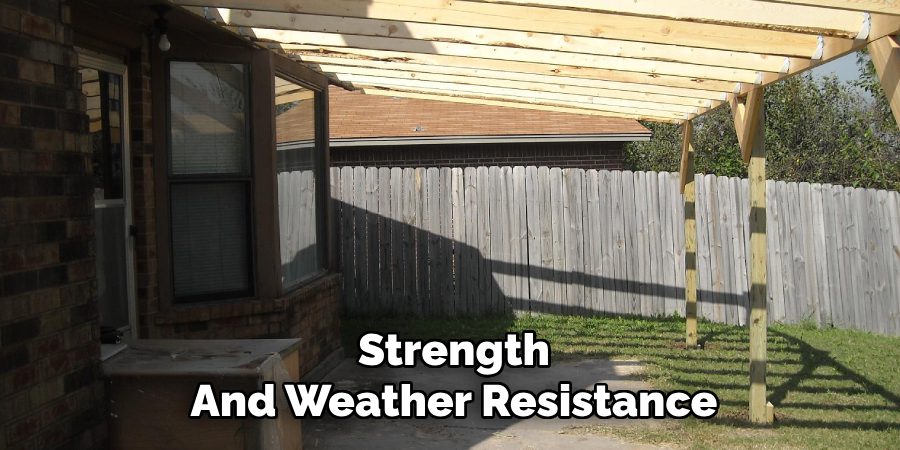
Choosing the right materials is essential for durability and aesthetics. Options include wood, providing natural warmth; aluminum, known for low-maintenance and affordability; polycarbonate, offering lightweight and translucent properties; or corrugated metal, valued for strength and weather resistance. Carefully assess your climate and budget to select the ideal material for your patio roof.
Checking Permits and Preparing the Site
Legal Requirements
Before beginning construction, checking local building codes and acquiring any necessary permits is crucial. Permitting regulations vary depending on your location and the type of patio roof you plan to install. Failing to comply with local requirements may result in fines or the need to modify the completed structure.
Contact your local building authority or visit their website to understand the guidelines for your area. Additionally, if you live in a community governed by a homeowners’ association, ensure your design also aligns with their regulations.
Assessing Structural Support
Evaluate whether your existing patio or home structure can support the weight of the new roof. For attached patio roofs, inspect the strength of exterior walls or fascia boards where the structure will connect. If you’re building a freestanding roof, ensure the foundation is stable enough to hold the posts and beams securely. Consulting with a professional or structural engineer may help identify any modifications needed before construction begins.
Site Preparation
Begin by clearing the area of any obstacles, such as furniture, plants, or debris. For freestanding patio roofs, ensure the ground is level to provide a stable foundation. Measure and mark the locations of the posts with precision to maintain symmetry and proper alignment during construction. Proper preparation will ensure a smooth building process and a sturdy result.
Gathering Tools and Materials
Before starting construction, gathering all the necessary tools and materials is important to ensure a seamless building process. The right equipment will save time and help maintain safety standards throughout the project.
Tools Required
You’ll need a circular saw to cut wood or roofing materials to the correct size. A drill will be essential for making pilot holes and securing screws, while a level ensures your structure remains perfectly aligned. Measuring tape helps with accurate measurements to avoid any structural inconsistencies. Other necessary tools include a post-hole digger for setting support posts and a sturdy ladder to reach higher areas safely.
Materials Needed
Key materials for constructing a patio roof include support posts, beams, and rafters for the structural framework. Additionally, roofing sheets and screws or nails are needed to assemble the roof itself. Depending on the design, a concrete mix will be required for setting freestanding support posts firmly into the ground.
Safety Equipment
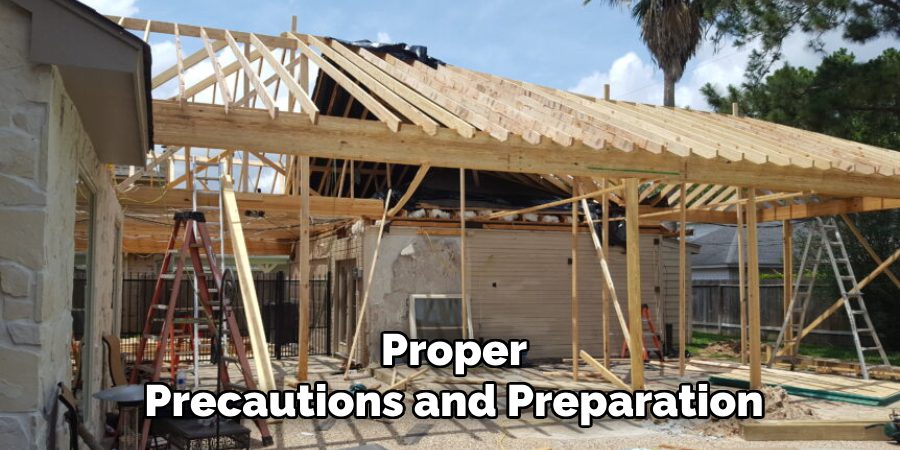
Safety is paramount during construction. Be sure to wear work gloves to protect your hands, safety glasses to shield your eyes from debris, and a dust mask to avoid inhaling harmful particles. Proper precautions and preparation will help make your project both successful and safe.
How to Build a Patio Roof: Installing Support Posts and Framework
Step 1: Setting the Support Posts
Begin by digging post holes at least 2 feet deep to ensure a sturdy foundation. The depth of the holes may vary based on local building codes and soil conditions, so be sure to consult any relevant guidelines. Place the support posts into the holes, ensuring they are perfectly vertical using a level.
Once positioned, pour concrete into each hole to set the posts firmly in place. Smooth the surface of the concrete and allow it to cure completely before moving on to the next step. This curing process provides the stability needed to support the entire structure.
Step 2: Attaching Beams and Cross Supports
With the support posts securely in place, proceed by installing horizontal beams on top of the posts. These beams form the structural backbone of your patio roof and must be attached with sturdy screws or bolts to maximize stability.
Next, reinforce the framework by adding diagonal braces between the posts and beams. These braces help distribute weight evenly across the structure and add an extra layer of support to withstand external forces like wind or heavy loads. Secure all connections tightly, ensuring everything aligns correctly.
Step 3: Checking Alignment
Before advancing, carefully check the alignment of the entire framework. Use a level and a measuring tape to make sure the beams are straight, the angles are correct, and the overall frame is square. A well-aligned framework is critical for both functionality and aesthetics, so take the time to make precise adjustments as needed.
Finishing Touches and Enhancements
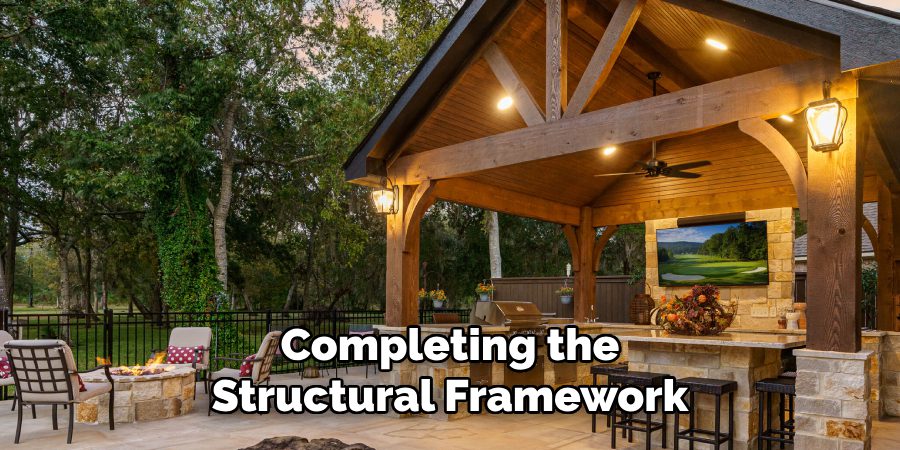
After completing the structural framework, it’s time to add finishing touches that protect the patio roof and elevate its aesthetic and functional value. Begin by painting or staining the wooden components of the structure.
This not only enhances the visual appeal but also protects the wood from weathering, moisture, and UV damage, ensuring greater durability over time. Select a color that complements your home’s exterior, or opt for a natural wood finish for a classic and timeless look.
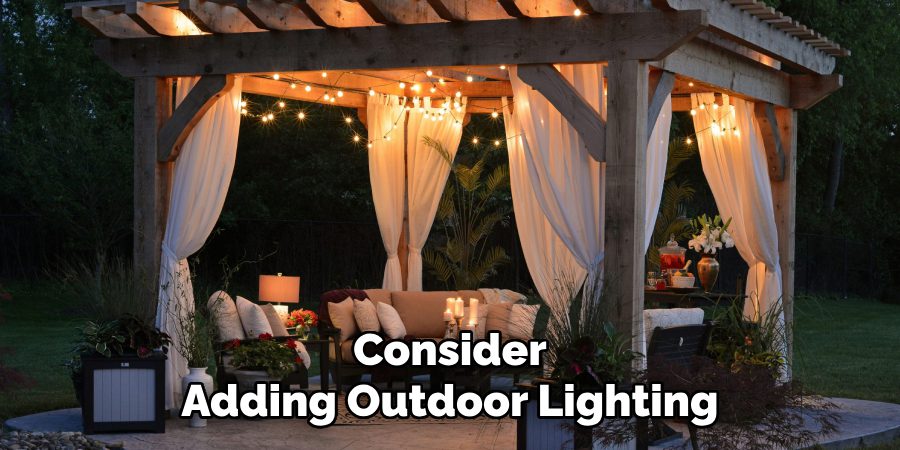
Next, consider adding outdoor lighting to create a warm and inviting ambiance. Options include string lights for a cozy, garden-like feel, LED fixtures for energy efficiency, or built-in recessed lighting that seamlessly integrates into the design. Proper lighting allows for extended use of your patio space during evenings, enhancing its practicality.
For greater comfort, installing ceiling fans or outdoor curtains can make a significant difference. Ceiling fans improve airflow, making your patio more refreshing and enjoyable on hot days, while curtains provide shade, privacy, and a touch of elegance. Choose weatherproof accessories to withstand outdoor conditions and ensure longevity. Personalizing these enhancements will turn your patio roof into a functional and stylish extension of your living space.
Frequently Asked Questions (FAQs)
1. Do I Need a Permit to Build a Patio Roof?
Yes, in most areas, you will need a permit to build a patio roof. Regulations vary by location, so it’s essential to consult your local building authority to determine the requirements and acquire the necessary permits before starting construction.
2. What Type of Wood Is Best for Patio Roof Construction?
Pressure-treated wood or naturally durable woods such as cedar or redwood are ideal for patio roofs. These materials are resistant to decay, rot, and insect damage, making them suitable for outdoor structures.
3. Can I Build a Patio Roof on My Own, or Should I Hire a Professional?
Building a patio roof yourself can be a rewarding DIY project if you have the necessary tools, skills, and experience. However, it is best to consult or hire a licensed professional to ensure safety and compliance with building codes for complex designs or if you’re unsure about structural stability.
4. How Long Does It Take to Build a Patio Roof?
The time required to build a patio roof depends on its size, design, complexity, and experience level. Typically, a straightforward design can take a few days to complete, while more elaborate projects might take a week or longer.
5. What Is the Best Roofing Material for A Patio Roof?
The best roofing material depends on your budget, aesthetic preferences, and climate. Options include metal sheets, polycarbonate panels, asphalt shingles, or even pergola-style slats for partial shade. Choose a material that complements your home and provides the desired level of protection.
6. How Do I Maintain My Patio Roof?
Regular maintenance involves cleaning debris from the roof, inspecting for damage or wear, and repainting or resealing as needed to protect against weathering. Checking for loose screws, bolts, or weakened support beams is also essential to ensure the structure’s longevity and safety.
7. Can I Install Solar Panels on My Patio Roof?
Yes, patio roofs can be designed to support solar panels. Ensure the structure is strong enough to handle the weight of the panels, and consult a professional for proper installation to optimize solar energy generation.
These FAQs cover some of the common uncertainties surrounding patio roof construction and care, helping ensure your project proceeds smoothly and successfully.
Conclusion
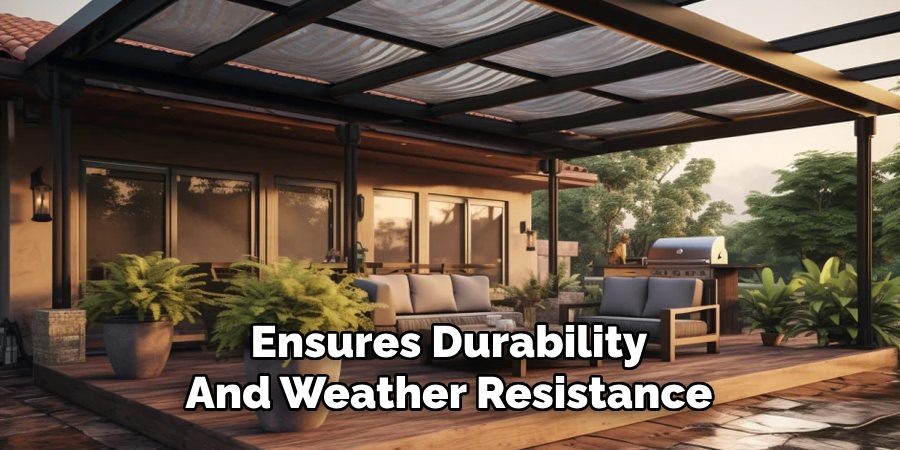
Building a patio roof is a rewarding project that enhances your outdoor living space. Key steps include careful planning, obtaining necessary permits, securely installing posts, assembling the roof, and adding the finishing touches. Proper installation ensures durability and weather resistance, providing long-term benefits.
By following this guide on how to build a patio roof, you can create a structure that matches your personal style and functional needs. Don’t hesitate to customize with elements like lighting, fans, or decorative accents to make it uniquely yours. With thoughtful effort, your patio roof will become a stylish and durable extension of your home.

Professional Focus
Oliver Wood, a passionate patio designer, specializes in creating comfortable and inviting outdoor spaces that enhance relaxation and entertainment. His work combines a deep understanding of design with a love for nature, making him a standout professional in the field of outdoor living spaces. Through his thoughtful approach, he transforms everyday patios into extraordinary retreats for family and friends.
About the Author
Oliver Wood, a skilled patio designer, shares his expertise on outdoor living through his designs and insights. With a background in patio design and a genuine passion for creating beautiful spaces, he encourages others to invest in their outdoor environments, enhancing their homes with functional and inviting spaces for relaxation and entertainment.
Education History
University: Virginia Union University
Oliver’s education equipped him with the knowledge and skills to design patios that merge aesthetics with comfort, transforming outdoor areas into beautiful extensions of the home.
Expertise:
- Patio Design and Outdoor Living Spaces
- Functional and Aesthetic Landscaping
- Comfortable and Inviting Outdoor Environments
- Design Philosophy for Family-Oriented Spaces
- Creating Spaces for Relaxation and Entertainment
