Replacing the pillars on your porch is a task that can greatly enhance both the safety and aesthetic appeal of your home. Over time, porch pillars can become worn, rotted, or damaged, which may compromise their structural integrity.
This guide on how to replace pillars on porch will provide you with the steps and tips necessary to replace them effectively, ensuring that your porch remains sturdy and visually appealing for years to come.

Why Replace Porch Pillars?
There are several reasons why you may need to replace the pillars on your porch. Some common ones include:
Wear and Tear:
Over time, exposure to weather elements like rain, wind, and sunlight can cause pillars to deteriorate. This can result in cracks, rotting, or warping of the wood.
Damage:
Accidents or impacts from heavy objects can also damage porch pillars. This can lead to instability and compromise the structural integrity of the porch.
Termite Infestation:
Termites are a common problem for wooden structures, including porch pillars. If left unchecked, they can cause severe damage to the wood, requiring replacement.
Materials and Tools Needed
Before you begin the process of replacing your porch pillars, it’s essential to gather all necessary materials and tools. Here is a list of what you will need:
New Porch Pillars:
Choose high-quality, durable pillars that match the style and design of your porch.
Saw:
You will need a saw to cut the old pillars and trim the new ones to fit properly.
Measuring Tape:
Accurate measurements are crucial for a successful replacement. Use a measuring tape to ensure that the new pillars are the correct length and width.
Level:
A level will help you ensure that the new pillars are straight and properly aligned with the porch.
Hammer:
You may need a hammer to remove nails or secure the new pillars in place.
Screws or Nails:
Choose screws or nails appropriate for outside use to attach the new pillars securely.
Paint and Brush:
Once the installation is complete, you may want to paint or stain the new pillars to match your porch’s color scheme.

8 Steps on How to Replace Pillars on Porch
Step 1: Remove Old Pillars
Begin by carefully removing the old pillars from your porch. First, ensure that your porch roof is properly supported by using temporary supports, such as adjustable jacks or wooden braces. This step is critical to prevent the roof from sagging or collapsing during the replacement process. Once the temporary supports are securely in place, use a saw or another appropriate tool to cut away the old pillar.
If the pillar is secured with screws or nails, use a hammer or screwdriver to remove them before taking out the pillar. Be cautious during this process to avoid damaging the surrounding structure of the porch. After removing the old pillar, thoroughly clean the area to prepare for the installation of the new one.
Step 2: Measure and Cut the New Pillar
Once the old pillar has been removed, it’s time to measure and prepare the replacement. Use a measuring tape to determine the exact height and width required for the new pillar. Be as precise as possible to ensure a snug fit and proper structural support. Write down your measurements and double-check them before proceeding.
After measuring, a saw was used to cut the new pillar to the correct dimensions. If your pillar has decorative elements or specific designs, ensure the cut maintains the symmetry and style needed for your porch. Take your time during this step, as accurate cutting is crucial for a successful replacement and alignment. Once the pillar is cut, test its fit by temporarily positioning it in place before moving on to the installation.
Step 3: Pre-Drill Holes for Screws or Nails
To ensure a secure and easy installation, pre-drill holes will be placed in both the base and top of the new pillar, which will be attached to the porch floor and roof. Using a drill and a properly sized drill bit, carefully make holes for the screws or nails that will secure the pillar in place. This step helps prevent the wood from splitting during installation and makes it easier to align the fasteners.
Be sure to measure and mark the exact positions for the holes beforehand to ensure proper alignment with the porch’s existing structure. If your new pillar comes with pre-drilled holes, double-check that they match the attachment points on your porch. Once the holes are drilled, you are ready to proceed to the next step in securing and positioning the pillar.
Step 4: Secure the New Pillar in Place
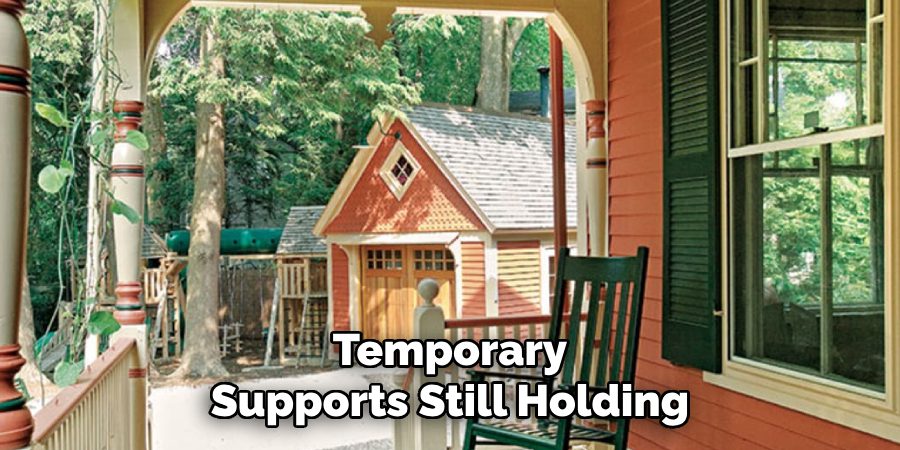
With the temporary supports still holding up your porch’s roof, carefully position the new pillar in place. Use a level to ensure that it is straight and aligned with the porch floor and roof. Once you are satisfied with its placement, use screws or nails to secure it in place through the pre-drilled holes. Be sure to tighten them securely for proper support.

If necessary, use shims or wood wedges to adjust any gaps between the pillar and the surrounding structure. This step will help keep everything properly aligned before moving on to securing the top of the pillar.
Step 5: Install the Top Cap and Base Trim
Many porch pillars come with a top cap and base trim to provide a finished look. If yours do not, you may need to purchase or make them separately. Once the pillar is securely attached, install the top cap and base trim according to the manufacturer’s instructions. These elements add extra stability and style to your new pillars.
You can also choose to paint or stain the new pillars before installing the top cap and base trim for a more seamless finish.
Step 6: Remove Temporary Supports
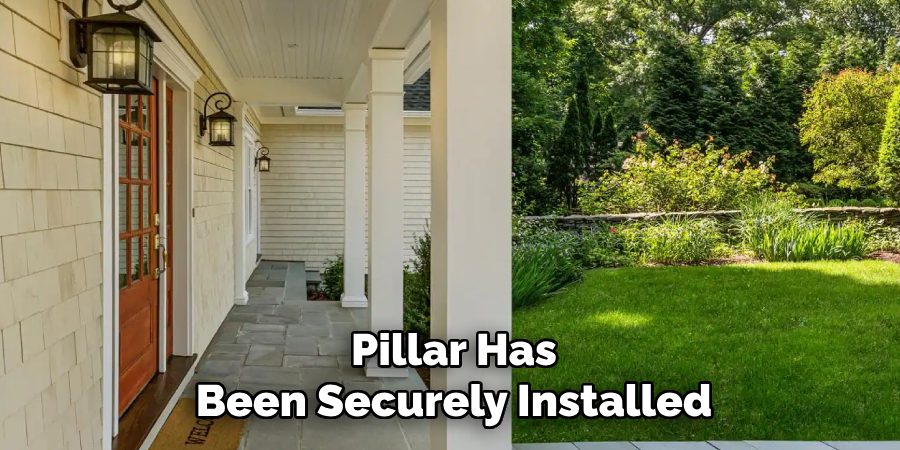
After the new pillar has been securely installed, it is time to remove the temporary supports. Carefully inspect the new pillar to ensure it is firmly attached and properly aligned with the porch floor and roof. Once you are confident that it is stable and providing adequate support, begin removing the temporary supports one at a time.
Start by loosening the adjustable jacks or wooden braces used to hold up the porch roof. Lower them slowly and evenly to avoid sudden shifts in weight or pressure. Take extra caution during this process to ensure the roof remains stable as the supports are removed. Once all temporary supports have been taken down, conduct a final inspection of the new pillar to confirm that everything is secure and in place. This step signifies the completion of the structural replacement, allowing you to proceed with any finishing touches.
Step 7: Paint or Stain
If you have chosen to paint or stain your new pillars, now is the time to do so. Use a high-quality exterior wood paint or stain and follow the manufacturer’s instructions for best results. You may need multiple coats depending on the desired color and type of wood used for the pillars.
Take extra care during this step to protect surrounding surfaces from any spills or drips. Allow ample time for the paint or stain to dry before proceeding with the installation of any additional elements, such as railings or lights.
Step 8: Install Additional Elements
With the new pillars in place and painted or stained, it’s time to add any additional elements to complete your porch’s new look. This could include railings, lights, or any other decorative features you desire. Follow the manufacturer’s instructions for proper installation and take care to align everything with the newly installed pillars for a cohesive appearance.
Once all elements are installed, give your porch a final visual inspection to ensure everything is properly aligned and secure. Congratulations, you have successfully replaced your porch pillars and given your space a fresh new look!
Following these steps on how to replace pillars on porch and taking the necessary precautions can help make the process of replacing porch pillars a smooth and successful one. With proper installation, your new pillars will not only add structural support but also enhance the overall aesthetic of your porch. Remember to prioritize safety and precision in each step for a long-lasting and visually appealing result.

Frequently Asked Questions
Q: How Do I Know if My Porch Pillars Need to Be Replaced?
A: Signs that your porch pillars may need to be replaced include cracks, rotting or warping wood, and visible damage or instability. You may also notice the floor or roof of your porch sagging, which could indicate a problem with the pillars. It’s important to regularly inspect and maintain your porch pillars to ensure they are in good condition.
Q: Can I Replace My Porch Pillars Myself?
A: While it is possible to replace porch pillars yourself, it is recommended to hire a professional for optimal safety and accuracy. If you do choose to DIY, be sure to carefully follow all safety precautions and have the necessary tools and equipment.
Q: How Long Will It Take to Replace Porch Pillars?
A: The time it takes to replace porch pillars will vary depending on factors such as the size and number of pillars, any underlying issues that need to be addressed, and the proficiency of the person or team performing the replacement. On average, it can take a couple of days to replace porch pillars.

Conclusion
Replacing porch pillars may seem like an intimidating task, but with the right tools and techniques, it can be accomplished easily and effectively.
By following these steps on how to replace pillars on porch and taking proper safety precautions, you can ensure that your new pillars are securely in place and add both structural support and aesthetic appeal to your porch. So go ahead, measure, cut, drill, install, and enjoy your newly improved porch!

Professional Focus
Oliver Wood, a passionate patio designer, specializes in creating comfortable and inviting outdoor spaces that enhance relaxation and entertainment. His work combines a deep understanding of design with a love for nature, making him a standout professional in the field of outdoor living spaces. Through his thoughtful approach, he transforms everyday patios into extraordinary retreats for family and friends.
About the Author
Oliver Wood, a skilled patio designer, shares his expertise on outdoor living through his designs and insights. With a background in patio design and a genuine passion for creating beautiful spaces, he encourages others to invest in their outdoor environments, enhancing their homes with functional and inviting spaces for relaxation and entertainment.
Education History
University: Virginia Union University
Oliver’s education equipped him with the knowledge and skills to design patios that merge aesthetics with comfort, transforming outdoor areas into beautiful extensions of the home.
Expertise:
- Patio Design and Outdoor Living Spaces
- Functional and Aesthetic Landscaping
- Comfortable and Inviting Outdoor Environments
- Design Philosophy for Family-Oriented Spaces
- Creating Spaces for Relaxation and Entertainment
