Are you looking to build a new porch or update your existing one? Don’t worry. Making a criss cross porch railing is easier than you think!
Adding a criss cross porch railing to your outdoor space is a great way to enhance its aesthetic appeal while providing safety and support. This type of railing features an eye-catching X-shaped design that combines functionality with visual charm, making it an excellent choice for homeowners looking to upgrade their porch. Whether you’re an avid DIY enthusiast or tackling your first project, building a criss cross porch railing can be an achievable task with the right tools and materials.
This guide on how to make criss cross porch railing will walk you through the process step by step, ensuring a sturdy and stylish addition to your home.
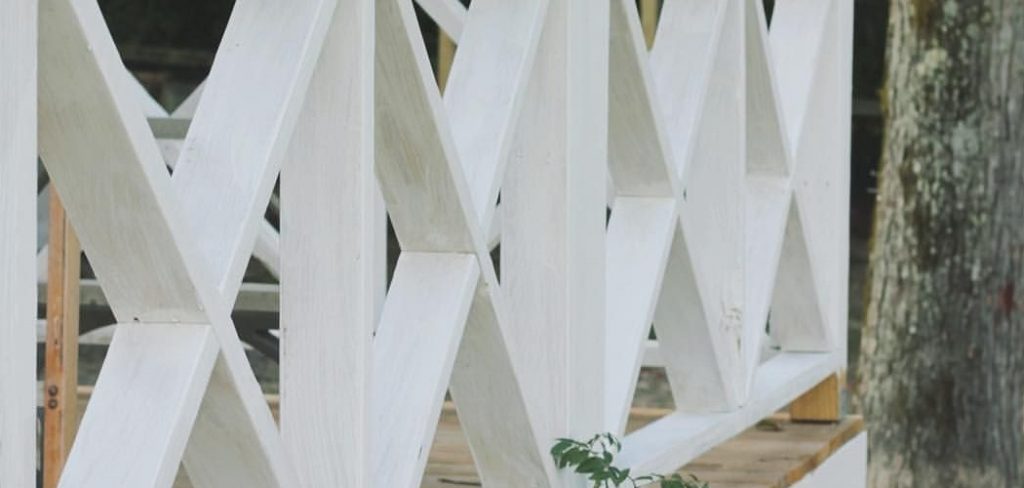
What Are the Benefits of Criss Cross Porch Railing?
Before we dive into the steps for building crisscross porch railings, let’s first understand why it’s a popular choice among homeowners.
- Enhanced Safety: One of the main reasons to install porch railing is to ensure safety, especially if you have children or pets. The criss cross design provides additional support and stability, making your porch secure.
- Improved Aesthetics: As mentioned earlier, criss cross porch railing visually appeals to your outdoor space. It can also act as a focal point and elevate the overall look of your porch.
- Affordability: Compared to other types of porch railings, criss cross railing is relatively affordable, making it a budget-friendly option for homeowners.
- Easy Maintenance: Porch railings are exposed to the elements all year round, requiring regular maintenance. Fortunately, crisscross design requires minimal upkeep while still offering durability and longevity.
Now that we’ve covered the benefits of criss cross porch railing, let’s start on how to make one!
What Will You Need?
Before you begin building, gathering all the necessary tools and materials is essential. Here’s a list of things you’ll need:
- Wood or metal posts
- 2×4 lumber for horizontal support bars
- Saw
- Drill
- Screws or nails
- Measuring tape
- Level
Once you have all these items, you’re ready to start building!
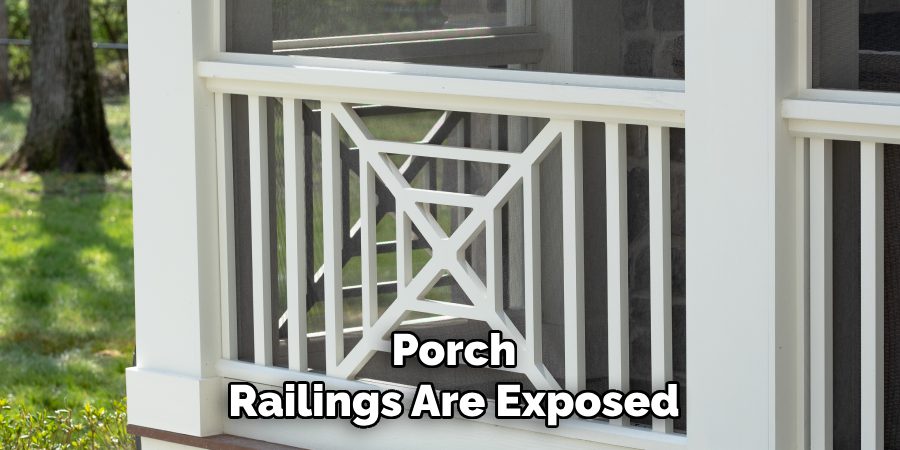
9 Easy Steps on How to Make Criss Cross Porch Railing
Step 1: Measure and Plan
Begin by carefully measuring the dimensions of your porch where the criss cross railing will be installed. Use the measuring tape to determine the length and height of the sections where the railing will be placed. Accurate measurements ensure the railing fits appropriately and match the desired specifications.
Next, draw a detailed plan or sketch of the railing design. Account for the spacing between the criss cross elements, ensuring it meets local building codes and safety regulations, mainly if the railing will be in an area accessible to children or pets. Having a clear plan before cutting and assembling materials will prevent errors and make the process smoother. Double-check all your measurements and plans before moving forward to the cutting stage.
Step 2: Gather and Cut the Materials
Using your measurements and plan as a guide, gather the necessary materials for your criss cross porch railing, such as wooden boards, screws, and brackets. Ensure the wood is suitable for outdoor use and durable enough to withstand weather exposure.
Once you have the materials, use a saw to cut the wooden boards to the required lengths for horizontal and crisscross sections. Be precise with your cuts to ensure the pieces fit together neatly. Sand the edges of each cut to remove splinters and create smooth surfaces, making assembly easier and resulting in a polished finish.
Step 3: Assemble the Railing
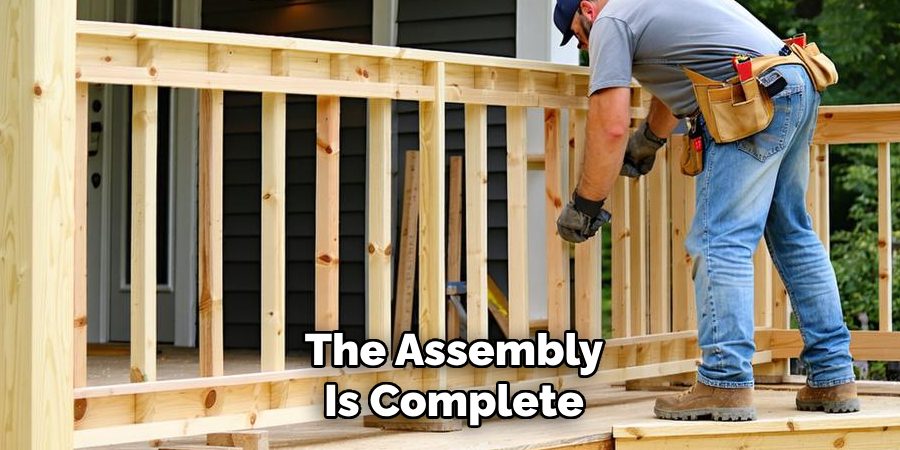
Begin by attaching the horizontal sections of the railing to the posts or frame of your porch using screws and brackets. Ensure that these horizontal pieces are level and secure before proceeding. Next, position the crisscross sections by arranging the wooden boards diagonally across each railing segment.
Adjust the angles to create a consistent and visually appealing pattern. Once you are satisfied with the placement, attach the diagonal boards to the horizontal sections using screws. Be careful to align everything properly and check that the structure is stable as you go.
Step 4: Finish and Protect the Railing
After the assembly is complete, inspect the entire railing for any protruding screws, uneven sections, or rough spots. Sand any remaining rough areas to ensure a smooth finish. Apply a coat of wood primer to prepare the surface for painting or staining once the primer has dried, paint or stain the railing in your desired color, using outdoor-grade products to ensure durability and weather resistance.
Finally, seal the railing with a clear outdoor sealant to protect it from moisture and UV damage, prolonging its lifespan and maintaining its appearance. Allow the finish to dry completely before using the railing.
Step 5: Regular Maintenance for Longevity
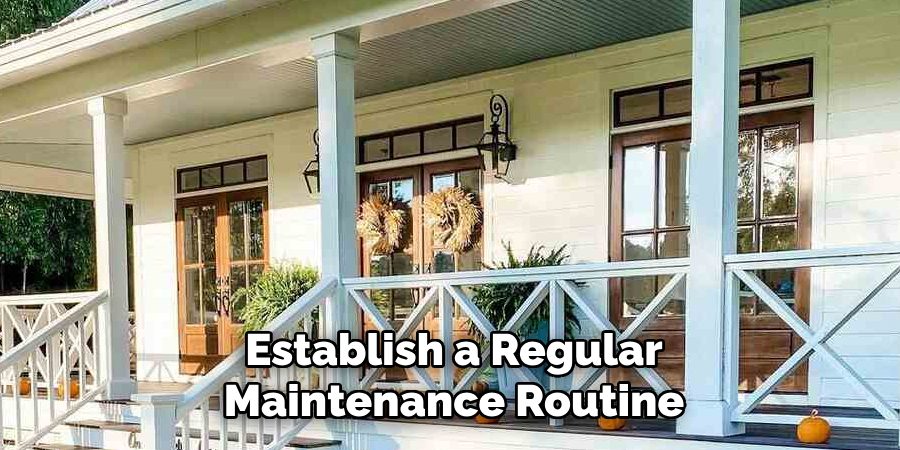
Establish a regular maintenance routine to ensure your railing remains in excellent condition over time. Periodically inspect the railing for signs of wear, such as loose screws, peeling paint, or weather damage. Tighten any loose fittings and address minor repairs promptly to prevent further deterioration.
Clean the railing with a mild soap solution and a soft brush to remove dirt, mold, or mildew. If necessary, reapply a fresh coat of paint, stain, or sealant every few years to maintain its protective barrier and aesthetic appeal. Consistent care will extend the life of your railing while keeping it safe and visually attractive.
Step 6: Safety Checks and Final Adjustments
Before considering the project complete, perform a thorough safety check of your railing. Ensure all components are securely fastened and stable, with no wobbling or movement when pressure is applied.
Verify that the spacing between the balusters complies with local building codes to ensure safety, especially for children or pets. Check for sharp edges, splinters, or protruding hardware that could pose a hazard, and sand or adjust as necessary. Once all final adjustments are made, the railing is ready for use, providing both functionality and style to your space.
Step 7: Enhancing the Railing Aesthetics
Once the railing is installed and maintained, consider adding aesthetic enhancements to elevate its visual appeal. Options include painting or staining wooden railings to match or complement your décor or applying decorative caps, lighting fixtures, or plant holders for added charm.
For metal railings, powder coating in a custom color can create a sleek, modern look. Tailoring the railing’s design to suit your space allows for a personalized touch while maintaining its functionality.
Step 8: Keep Up with Trends and Styles
From traditional wooden baluster designs to modern metal options, the world of porch railings is continually evolving. Keep up with current trends and styles by regularly researching design ideas or seeking inspiration from home improvement shows, magazines, or online resources. Upgrading your railing’s look can give your entire porch a fresh new appearance without significant renovation costs.
Step 9: Consider Hiring a Professional
While building a crisscross porch railing may seem like a simple DIY project, having the necessary skills and experience is essential before attempting it. If you’re not confident in your carpentry abilities or don’t have the time to undertake this project, consider hiring a professional contractor. A skilled contractor will ensure your railing is safe, meets building codes and regulations, and has a polished finish that adds value to your home.
By following these steps and properly caring for your criss cross porch railing, you can create a beautiful and functional addition to your outdoor space.
5 Things You Should Avoid
- Using Low-Quality Materials: Avoid using low-quality or untreated wood, as it can warp, crack, or deteriorate quickly, affecting the durability and safety of the railing.
- Ignoring Proper Measurements: Skipping precise measurements can result in uneven rails and an unbalanced appearance, making the project look unprofessional.
- Skipping Pilot Holes for Screws: Drilling screws directly into the wood without pilot holes can cause splitting, weakening the structure and compromising the final result.
- Rushing the Assembly Process: Composing the railing without careful alignment and securing can lead to wobbly or misaligned sections.
- Neglecting Weatherproofing: Forgetting to seal or paint the wood to protect it from the elements can significantly reduce the lifespan of your criss-cross porch railing.
What is the Cheapest Alternative to Railings?
Consider installing tension wire railing if you want a budget-friendly alternative to traditional railings. This type of railing consists of stainless steel wires stretched between posts, creating a modern, minimalist look while providing safety and stability.
Tension wire railings require fewer materials and installation time than other railing options, making them cost-effective. They also have the added benefit of being virtually invisible, allowing for uninterrupted views from your porch or deck.
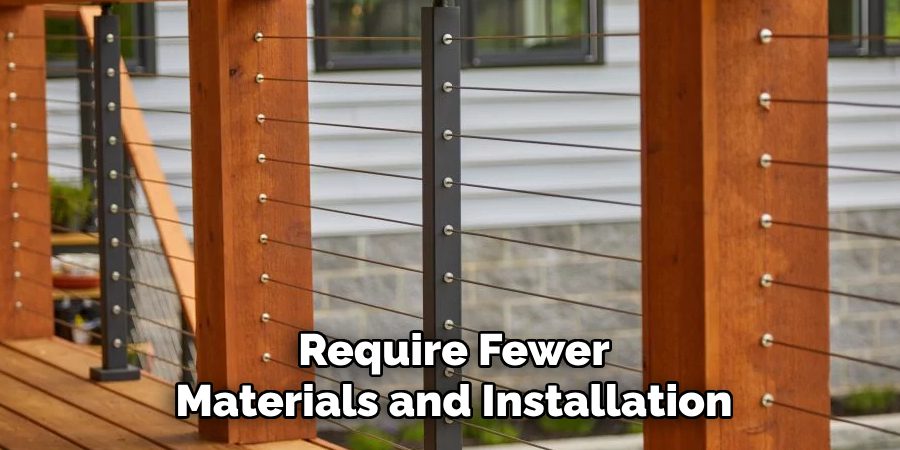
However, it’s essential to note that tension wire railings may not be suitable for all types of structures or building codes, so do your research and consult with professionals before proceeding with this option.
Another inexpensive alternative is using rope or cable as railings. This DIY option involves attaching ropes or cables between posts and can add a nautical or rustic touch to your porch or deck. However, it may not be the most secure option for families with small children.
Conclusion
How to make criss cross porch railing is an excellent way to enhance the aesthetic appeal of your outdoor space while maintaining functionality.
This style combines visual intricacy and structural stability, making it versatile for various settings. To achieve this look, select durable materials such as wood, metal, or composite that can withstand outdoor elements. Carefully plan and measure the layout of the crisscross pattern to ensure symmetry and balance.
Whether assembling it yourself as a rewarding DIY project or hiring professionals for a polished finish, crisscross porch railings provide a timeless and attractive design option suitable for most homes.
Professional Focus:
Arden Bernier is dedicated to exploring and advancing patio design and maintenance, combining practical knowledge with innovative solutions. Specializing in outdoor living spaces, he provides expert advice on patio fixes, landscaping, and sustainable outdoor design. With a focus on creating functional, aesthetic, and durable outdoor environments, Arden empowers homeowners to transform their patios into beautiful and relaxing retreats.
Vision:
To inspire and assist homeowners in creating functional, aesthetically pleasing outdoor spaces. Arden encourages creativity and practical problem-solving in patio design, making outdoor living more accessible and enjoyable for everyone.
Education:
- Bachelor of Arts (BA) in Environmental Design – University of California, Berkeley.
- Master of Science (MS) in Landscape Architecture – University of Southern California.
- Specialized training in sustainable landscape design, outdoor space planning, and eco-friendly materials.
Recognition:
- Author at PatioFixes.com, providing expert advice on patio maintenance and design.
- Featured in online platforms and home improvement blogs for valuable tips on patio fixes and outdoor living.
- Recognized for his contributions to making outdoor spaces more eco-friendly and sustainable.
Expertise:
Patio expert with a focus on creating functional, beautiful, and durable outdoor living spaces. Specialization includes:
- Patio design and construction
- Outdoor furniture and décor
- Landscaping and sustainable patio solutions
- Outdoor maintenance and repair techniques
