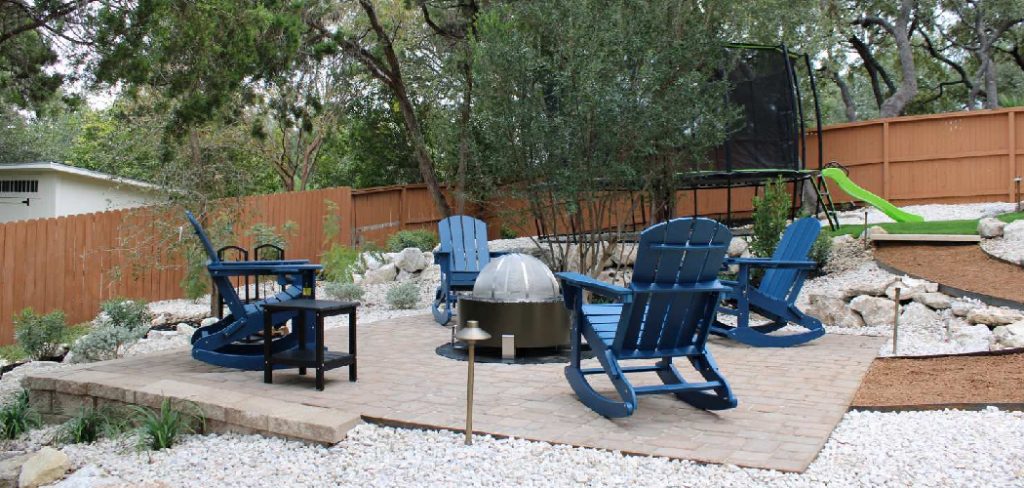
Building a patio on a slope can transform an uneven and challenging landscape into a functional and attractive outdoor living space. At the same time, it may seem like a complex project, but the right planning, tools, and techniques can make the process manageable for homeowners and DIY enthusiasts alike. A well-designed sloped patio not only enhances the aesthetic value of your yard but also improves usability and prevents potential erosion issues.

This guide on how to build patio on slope will walk you through the essential steps to create a stable and beautiful patio on a slope, ensuring long-lasting results.
Why Build a Patio on Slope?
Before we dive into the steps, let’s first explore why building a patio on a slope may be beneficial for your property.
Maximizes Usable Space
A sloped yard can often feel unusable and limit outdoor activities. By building a patio, you can create a flat and functional space for entertaining or relaxing. A well-designed patio on a slope can also provide additional seating areas or open up opportunities for outdoor cooking and dining.
Enhances Landscape
A sloped yard can be challenging to maintain and may not look visually appealing. Building a patio on the slope can help enhance the overall landscape by creating defined levels and adding texture with different materials, such as stone or wood.
Prevents Erosion
During heavy rainfall, water runoff on a sloped yard can cause erosion, leading to potential damage to your property. By building a patio, you can redirect the flow of water and prevent erosion issues.
8 Step-by-step Guidelines on How to Build Patio on Slope
Step 1: Evaluate the Slope
The first step in building a patio on a slope is to thoroughly evaluate the terrain. Start by assessing the degree of the slope using a level and a measuring tape. Measure the vertical drop over a specific horizontal distance to determine the slope’s grade or angle.
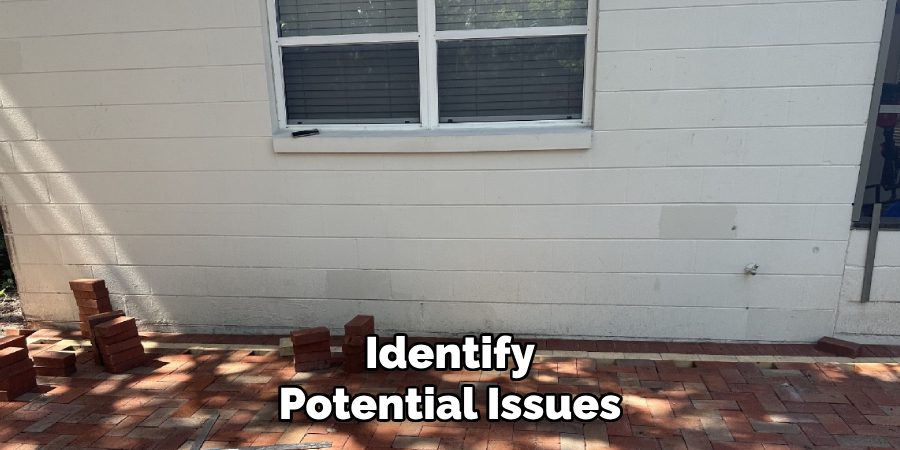
This step is crucial because the slope’s steepness will influence the design, materials, and techniques you use for the patio. Be sure to identify any drainage issues, such as water pooling or runoff patterns, as this information will help you plan for proper water flow management.
Additionally, check for any obstacles like rocks, tree roots, or utilities that may require special attention during construction. A clear understanding of the slope ensures a solid foundation for your patio project.

Step 2: Plan and Design
Based on your slope evaluation, start planning and designing your patio. Consider the size, shape, and location of the patio in relation to your house and yard. A popular option for sloped patios is a multi-level design that utilizes retaining walls or terracing to create different levels.
This not only adds visual interest but also provides flat surfaces for seating or planting areas. Sketch out your ideas and make sure to include any necessary features, such as steps, lighting, or drainage systems.
Step 3: Prepare the Site
Once your design is finalized, the next step is to prepare the site for construction. Begin by clearing the area of any vegetation, debris, or obstacles, such as rocks and tree roots, that could interfere with the construction process. Use a shovel or a garden hoe to remove grass and topsoil, creating a clean surface to work on.
After clearing the site, outline the patio’s shape using stakes and string to ensure accuracy. Double-check the dimensions and positioning of your design to confirm it aligns with your plans. If your patio features terracing or retaining walls, mark the levels clearly to guide the construction process.
Lastly, any drainage issues identified during the assessment phase should be addressed. This may include digging trenches for drainage pipes or creating a slight slope within the patio structure to direct water flow away from your house. Proper site preparation is key to laying a stable foundation and ensuring the longevity of your patio build.
Step 4: Build the Retaining Walls or Terraces
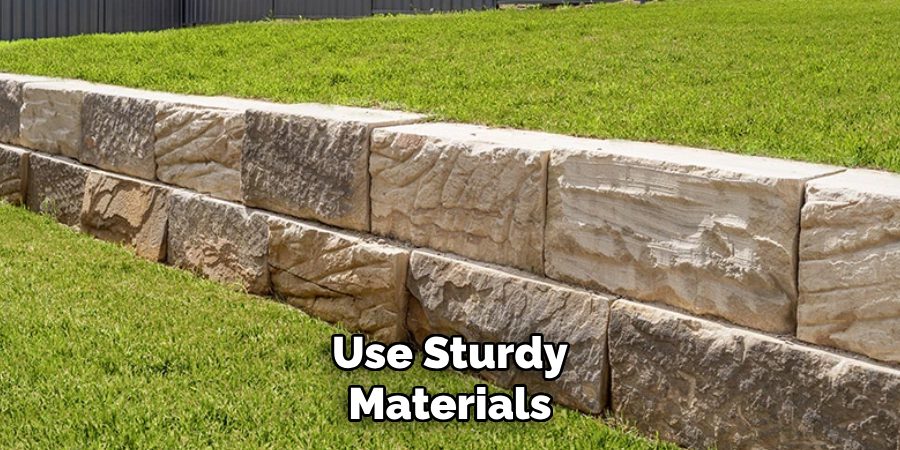
For sloped patios, retaining walls or terracing are crucial components of the construction process. These structures provide stability and prevent soil erosion while creating different levels for your patio. Use sturdy materials, such as concrete blocks or natural stone, to build strong and durable retaining walls that can withstand the pressure of slope movements.

Terraced patios may require more advanced techniques, such as building a series of steps or using anchors to secure the walls to the ground. If you’re not confident in constructing these features yourself, consider hiring a professional for this step.
Step 5: Lay the Foundation
With the retaining walls or terraces in place, it’s time to lay the foundation for your patio. Begin by excavating the area within the retaining walls or terraces to create a level surface. Then, fill this space with gravel and compact it using a tamper or plate compactor to create a sturdy base for your patio. The layer of gravel also helps with drainage and prevents water from pooling on the patio surface.
Next, add a layer of sand and level it out using a screed board, ensuring an even and smooth surface for laying pavers or stones.
Step 6: Install Edging
Edging is essential for any patio project as it provides structure and helps keep pavers or stones in place. For a sloped patio, edging is even more critical to prevent materials from shifting or sliding downhill. Use sturdy materials, such as plastic or metal edging, and secure it firmly into the ground using stakes.
It’s also a good idea to add additional edging along the edges of retaining walls and terraces for added support.
Step 7: Lay Pavers or Stones
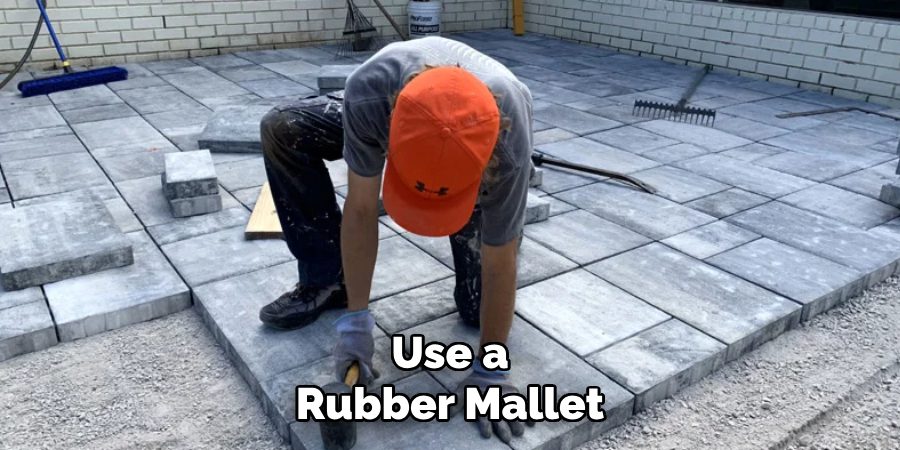
Now comes the exciting part – laying pavers or stones on your patio! Start by placing the first row of pavers or stones against the edging, working from one end to the other. Use a rubber mallet to gently tap each piece into place and ensure they are level. Continue adding rows until you reach the desired height, using spacers between each piece for uniform spacing.

For sloped patios, it may be necessary to cut some pieces to fit irregular angles and create a smooth surface. You can rent specialty tools, such as a wet saw, to make precise cuts.
Step 8: Fill in the Gaps and Seal the Surface
After all pavers or stones are laid, sweep sand into the gaps between them to secure and stabilize the surface. Use a push broom to ensure sand is evenly distributed and fill in any remaining gaps until they are flush with the top of the pavers or stones.
Lastly, seal your patio surface using a sealant appropriate for your chosen materials. This will protect against water damage and help maintain the overall appearance of your patio.
Following these steps on how to build patio on slope will help you successfully build a sloped patio that is not only functional but also visually appealing. Remember to work carefully and precisely, taking the necessary time and precautions to create a durable and long-lasting outdoor space for you and your family to enjoy. Happy building! So, go ahead and start planning for that beautiful sloped patio today!
Frequently Asked Questions
Q: Do I Need to Hire a Professional for Building a Sloped Patio?
A: While it is possible to build a sloped patio yourself, it may require advanced techniques and specialized equipment. If you are not confident in your construction abilities, it’s best to hire a professional contractor who has experience with building on slopes. This will ensure the safety and stability of your patio.
Q: What Materials can I Use for Retaining Walls or Terraces on a Sloped Patio?
A: The choice of materials for retaining walls or terraces will depend on personal preference, budget, and the level of slope. Common materials include concrete blocks, natural stone, brick, and wood. Consult with a professional to determine the best option for your specific project.
Q: How Do I Determine Proper Drainage for My Sloped Patio?
A: Proper drainage is crucial for any patio, especially one built on a slope. During the assessment phase, identify potential issues such as standing water or runoff towards your house. Address these concerns by creating a slight slope within the patio structure or adding drainage pipes and trenches. Consult with a professional for advice on the best solution for your specific situation. So, plan accordingly and take appropriate measures to ensure proper drainage for your patio.

Q: Can I Use Pavers on a Sloped Patio?
A: Yes, pavers are a popular choice for sloped patios as they can be easily adjusted to fit irregular angles and create a level surface. It’s important to use spacers between each piece for uniform spacing and secure them using sand in the gaps and sealant on top. Consider renting specialty tools, such as a wet saw, to make precise cuts if necessary.
Conclusion
Building a sloped patio can be a rewarding project that transforms a challenging outdoor space into a functional and visually stunning area for relaxation and entertainment. While the process may seem daunting at first, breaking it down into clear, manageable steps ensures a successful outcome. From assessing your slope and planning the design to laying the pavers and sealing the surface, attention to detail is key to constructing a durable and stable patio.
Whether you decide to tackle the project on your own or hire a professional, a well-built sloped patio will enhance the beauty and usability of your landscape for years to come. Thanks for reading this article on how to build patio on slope. Happy building!

Professional Focus
Oliver Wood, a passionate patio designer, specializes in creating comfortable and inviting outdoor spaces that enhance relaxation and entertainment. His work combines a deep understanding of design with a love for nature, making him a standout professional in the field of outdoor living spaces. Through his thoughtful approach, he transforms everyday patios into extraordinary retreats for family and friends.
About the Author
Oliver Wood, a skilled patio designer, shares his expertise on outdoor living through his designs and insights. With a background in patio design and a genuine passion for creating beautiful spaces, he encourages others to invest in their outdoor environments, enhancing their homes with functional and inviting spaces for relaxation and entertainment.
Education History
University: Virginia Union University
Oliver’s education equipped him with the knowledge and skills to design patios that merge aesthetics with comfort, transforming outdoor areas into beautiful extensions of the home.
Expertise:
- Patio Design and Outdoor Living Spaces
- Functional and Aesthetic Landscaping
- Comfortable and Inviting Outdoor Environments
- Design Philosophy for Family-Oriented Spaces
- Creating Spaces for Relaxation and Entertainment
