Are you tired of looking at dirty, grimy patio slabs? Regular maintenance and cleaning can help keep your outdoor space looking its best.
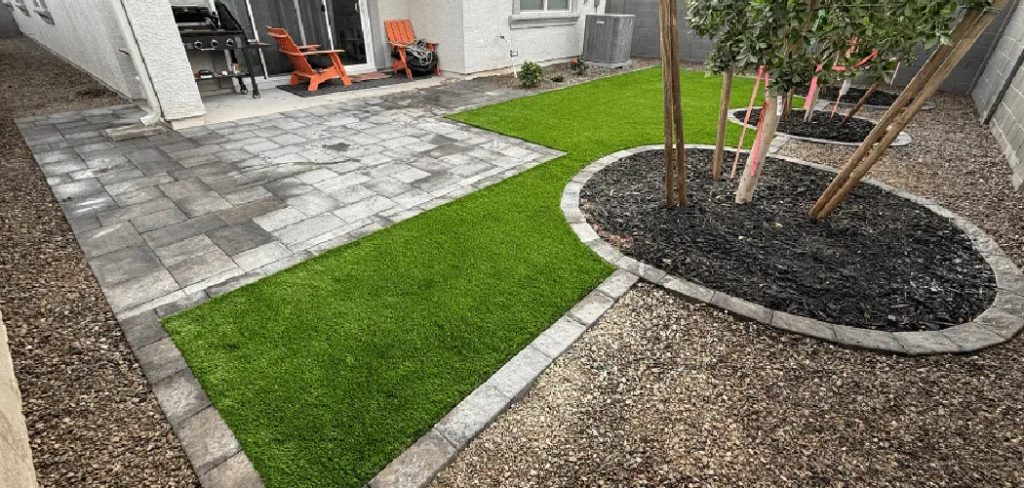
Keeping your patio slabs clean improves the appearance of your outdoor space and helps maintain their durability over time. Over the seasons, patio slabs can accumulate dirt, moss, algae, and other debris, making them look dull and slippery. Fortunately, cleaning patio slabs is a straightforward process that can be done with a few simple tools and techniques. Additionally, regular cleaning can help prevent any potential safety hazards caused by slippery surfaces.
This guide on how to clean patio slabs will walk you through the essential steps to restore your patio slabs to their original condition, ensuring a fresh and inviting surface for your outdoor area.
What Are the Benefits of Cleaning Patio Slabs?
Before we dive into the cleaning process, let’s first examine why it is essential to clean your patio slabs regularly.
- Enhances Curb Appeal: A clean and well-maintained outdoor space can significantly improve the appearance of your home. By keeping your patio slabs clean, you can make a great first impression on visitors or potential buyers.
- Prevents Damage: Accumulating debris and moisture on patio slabs can cause cracks and discoloration over time. Regular cleaning helps prevent potential damage to your patio slabs and extends their lifespan.
- Improves Safety: Dirty or algae-covered patio slabs can become slippery when wet, posing a safety hazard for anyone using the outdoor space. Regular cleaning can help prevent any accidents caused by slippery surfaces.
Now, let’s get into the steps for effectively cleaning your patio slabs.
What Will You Need?
Before you begin, make sure you have the following tools and materials on hand:
- Broom or Brush: A stiff-bristled broom or brush will help remove any loose debris and dirt from your patio slabs.
- Garden Hose: After cleaning, you’ll need a garden hose with a spray nozzle to rinse off the patio slabs.
- Bucket: Fill a bucket with warm water and add mild detergent for an effective cleaning solution.
- Scrub Brush: For tougher stains or stubborn moss, use a scrub brush to agitate the surface and loosen the grime.
Now that you have all the necessary supplies, let’s move on to cleaning!
8 Easy Steps on How to Clean Patio Slabs
Step 1: Clear the Area
Start by removing all furniture, potted plants, and decorative items from the patio. This will give you clear access to the entire surface and prevent any obstacles during cleaning. Move fragile items, such as glass tables or delicate planters, to a safe spot to
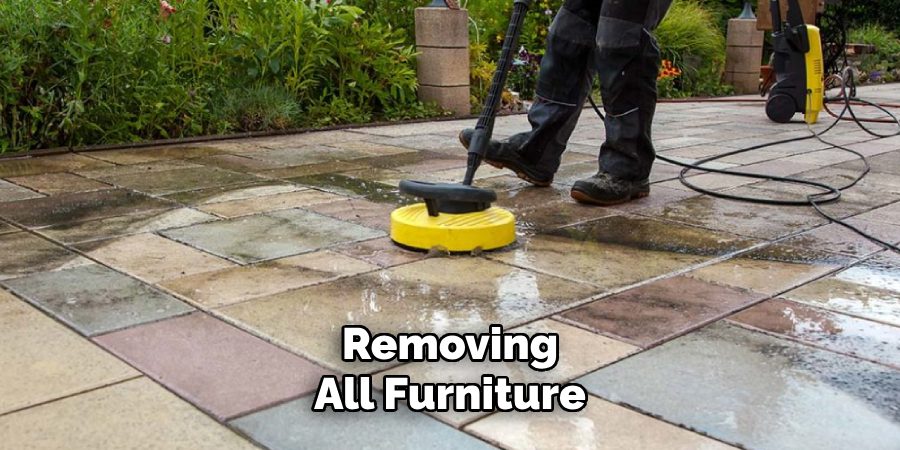
avoid accidental damage. Clearing the area also allows you to properly inspect the patio slabs for any stains, cracks, or buildup that might need extra attention. Starting with a fully cleared surface will set the foundation for a thorough and effective cleaning.
Step 2: Sweep the Patio
Use a sturdy broom or a brush to sweep away loose dirt, leaves, and debris from the patio surface. This step ensures you aren’t washing additional dirt into hard-to-clean areas and helps you identify sections requiring deeper cleaning. Pay extra attention to the corners and edges where dirt tends to accumulate. A thorough sweep will make the cleaning process smoother and more efficient.
Step 3: Apply a Cleaning Solution
Prepare a suitable cleaning solution based on the material your patio is made from. A mixture of water and mild detergent works well for concrete or stone patios, while specialized cleaners may be required for wood or other sensitive surfaces. Apply the cleaning solution evenly across the patio using a mop, sponge, or spray bottle. Allow the solution to sit for a few minutes to loosen dirt and grime, but be careful not to let it dry. This step will help break down tough stains and prepare the surface for scrubbing.
Step 4: Scrub the Surface
Once the cleaning solution has had time to work, use a scrub brush or a stiff-bristled broom to scrub the patio surface. Focus on areas with tough stains or built-up grime, applying extra pressure as needed. Work in small sections to ensure thorough
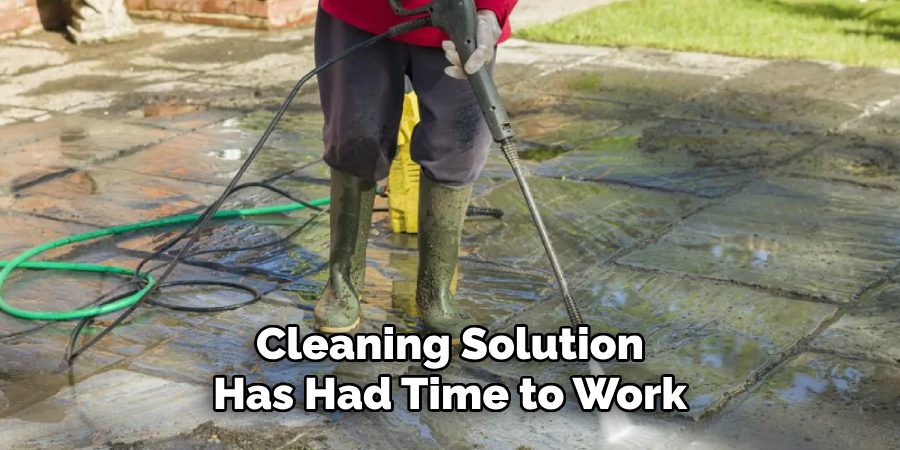
cleaning and avoid missing any spots. For patios with textured surfaces, use a brush that can reach into grooves and crevices effectively. Rinse your brush or broom periodically to remove accumulated dirt and ensure consistent results.
Step 5: Rinse the Patio
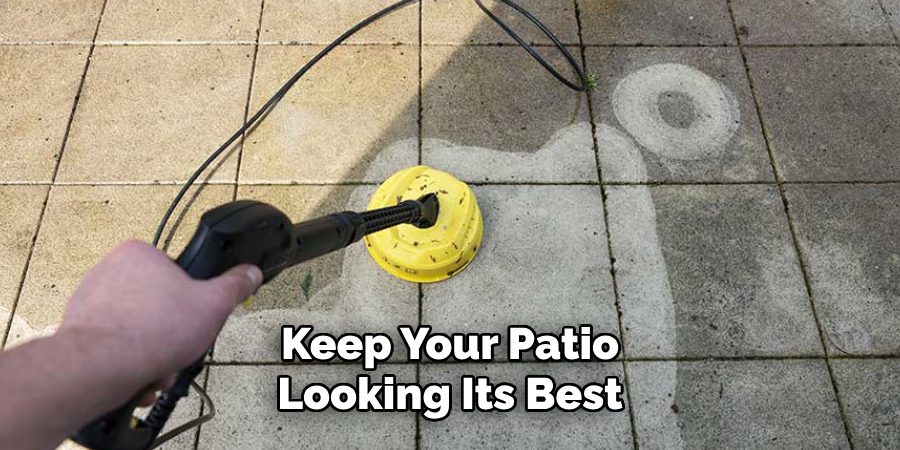
After scrubbing, thoroughly rinse the patio to remove dirt, grime, and any remaining cleaning solution. Use a hose with a spray nozzle for even coverage or, if available, a pressure washer for a deeper clean. Start from one end of the patio and work across to prevent dirty water from pooling in cleaned areas. Rinse all corners and edges to ensure no residue is left behind, as this can lead to discoloration or attract more dirt over time. Allow the patio to air dry completely before using it again.
Step 6: Apply a Sealant (Optional)
For added protection and to maintain the clean appearance of your patio, consider applying a sealant once the surface is arid. A sealant helps protect against stains, weather damage, and mold or mildew growth. Choose a sealant that is appropriate for the material of your patio, whether it’s concrete, stone, or pavers. Follow the manufacturer’s instructions for application, using a paint roller or brush for even coverage. Ensure the sealant has enough time to cure, as recommende,d before placing furniture or using the patio. This final step can extend the life of your patio and make future cleaning easier.
Step 7: Regular Maintenance
To keep your patio looking its best, establish a regular maintenance routine. Sweep the surface weekly to remove dirt, leaves, and debris that can accumulate over time. For a deeper clean, hose down the patio periodically or use a mild detergent and a
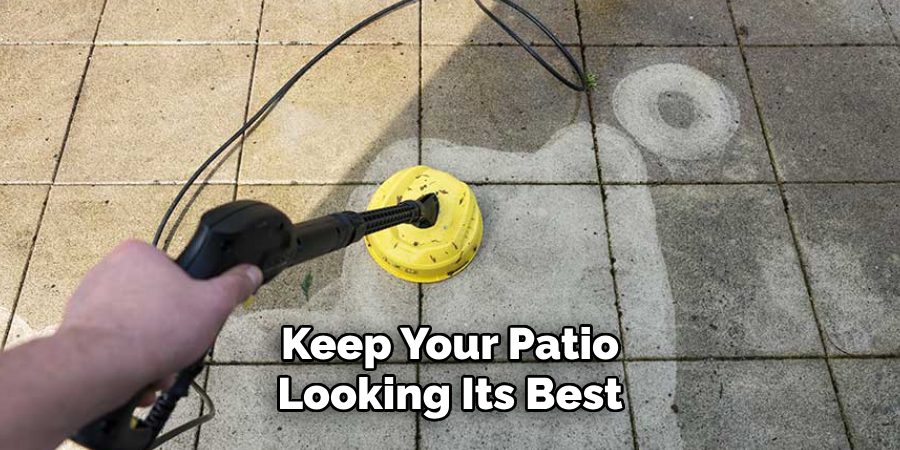
brush to address any spots or stains. Be mindful of seasonal changes, as prolonged rain, snow, or heat exposure can gradually wear down the surface. Inspect every few months to check for cracks, loose pavers, or any signs of wear, and address issues promptly to preserve the integrity of your patio. Regular care will ensure your outdoor space remains inviting and functional year-round.
Step 8: Add Personal Touches
Once your patio is clean, sealed, and maintained, consider adding some personal touches to make the space your own truly. Incorporate comfortable outdoor furniture, colorful cushions, or a stylish rug to create a cozy atmosphere. Add greenery with potted plants, hanging baskets, or a vertical garden to bring life and vibrancy to the area. Lighting is another key element—string lights, lanterns, or solar-powered lamps can add warmth and ambiance, especially for evening use. You can also include decorative elements like sculptures, water features, or a fire pit to enhance the space’s charm. Customizing your patio not only improves its aesthetic appeal but also makes it a reflection of your personality and style.
By following these eight easy steps, you can effectively clean and maintain your patio slabs to keep them looking their best.
5 Things You Should Avoid
- Using Harsh Chemicals: Avoid using strong chemicals like bleach or acidic solutions as they can damage the surface of your patio slabs and harm surrounding plants or soil.
- Using a Metal Scraper: Metal tools can scratch or chip the slabs, leading to permanent damage. Opt for softer materials like plastic scrapers or brushes with nylon bristles.
- Ignoring Drainage: Failing to check your patio’s drainage can lead to water pooling, which may result in stains and long-term damage. Always ensure water flows away from your patio.
- Pressure Washing Too Closely: While pressure washing can be effective, holding the nozzle too close to the slabs can erode their surface and loosen any joints.
- Skipping Regular Maintenance: Allowing dirt, moss, and algae to build up over time makes cleaning more complex and can degrade the slabs. Regular light cleaning prevents this from happening.
Does Baking Soda Clean Patio Slabs?
Baking soda is a standard household product with many cleaning uses, including patio slabs. It is a gentle and natural alternative to harsh chemicals and can effectively remove dirt, stains, and mildew from your patio.
Mix baking soda as a cleaner for your patio slabs with water to create a paste. Apply the paste onto the affected areas of the slabs and let it sit for about 15 minutes. Then, scrub the area with a brush or sponge before rinsing off with clean water. The abrasive nature of baking soda helps to loosen stubborn dirt and grime without damaging the surface of the slabs.
In addition to being an effective cleaner, baking soda has deodorizing properties that can help eliminate unpleasant odors on your patio. It is also an eco-friendly option, making it safe for both your family and the environment.
However, it is essential to note that baking soda may not effectively remove deep stains or heavy buildup on your patio slabs. It is best to consult a professional or use a stronger cleaning solution in these cases.
Conclusion
How to clean patio slabs can be a straightforward and rewarding process when equipped with the right tools and techniques.
From using natural solutions like baking soda to commercial cleaners, each method offers its benefits depending on the level of cleaning required. Regular maintenance is key to keeping your patio fresh and preventing the buildup of grime and stains over time. By incorporating environmentally friendly cleaning methods, you can achieve a clean and inviting outdoor space while being conscious of the environmental impact.
Take the time to assess your patio’s needs, choose the appropriate cleaning method, and enjoy your revitalized space for years to come.

Professional Focus
Oliver Wood, a passionate patio designer, specializes in creating comfortable and inviting outdoor spaces that enhance relaxation and entertainment. His work combines a deep understanding of design with a love for nature, making him a standout professional in the field of outdoor living spaces. Through his thoughtful approach, he transforms everyday patios into extraordinary retreats for family and friends.
About the Author
Oliver Wood, a skilled patio designer, shares his expertise on outdoor living through his designs and insights. With a background in patio design and a genuine passion for creating beautiful spaces, he encourages others to invest in their outdoor environments, enhancing their homes with functional and inviting spaces for relaxation and entertainment.
Education History
University: Virginia Union University
Oliver’s education equipped him with the knowledge and skills to design patios that merge aesthetics with comfort, transforming outdoor areas into beautiful extensions of the home.
Expertise:
- Patio Design and Outdoor Living Spaces
- Functional and Aesthetic Landscaping
- Comfortable and Inviting Outdoor Environments
- Design Philosophy for Family-Oriented Spaces
- Creating Spaces for Relaxation and Entertainment
