Installing an outdoor TV antenna can enhance your television viewing experience by providing access to free, high-definition channels without the need for a cable or satellite subscription. With the right tools and a clear understanding of the process, you can enjoy improved signal quality and a wider range of channels.
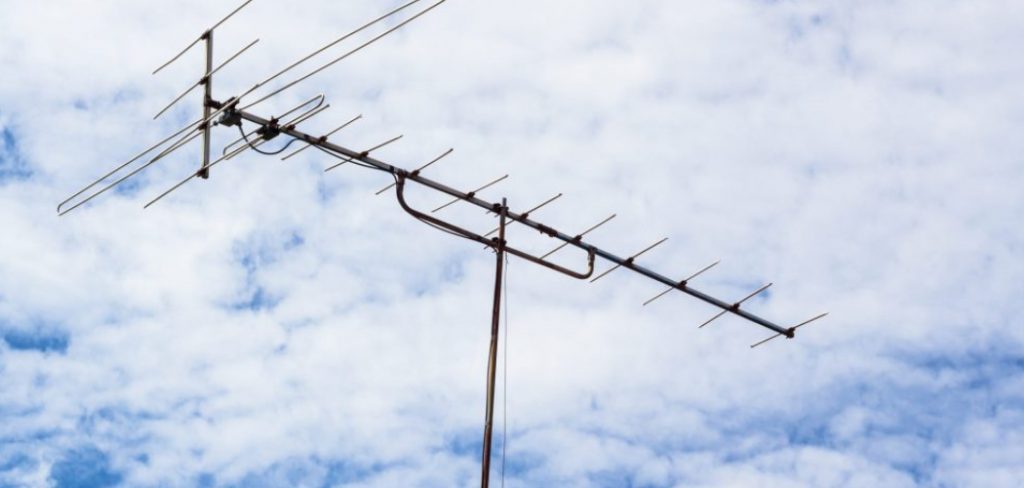
This guide will walk you through the steps of how to install outdoor tv antenna, ensuring optimal performance and a hassle-free setup.
Why Install an Outdoor TV Antenna?
An outdoor TV antenna provides numerous benefits that make it a worthwhile investment for many households. The primary advantage is access to free, high-definition local channels, including news, sports, and entertainment, without the recurring costs of cable or satellite services.
Outdoor antennas typically offer better reception and signal quality compared to indoor ones, as they are positioned higher and are less obstructed by walls or other barriers. They are also highly effective in rural or remote areas where digital signals from broadcasting towers can be weak. Additionally, installing an outdoor antenna contributes to a more eco-friendly approach to television viewing, as it reduces reliance on energy-consuming cable boxes or satellite receivers.
Overall, an outdoor TV antenna is a cost-efficient, reliable, and sustainable option for enjoying high-quality television content.
Tools and Materials Required
Before starting the installation process, ensure you have the following tools and materials ready to make the setup efficient and straightforward:
- Outdoor TV Antenna: Choose one suitable for your location and signal strength needs.
- Mounting Bracket and Pole: For securely attaching and positioning the antenna.
- Coaxial Cable: To connect the antenna to your television or signal booster.
- Signal Amplifier or Booster (Optional): Useful if you are in a low-signal area or have multiple TVs connected.
- Drill and Screws: For mounting the bracket securely on a wall, roof, or other structure.
- Wrench or Socket Set: To tighten bolts and secure the mounting hardware.
- Compass or Smartphone App: To help align the antenna towards the nearest broadcast towers.
- Ladder: For safely reaching elevated positions during installation.
- Weatherproofing Materials: Such as silicone sealant or cable clips, to protect cables and connections from exposure to the elements.
Having these tools and materials on hand will ensure a smooth and safe installation process while maximizing the antenna’s performance.
10 Methods How to Install Outdoor Tv Antenna
1. Selecting the Right Outdoor TV Antenna
Choosing the right antenna is crucial for achieving optimal reception. Outdoor antennas come in different types, such as directional and multi-directional. A directional antenna is best for receiving signals from a single broadcast tower, while a multi-directional antenna is ideal if signals come from various locations.
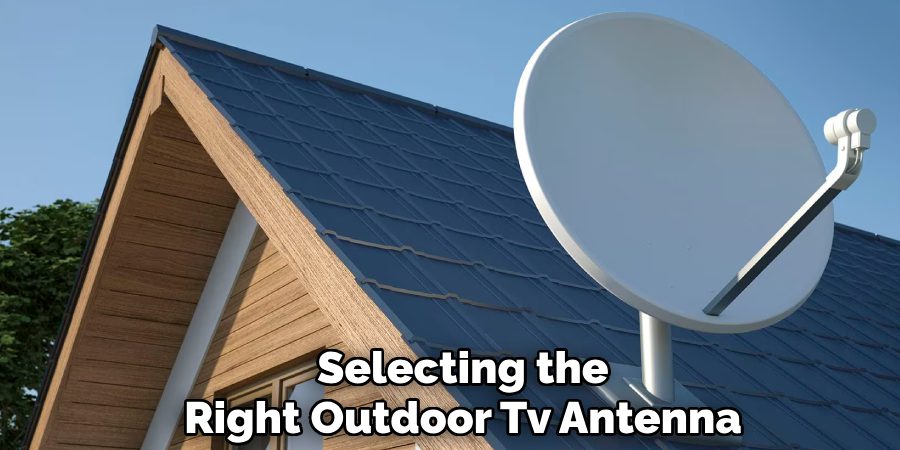
Check the distance between your home and the nearest broadcast towers using online tools like the FCC’s reception maps. Also, consider whether you need a UHF (Ultra High Frequency), VHF (Very High Frequency), or combination antenna, depending on the channels you want to receive. Selecting the right antenna ensures maximum signal strength and reliability.
2. Identifying the Best Mounting Location
The placement of the antenna plays a significant role in reception quality. Ideally, the antenna should be installed as high as possible, such as on a rooftop, chimney, or tall pole, to minimize obstructions like buildings, trees, and hills. If you live in an area with a clear line of sight to the broadcast towers, mounting the antenna on an exterior wall or attic may suffice.
Use a signal strength meter or a smartphone app to test reception at different locations before finalizing the mounting position. Proper placement ensures you receive the strongest possible signal for uninterrupted viewing.
3. Gathering the Necessary Tools and Materials
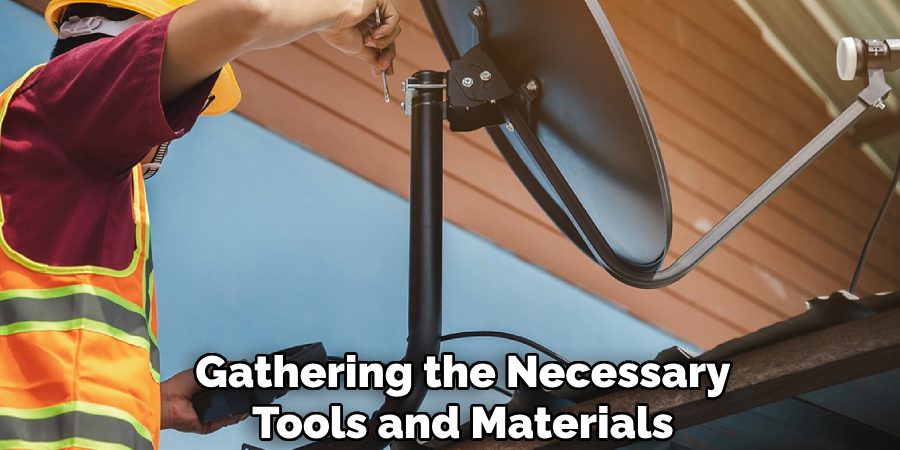
A smooth installation requires the right tools and materials. Essential tools include a drill, screwdriver, adjustable wrench, coaxial cable, grounding wire, mast or mounting pole, brackets, and weatherproof connectors.
If installing the antenna on a rooftop, a sturdy ladder and safety harness are also necessary. Additionally, ensure you have a signal amplifier or preamplifier if you are located far from broadcast towers. Having the right tools on hand will prevent interruptions and make the installation process more efficient.
4. Assembling the Antenna
Before mounting the antenna, it must be assembled according to the manufacturer’s instructions. Most outdoor antennas come with multiple elements that need to be unfolded or attached. Secure all bolts and connections to prevent parts from loosening over time due to wind or vibration. If the antenna includes a built-in amplifier, ensure it is properly connected before proceeding. Taking time to assemble the antenna correctly ensures it will function properly and withstand outdoor conditions.
5. Installing the Mounting Bracket and Mast
The mounting bracket and mast provide the structural support needed to keep the antenna in place. Use a stud finder to locate secure anchor points on the roof, wall, or chimney. Drill pilot holes and attach the mounting bracket using lag screws or bolts to ensure a firm hold. Insert the mast into the bracket and tighten it with U-bolts or clamps. If mounting on a pole, ensure it is secured with guy wires to prevent movement during strong winds. A properly installed mast provides stability and longevity to the antenna setup.
6. Positioning and Securing the Antenna
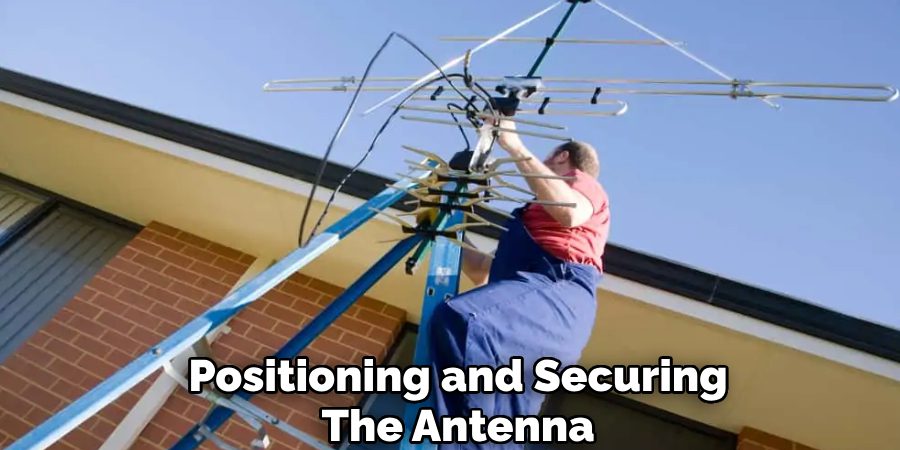
Once the mast is in place, attach the antenna to it using the provided mounting hardware. Adjust the antenna’s direction based on the location of broadcast towers, as indicated by your reception map or signal strength meter. If using a directional antenna, fine-tune the angle to maximize signal reception.
Secure all bolts tightly to prevent shifting due to wind or vibrations. Some antennas come with a rotating mechanism, allowing you to adjust direction remotely. Ensuring the antenna is properly positioned enhances signal clarity and reduces interference.
7. Running and Securing the Coaxial Cable
The coaxial cable transmits the signal from the antenna to your TV. Use high-quality RG6 or RG11 coaxial cable for minimal signal loss. Run the cable along the mast, securing it with zip ties or cable clips to prevent it from flapping in the wind. Route the cable through the shortest and most protected path to minimize exposure to weather elements. If drilling holes through walls, seal any openings with silicone caulk to prevent water intrusion. Proper cable management prevents damage and signal degradation over time.
8. Grounding the Antenna for Safety
Grounding is a crucial step in protecting your home from electrical surges caused by lightning strikes. Install a grounding block near where the coaxial cable enters your home, connecting it to a dedicated grounding rod using a thick copper grounding wire. The antenna mast should also be grounded separately to a grounding rod using a grounding clamp.
Follow local electrical codes to ensure proper grounding, which reduces the risk of fire or equipment damage. A well-grounded antenna system provides safety and compliance with regulations.
9. Connecting the Antenna to the TV and Testing Signal Strength
After the antenna and cables are securely installed, connect the coaxial cable to your TV or digital converter box. If the signal is weak, consider adding a signal amplifier or distribution amplifier, especially if using a long cable or multiple TVs. Perform a channel scan on your TV by accessing the settings menu and selecting “Antenna” or “Over-the-Air” channels. If the reception is poor, fine-tune the antenna’s position and re-scan for channels. Testing and adjusting ensure you get the best reception with minimal interference.
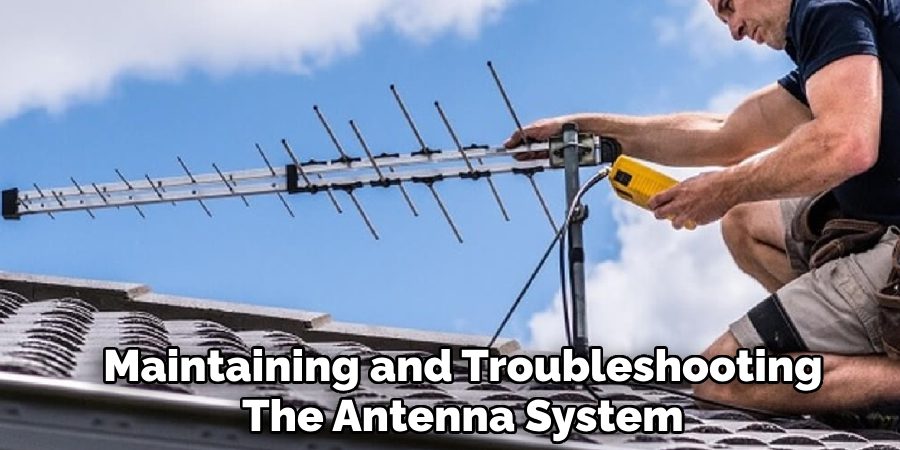
10. Maintaining and Troubleshooting the Antenna System
Regular maintenance is necessary to keep your outdoor TV antenna functioning optimally. Inspect the antenna and cables periodically for damage caused by weather, birds, or debris. Tighten any loose bolts and replace worn-out cables or connectors as needed. If reception quality deteriorates over time, check for new obstructions, such as growing trees or new buildings.
In snowy or stormy conditions, remove accumulated debris or ice from the antenna to prevent interference. Proper maintenance prolongs the lifespan of the antenna and ensures consistent high-quality signal reception.
Maintenance and Upkeep
Proper maintenance and upkeep of your outdoor TV antenna not only prolongs its life but also ensures consistent performance. Regularly check the antenna, mast, and mounting hardware for signs of rust, corrosion, or structural wear that may compromise stability.
Clean any accumulated dirt or debris from the antenna elements to maintain optimal signal reception. Inspect cables and connectors for wear or damage, replacing any components that show signs of fraying or weathering. It’s also important to test the grounding connections periodically, ensuring they remain secure and compliant with safety standards.
Schedule seasonal inspections and address any issues promptly to prevent larger problems in the future. Taking these steps will help you avoid interruptions in service and keep your antenna performing at its best for years to come.
Conclusion
Installing an outdoor TV antenna is a cost-effective way to access high-quality, free over-the-air broadcasts. By carefully planning each step—from selecting the right antenna to grounding the system for safety—you can ensure a reliable and long-lasting setup. Taking the time to properly position and maintain your antenna not only maximizes signal reception but also protects your equipment from potential damage.
Thanks for reading, and we hope this has given you some inspiration on how to install outdoor tv antenna!
Professional Focus:
Arden Bernier is dedicated to exploring and advancing patio design and maintenance, combining practical knowledge with innovative solutions. Specializing in outdoor living spaces, he provides expert advice on patio fixes, landscaping, and sustainable outdoor design. With a focus on creating functional, aesthetic, and durable outdoor environments, Arden empowers homeowners to transform their patios into beautiful and relaxing retreats.
Vision:
To inspire and assist homeowners in creating functional, aesthetically pleasing outdoor spaces. Arden encourages creativity and practical problem-solving in patio design, making outdoor living more accessible and enjoyable for everyone.
Education:
- Bachelor of Arts (BA) in Environmental Design – University of California, Berkeley.
- Master of Science (MS) in Landscape Architecture – University of Southern California.
- Specialized training in sustainable landscape design, outdoor space planning, and eco-friendly materials.
Recognition:
- Author at PatioFixes.com, providing expert advice on patio maintenance and design.
- Featured in online platforms and home improvement blogs for valuable tips on patio fixes and outdoor living.
- Recognized for his contributions to making outdoor spaces more eco-friendly and sustainable.
Expertise:
Patio expert with a focus on creating functional, beautiful, and durable outdoor living spaces. Specialization includes:
- Patio design and construction
- Outdoor furniture and décor
- Landscaping and sustainable patio solutions
- Outdoor maintenance and repair techniques
