Are you tired of your plain, boring concrete patio? Do you want to add some color and personality to your outdoor space?
Painting a concrete patio is an excellent way to refresh your outdoor space and give it a clean, polished look. A proper paint job can make a massive difference if you aim to add a pop of color, modernize the aesthetic, or protect the surface from wear and tear. The process may seem daunting initially, but with the proper preparation, tools, and techniques, painting a concrete patio can be a manageable and rewarding DIY project.

This guide on how to paint a concrete patio will walk you through the essential steps to transform your patio into a stunning home feature. Let’s get started!
What Are the Benefits of Painting a Concrete Patio?
There are numerous benefits to painting a concrete patio, including:
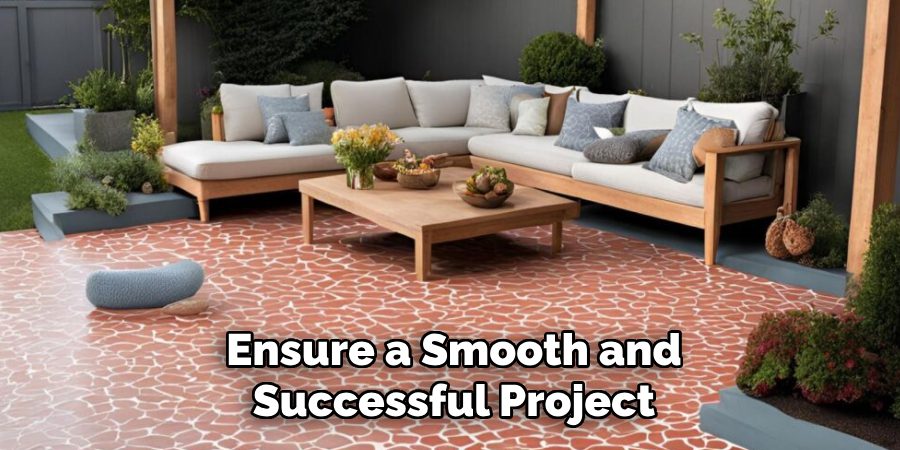
- Improved Aesthetic: A fresh coat of paint can instantly transform the look of your patio, making it more inviting and visually appealing. You can choose any color or design that suits your style and complements your outdoor space.
- Increased Durability: Painting your concrete patio can help protect it from harsh weather elements like rain, snow, and UV rays. It also adds an extra layer of protection against stains, scratches, and cracks caused by heavy foot traffic or furniture.
- Cost-effective: Painting is a more budget-friendly option compared to other patio makeover options such as replacing the concrete or installing new flooring. You can achieve a significant improvement in the appearance of your patio without breaking the bank.
- Easy Maintenance: Painted concrete patios are relatively easy to maintain, requiring only occasional touch-ups and cleaning with soap and water. Plus, the paint is a barrier against dirt and debris, making it easier to keep your patio clean and tidy.
These are just a few benefits of painting a concrete patio, making it an attractive and practical choice for homeowners looking to upgrade their outdoor space.
What Materials Do You Need?
Before you start the painting process, gather all the necessary materials and tools to ensure a smooth and successful project. Here’s what you’ll need:

- Concrete paint: Choose a high-quality acrylic or latex-based concrete paint specifically formulated for outdoor use. These paints are durable, water-resistant, and can withstand temperature changes without cracking or peeling. Also, make sure to select a color that complements your home’s exterior and your style.
- Primer: A primer helps to bond the paint to the surface and provides a smooth, even base for optimal adhesion. It is crucial if your concrete patio has never been painted or has any stains or uneven patches.
- Cleaning supplies: Before painting, it’s crucial to clean your patio thoroughly to remove any dirt, grime, or previous coatings that may affect the paint’s adhesion. For this step, you can use a pressure washer, scrub brush, and mild detergent.
- Paintbrushes and rollers: Depending on the size of your patio and your preferred painting technique, you will need both brushes and rollers for complete coverage. Paintbrushes are ideal for smaller areas, edges, and corners, while rollers are more efficient for larger surfaces.
- Protective gear: Since you’ll be working with chemicals and paint, you must protect yourself by wearing gloves, safety glasses, and a mask. Also, work in a well-ventilated area to avoid inhaling fumes.
- Drop cloths or plastic sheets: These will come in handy to protect any surrounding plants or furniture from accidental spills or splatters.
8 Easy Steps on How to Paint a Concrete Patio
Step 1: Clean the Surface
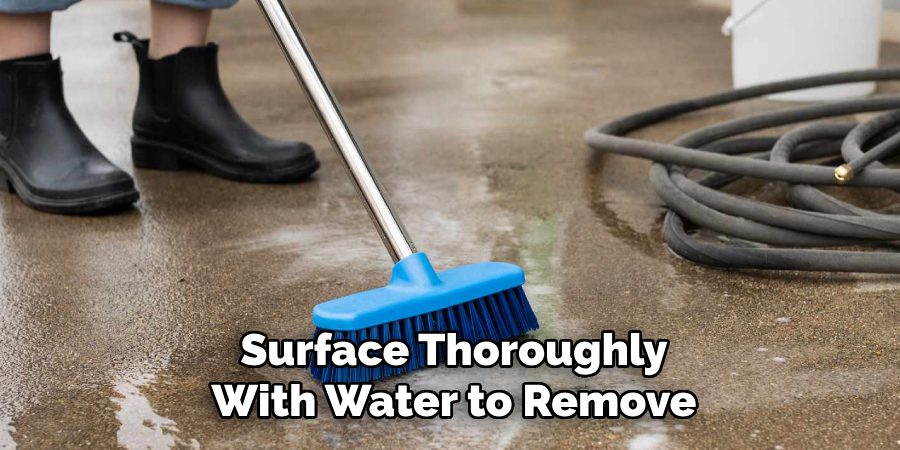
Thoroughly cleaning the patio surface is the most crucial step before applying paint. Using a broom or leaf blower, remove debris, such as leaves, dirt, or dust. Next, wash the surface with a pressure washer to remove stubborn dirt, mold, or mildew that may have accumulated over time. Use a mild detergent or a concrete cleaner specifically designed for patios, scrubbing with a stiff brush to ensure a deep clean, especially in cracks or textured areas.

Pay extra attention to spots with stains or grease, as these can prevent the paint from bonding properly. Once the cleaning is complete, rinse the surface thoroughly with water to remove any remaining soap or cleaner. Allow the patio to dry completely, as painting on a damp surface can lead to peeling or bubbling of the paint. By dedicating time to this step, you set the foundation for a smooth and long-lasting finish.
Step 2. Repairing Cracks and Surface Imperfections
Before painting, inspect the patio surface for cracks, chips, or other imperfections that might affect the final result. Use a concrete filler or patching compound to repair any visible damage. For larger cracks, apply the filler with a putty knife, pressing it firmly into the crevice, and smooth out the surface to ensure it is level with the surrounding area.
Allow the filler to cure according to the manufacturer’s instructions, which may take several hours or overnight. Sand down rough or uneven patches once the filler has thoroughly dried to create a seamless surface. Taking the time to address these imperfections will help the paint adhere evenly and provide a polished, professional finish.
Step 3. Cleaning and Priming the Surface
Once the surface has been repaired and smoothed, it is essential to thoroughly clean the patio to remove any dust, debris, or grease that could interfere with the adhesion of the paint. Use a broom or vacuum to remove loose particles, and then wash the surface with a mild detergent and water. Consider using a pressure washer to ensure deep cleaning, especially if the patio has accumulated dirt or stains over time. After cleaning, allow the surface to dry completely before applying a primer.
Step 4. Applying the Paint
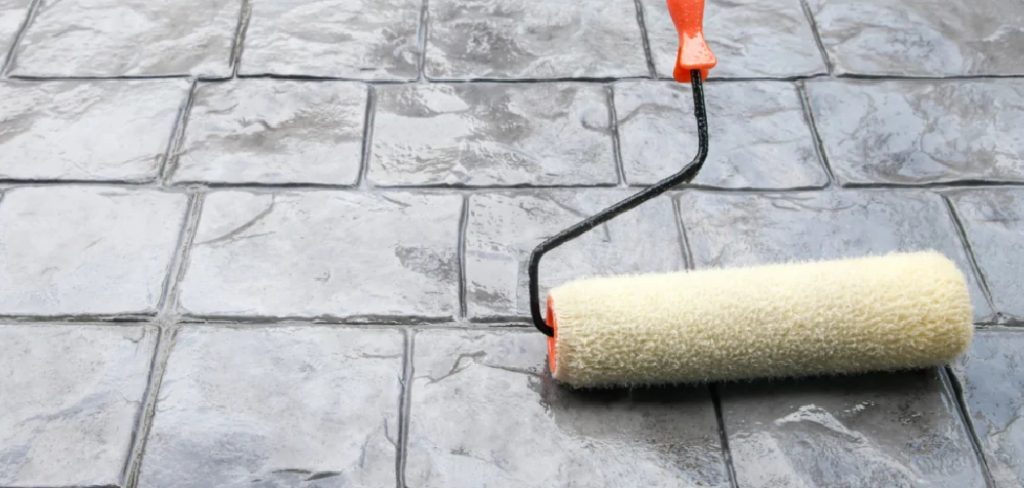
You can now start applying the paint with the surface clean, dry, and primed. Choose a high-quality concrete or masonry paint designed for outdoor use to ensure durability and resistance to weather conditions. Begin by cutting in around the edges of the patio with a brush, creating a neat border.
Then, a roller is used to cover the larger areas, working in small sections to maintain an even application. Apply the paint in thin, consistent layers, allowing sufficient drying time between coats as recommended on the paint can label. Typically, two coats are ideal for achieving a smooth, long-lasting finish.
Step 5. Sealing the Painted Surface
Once the paint has thoroughly dried, applying a sealant to protect the finish and extend the lifespan of your newly painted patio is essential. Choose a clear, weather-resistant concrete sealer suitable for outdoor use. Apply the sealer evenly across the surface using a clean roller or brush.

Work methodically to ensure no areas are missed, as the sealant will provide a crucial barrier against moisture, UV rays, and general wear and tear. Allow the adhesive to dry completely per the manufacturer’s instructions before using the patio. This final step ensures a polished, durable finish that will keep your patio looking fresh and vibrant for years to come.
Step 6. Maintaining Your Painted Patio
Proper maintenance is key to preserving the appearance and integrity of your painted patio. Regularly sweep the surface to remove dirt, leaves, and debris that could cause abrasion or discoloration. Periodically clean the patio using a mild detergent mixed with water and a soft-bristle brush to scrub away stains and grime.
Avoid harsh chemicals or abrasive cleaning tools, as these can damage the sealant and paint. Additionally, inspect the surface periodically for signs of wear or chipping. If you notice any damage, touch it up promptly with matching paint and reapply the sealant to the affected area.
Step 7. Keep an Eye on the Weather
Extreme weather conditions can significantly impact the longevity and appearance of your painted concrete patio. Heavy rainfall, freezing temperatures, or prolonged exposure to intense sunlight can contribute to wear and tear over time. During heavy storms, ensure that your patio is adequately drained to prevent water pooling, which can weaken the paint and lead to cracks or peeling.
For colder climates, be mindful of frost and ice, as freeze-thaw cycles can cause tiny fractures in the concrete to expand. Use ice-melt products sparingly and avoid those containing harsh chemicals that might degrade the paint or sealant. Similarly, in areas with hot, direct sunlight, consider adding shade structures like umbrellas or canopies to protect the surface from prolonged UV exposure, which can cause fading and discoloration.
Step 8. Consider Your Color Scheme
Choosing the right color for your patio is a personal decision that depends on your taste and style preferences. However, consider selecting a color that complements your outdoor space and blends well with any existing furniture or plants. Lighter colors reflect heat better in warmer climates, while darker shades may absorb more heat and suit colder regions.

By following these steps and tips, you can transform your plain concrete patio into a vibrant, inviting space that adds value and enjoyment to your home.
Conclusion
How to paint a concrete patio is a rewarding project that can breathe new life into your outdoor areas.
By properly preparing the surface, selecting the right materials, and taking the time to apply paint carefully, you ensure a durable and aesthetically pleasing result. The outcome not only enhances the appearance of your patio but also increases its functionality and value.
With attention to detail and adherence to the steps provided, your painted concrete patio will become a centerpiece of enjoyment and style, perfect for relaxation or entertaining guests.

Professional Focus
Oliver Wood, a passionate patio designer, specializes in creating comfortable and inviting outdoor spaces that enhance relaxation and entertainment. His work combines a deep understanding of design with a love for nature, making him a standout professional in the field of outdoor living spaces. Through his thoughtful approach, he transforms everyday patios into extraordinary retreats for family and friends.
About the Author
Oliver Wood, a skilled patio designer, shares his expertise on outdoor living through his designs and insights. With a background in patio design and a genuine passion for creating beautiful spaces, he encourages others to invest in their outdoor environments, enhancing their homes with functional and inviting spaces for relaxation and entertainment.
Education History
University: Virginia Union University
Oliver’s education equipped him with the knowledge and skills to design patios that merge aesthetics with comfort, transforming outdoor areas into beautiful extensions of the home.
Expertise:
- Patio Design and Outdoor Living Spaces
- Functional and Aesthetic Landscaping
- Comfortable and Inviting Outdoor Environments
- Design Philosophy for Family-Oriented Spaces
- Creating Spaces for Relaxation and Entertainment
