Over time, a painted cement patio can lose its charm as the paint begins to chip, peel, or discolor due to weather exposure and regular use. These imperfections often detract from the patio’s overall appearance, making it look worn and neglected.
You might want to remove paint from a cement patio for many reasons—whether you’re preparing the surface for a fresh coat of paint, cleaning up after accidental spills, or simply restoring the patio to its natural, original state. Removing paint from cement can be challenging, but it’s entirely achievable with the right tools, methods, and preparation.

This comprehensive guide will walk you through step-by-step instructions on how to remove paint from cement patio surfaces effectively, ensuring a clean and even result. Following this guide can enhance your patio’s appearance and create a durable base for any future finishes.
Assessing the Type of Paint on the Cement
Identifying the Paint Type
Before beginning the paint removal process, it’s essential to determine the type of paint used on the cement patio, as this will dictate the most effective removal method. Paints are generally classified as oil-based or latex-based, each requiring different approaches. Oil-based paints are more durable and resistant to wear, making them harder to remove.
They often require chemical strippers or heat application for effective removal. Latex-based paints, on the other hand, are water-soluble and typically easier to remove with power washing or less aggressive chemical treatments. It’s also important to check if the surface has multiple layers of paint or specialty coatings, such as epoxy or sealants, which may present additional challenges and necessitate more intensive removal methods.
Determining the Paint Condition
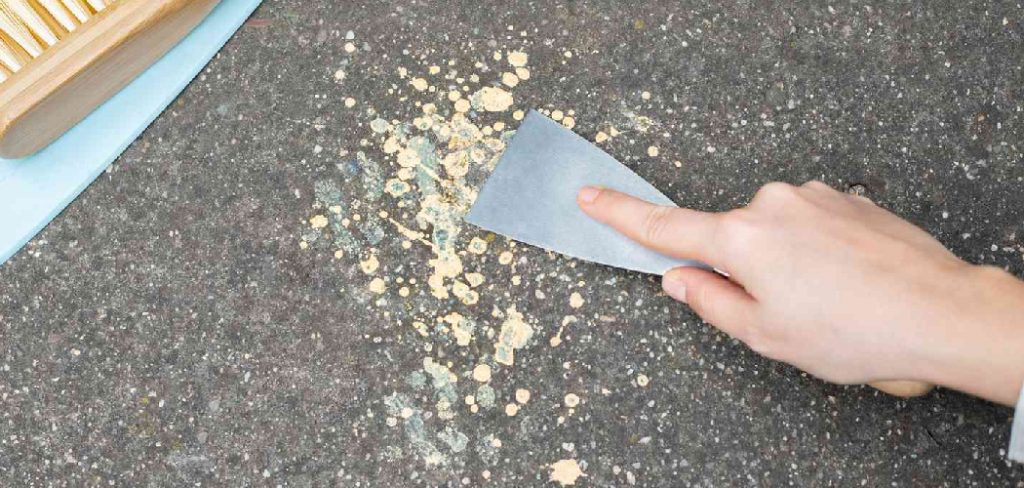
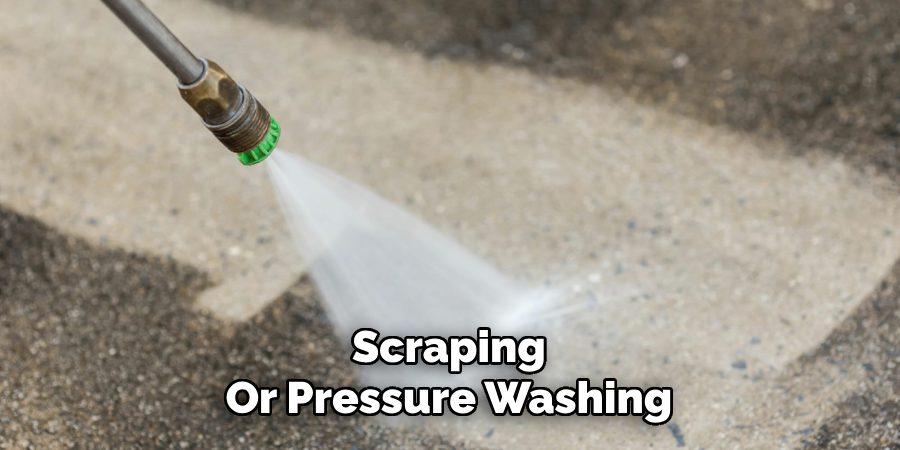
The condition of the paint will greatly influence your choice of removal technique. If the paint is peeling or chipping, mechanical methods like scraping or pressure washing may be sufficient and straightforward. However, if the paint is still intact and firmly adhered to the cement, stronger methods such as chemical paint removers or sandblasting may be required to break through the coating effectively. Properly assessing the paint’s type and condition ensures that you choose the most appropriate and efficient removal strategy.

Gathering Tools and Materials
Before starting the paint removal process, assembling all the necessary tools and materials is essential to ensure efficiency and safety. Proper preparation can save time and minimize potential complications during the task.
Essential Tools
Key tools for this process include a pressure washer, which is particularly useful for removing latex-based paints or loose, flaking layers. A paint scraper and putty knife can effectively remove stubborn paint residues from smaller or hard-to-reach areas. A wire brush can help target intricate spots or tough paint stuck in grooves and crevices.
Chemicals and Solvents
Chemical solutions may come in handy depending on the paint type and its condition. Paint strippers, available in various formulations, are highly effective for breaking down tough coatings. Environmentally friendly options, such as citrus-based removers, provide a less toxic alternative. For those looking for a homemade option, a vinegar solution can also be used on some surfaces to loosen the paint for easier removal.
Protective Gear
Safety is a crucial aspect of working with tools and chemicals. Always wear safety glasses to protect your eyes from debris and gloves to shield your skin from harmful substances. If using chemicals, a respirator mask is strongly recommended to avoid inhaling toxic fumes and ensure a safe working environment.

Preparation for Paint Removal
Before beginning the paint removal process, proper preparation is essential to ensure efficient results and maintain safety. These steps will help create a clean and safe workspace while protecting the patio and its surroundings.
Step 1: Clearing the Patio
Start by removing all furniture, planters, and any debris from the patio. This ensures an unobstructed area to work on and reduces the risk of damaging items during the process. A clean workspace will make the task easier and prevent accidents or contamination.
Step 2: Protecting the Surrounding Area
To safeguard nearby surfaces and plants, use drop cloths or plastic sheeting to cover anything chemicals could damage, paint debris, or splashed material. Pay particular attention to walls, fences, outdoor furniture, and greenery close to the patio. Securing the coverings with tape or weights ensures they stay in place throughout the process.
Step 3: Testing a Small Area
Before applying the chosen paint removal method to the patio, test it on a small, inconspicuous area. This allows you to verify its effectiveness on the cement surface and check for any potential damage. By performing this preliminary test, adjustments to the technique or product can be made as needed, preventing mistakes on a larger scale.
Taking these preparatory steps will establish a solid foundation for removing paint from the patio safely and efficiently.
How to Remove Paint from Cement Patio: Using a Pressure Washer for Paint Removal
Step 1: Adjusting the Pressure Washer Settings
Before beginning, ensure your pressure washer is set to an appropriate PSI between 1500 and 2000 to effectively remove paint without damaging the cement. A fan spray nozzle is recommended, as it provides a wider spray pattern, improving coverage and making the process faster and more efficient. Before moving forward, take time to familiarize yourself with the equipment and ensure all settings are properly configured.

Step 2: Power Washing the Patio
Begin by positioning yourself in one corner of the patio and work systematically across the surface in sections. Hold the nozzle at a 45-degree angle to the cement, which helps maximize paint removal while minimizing potential damage. Apply steady, even pressure, ensuring you don’t linger too long on a single spot to avoid eroding the cement. Repeat the process as needed for stubborn paint spots that don’t come off on the first pass, focusing more directly on those areas.
Step 3: Cleaning Up After Pressure Washing
Once the paint has been removed, rinse the patio thoroughly with clean water to wash away any loosened paint particles or residue. This final rinse helps ensure a clean, debris-free surface. Allow the patio to dry completely before assessing the results. Further steps, such as spot treatments or alternative methods, can be considered if any paint remains. Properly cleaning and drying the area sets the stage for any subsequent repairs or refinishing work.
Final Steps and Maintenance
Inspecting the Patio
After the paint removal process, carefully inspect the patio for any missed spots or remaining paint. Use a scraper or apply additional cleaning to address these areas as needed. A thorough inspection ensures that the removal is complete and prepares the surface for the next steps.
Sealing the Cement
Once the patio is entirely clean and dry, consider sealing the cement to protect it from future staining and weathering. A quality concrete sealant creates a protective layer that shields the surface from moisture, dirt, and potential spills. Apply the sealant evenly across the patio, following the product instructions for the best results.
Maintaining the Patio
To preserve the condition of the patio, adopt a regular maintenance routine. Periodically wash the cement to prevent dirt buildup, and promptly clean any spills to avoid staining. These preventative measures will keep the patio looking clean and well-maintained over time.

Conclusion
Removing paint from a cement patio requires careful preparation, selecting the appropriate removal method, and thorough cleanup. Ensuring the right technique for the type and condition of the paint is crucial to protect the patio surface and achieve optimal results.
Whether you use chemical strippers, power washing, or manual scraping, following the correct steps is key to success. Regular maintenance will enhance the patio’s appearance and prolong its lifespan. By understanding how to remove paint from cement patio surfaces and maintain them, you can enjoy a clean, well-preserved outdoor space for years.

Professional Focus
Oliver Wood, a passionate patio designer, specializes in creating comfortable and inviting outdoor spaces that enhance relaxation and entertainment. His work combines a deep understanding of design with a love for nature, making him a standout professional in the field of outdoor living spaces. Through his thoughtful approach, he transforms everyday patios into extraordinary retreats for family and friends.
About the Author
Oliver Wood, a skilled patio designer, shares his expertise on outdoor living through his designs and insights. With a background in patio design and a genuine passion for creating beautiful spaces, he encourages others to invest in their outdoor environments, enhancing their homes with functional and inviting spaces for relaxation and entertainment.
Education History
University: Virginia Union University
Oliver’s education equipped him with the knowledge and skills to design patios that merge aesthetics with comfort, transforming outdoor areas into beautiful extensions of the home.
Expertise:
- Patio Design and Outdoor Living Spaces
- Functional and Aesthetic Landscaping
- Comfortable and Inviting Outdoor Environments
- Design Philosophy for Family-Oriented Spaces
- Creating Spaces for Relaxation and Entertainment
