Removing a patio door from its track can seem like a daunting task, but with the right tools and proper steps, it can be accomplished safely and efficiently. Whether you’re replacing the door, performing maintenance, or making adjustments, understanding the process is key to avoiding damage and ensuring a smooth reinstallation.
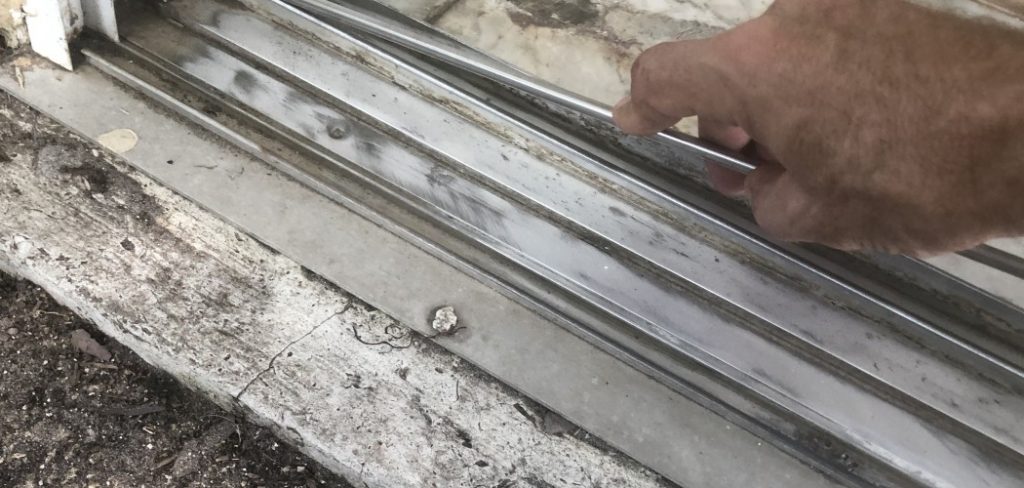
This guide on how to remove patio door from track will walk you through the necessary steps to remove your patio door from its track successfully.
Why Remove a Patio Door from Track?
There are several reasons why you may need to remove your patio door from its track. Some of the most common reasons include:
Replacing the Door
If your patio door is old, damaged, or has become outdated, removing it from its track is necessary before installing a new one. This will require removing all the components of the old door, including the frame, hardware, and glass.
Performing Maintenance
Over time, patio doors can become stiff or misaligned due to wear and tear. Removing the door from its track allows for easier access to perform maintenance tasks such as cleaning, lubricating hinges and rollers, or adjusting the track.
Making Adjustments
If your patio door is not operating smoothly or is letting in drafts, it may need some adjustments. Removing it from its track gives you better access to assess the issue and make necessary adjustments.
Tools Required
Before starting the process of removing your patio door from its track, gather all the necessary tools to ensure a smooth and efficient process. These tools include:
Screwdriver
You will need a screwdriver to remove any screws and hardware holding the door in place.
Pry Bar
A pry bar will come in handy for prying the door frame from the track.
Duct Tape
To avoid damaging the door or floor, use duct tape to secure any glass panes within the door.
8 Step-by-step Guidelines on How to Remove Patio Door From Track
Step 1: Prepare the Work Area
Before starting the removal process, it is essential to prepare the work area to ensure safety and prevent any damage. Begin by clearing the space around the patio door to provide ample room for maneuvering the door once it is removed. Remove any furniture, decor, or obstructions near the door. Place a drop cloth or protective covering on the floor to safeguard it from scratches or debris. If the patio door has glass components, consider using duct tape in a crisscross pattern over the glass to reduce the risk of shattering.
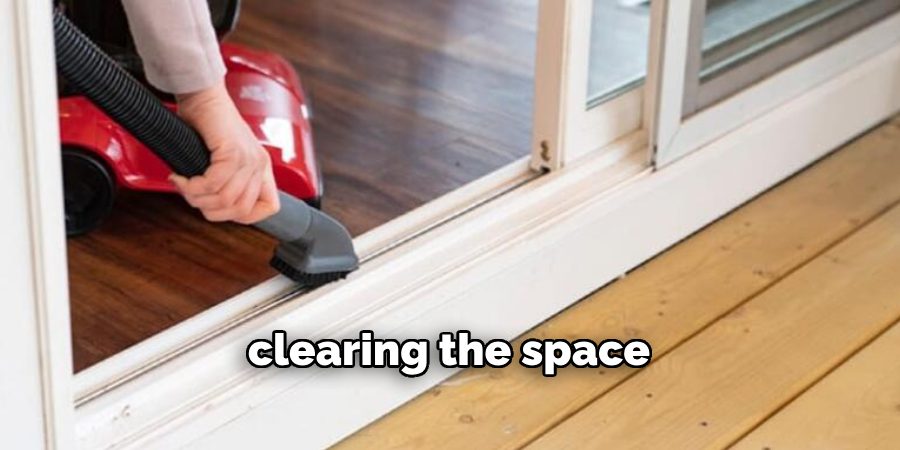
Ensure you have all the necessary tools on hand to streamline the process and reduce interruptions. Additionally, inform anyone in the household about the project to avoid accidental disruptions.
Step 2: Locate the Screws
Once your work area is prepared, the next step is to locate the screws that secure the patio door to the track. These screws are typically found along the edges of the door or within the frame itself. Inspect the top and bottom tracks, as well as the sides of the frame, to identify their positions.
If your patio door has a sliding panel, the screws may also hold the rollers in place, so make sure to check these areas as well. Use a flashlight if needed to ensure better visibility. Properly identifying these screws is crucial, as they will need to be removed or loosened to release the door from the track.
Step 3: Begin Removing the Screws
With the screws located, you can now begin the process of removing them. Using the appropriate screwdriver, carefully unscrew each screw securing the patio door to the track. Start at the top track and work your way down to the bottom track to maintain stability throughout the process. Be sure to keep a firm grip on the door as you remove the screws to prevent it from shifting unexpectedly.
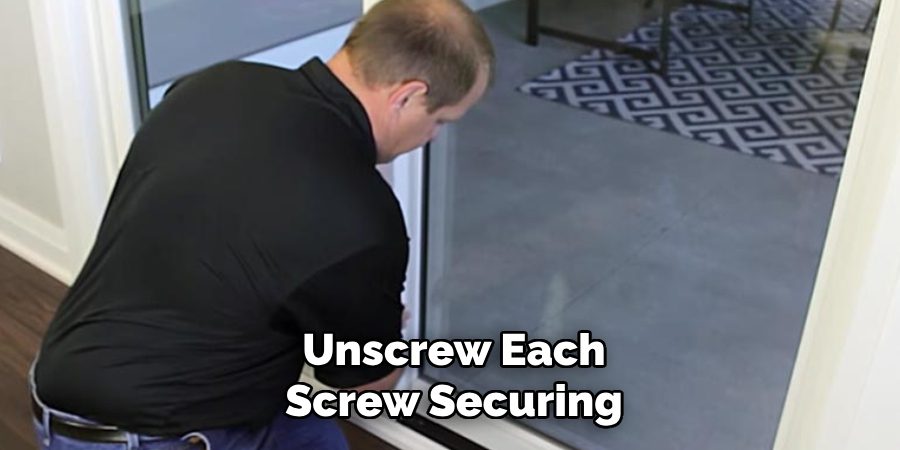
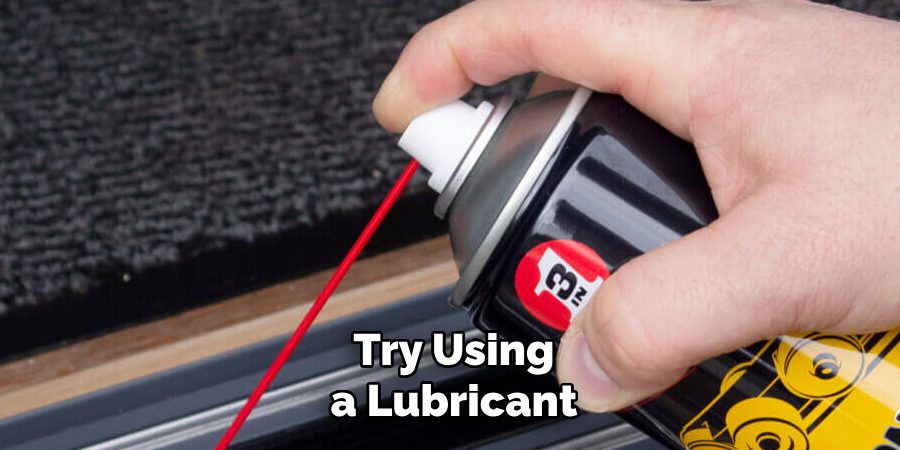
Place the removed screws in a container or a designated area to avoid losing them. If the screws are corroded or difficult to turn, consider applying a small amount of lubricant to loosen them before proceeding. Take your time to ensure no screws are missed, as they are critical for freeing the door from its frame.
Step 4: Remove the Exterior Trim
After removing the screws, the next step is to carefully remove the exterior trim surrounding the patio door. This trim helps secure the door and prevents it from slipping off the track. Using a pry bar, gently insert it between the trim and the frame, applying consistent and even pressure to avoid damaging the trim or frame. Work your way around the edges, starting from one corner and progressing to the other sides.
If the trim is painted or sealed, use caution to prevent chipping or cracking the surface. Removing the trim not only ensures the door can be freely moved but also exposes any remaining hardware or components that may need to be detached before fully removing the patio door. Place the trim pieces in a safe location to protect them from damage or loss, as they will need to be reinstalled after completing the project.
Step 5: Detach Any Remaining Hardware
With the exterior trim removed, you may notice additional hardware or components that need to be detached before removing the door. These could include weatherstripping, brackets, or any other attachments securing the door in place.
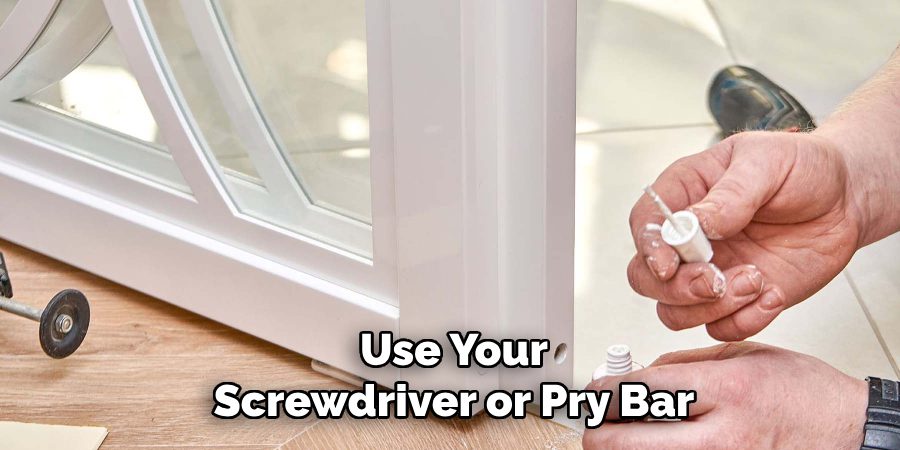
Use your screwdriver or pry bar as needed to remove them carefully, taking note of their position and orientation. Place these items with the screws and trim for later reinstallation.
Step 6: Lift and Remove the Door from the Track
At this stage, all screws and hardware should have been removed, allowing you to lift and remove the patio door from its track fully. With a firm grip on the door, slowly and evenly lift it up and out of the track. For larger or heavier doors, you may need assistance to prevent injury or damage.
Once the door is removed, place it in a secure location away from the work area to avoid any accidental damage. Take note of any glass components and handle them with care during this step.
Step 7: Clean and Inspect the Track
With the patio door successfully removed, take this opportunity to thoroughly clean and inspect the track. Use a vacuum or damp cloth to remove any debris, dust, or dirt that may have accumulated over time. Ensure there are no obstructions or damaged areas within the track that could affect the smooth operation of your new door.
If there are any damaged or worn areas, consider repairing or replacing them before installing the new patio door. This step will ensure a smooth and secure fit for the new door and help prolong its lifespan.
Step 8: Reinstall the New Patio Door
Now that your old patio door has been removed, you can proceed with installing the new one. Carefully follow the manufacturer’s instructions to ensure proper installation and alignment of the door within the track. Take your time during this step to avoid errors or damage to your new patio door.
Once installed, replace any exterior trim, hardware, or components that were removed earlier and secure them in place using screws or other appropriate methods on how to remove patio door from track. Test the door by opening and closing it to confirm smooth operation within the track.
Frequently Asked Questions
Q: Do I Need Any Special Tools to Remove a Patio Door From Its Track?
A: While not necessary, it may be helpful to have a pry bar, screwdriver, and lubricant on hand for easier removal of screws and other hardware.
Q: Can I Remove a Patio Door From Its Track By Myself?
A: It is recommended to have at least one other person assist with removing the door, especially for larger or heavier doors. This will help prevent injury or damage during the removal process.
Q: How Often Should I Clean and Inspect My Patio Door’s Track?
A: It is recommended to clean and inspect your patio door’s track at least once a year or more often if it is exposed to harsh weather conditions. This will help maintain its functionality and prolong its lifespan.
Q: What Should I Do If My Patio Door Is Stuck or Difficult to Remove?
A: First, check that all screws and hardware have been removed. If the door still does not budge, try using a lubricant to loosen any stuck components. If the problem persists, it is best to seek professional assistance to avoid causing further damage.
Conclusion
In conclusion, removing a patio door may seem like a daunting task at first, but with the right tools and steps, you can easily find an expert level on how to remove patio door from track. Remember to prepare your work area, locate and remove the screws, detach any remaining hardware, and carefully lift and remove the door from the track.
Take your time during each step and double-check for any missed screws or components before proceeding with the installation of your new patio door. By following these steps, you can successfully remove a patio door from its track and make way for a new one in no time. Happy renovating!

Professional Focus
Oliver Wood, a passionate patio designer, specializes in creating comfortable and inviting outdoor spaces that enhance relaxation and entertainment. His work combines a deep understanding of design with a love for nature, making him a standout professional in the field of outdoor living spaces. Through his thoughtful approach, he transforms everyday patios into extraordinary retreats for family and friends.
About the Author
Oliver Wood, a skilled patio designer, shares his expertise on outdoor living through his designs and insights. With a background in patio design and a genuine passion for creating beautiful spaces, he encourages others to invest in their outdoor environments, enhancing their homes with functional and inviting spaces for relaxation and entertainment.
Education History
University: Virginia Union University
Oliver’s education equipped him with the knowledge and skills to design patios that merge aesthetics with comfort, transforming outdoor areas into beautiful extensions of the home.
Expertise:
- Patio Design and Outdoor Living Spaces
- Functional and Aesthetic Landscaping
- Comfortable and Inviting Outdoor Environments
- Design Philosophy for Family-Oriented Spaces
- Creating Spaces for Relaxation and Entertainment
