Are you looking for a way to repair your flagstone patio? Flagstone patios are popular for outdoor living spaces due to their durability and natural beauty. However, over time, they can become cracked, chipped, or loose due to weathering and heavy foot traffic.
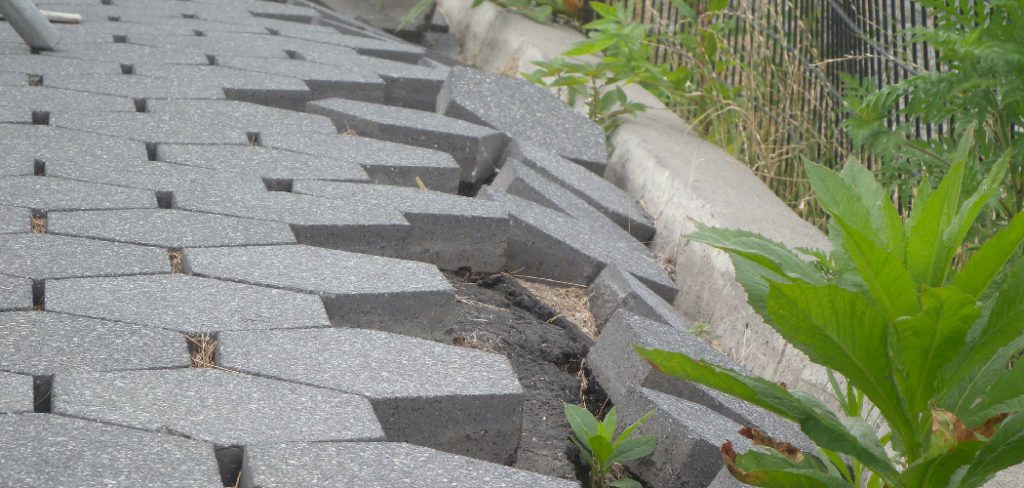
How to repair flagstone patio may seem like a daunting task, but with the right tools and guidance, it can be a straightforward process. Whether you’re dealing with loose stones, cracks, or uneven surfaces, timely repairs will restore the patio’s appearance and prevent further damage. By maintaining and fixing your flagstone patio, you can extend its lifespan and ensure it remains a safe and visually appealing feature of your outdoor space.
This guide will walk you through the necessary steps and tips to repair your flagstone patio efficiently.
What Are the Causes of Flagstone Patio Damage?
Before we dive into the repair process, it’s essential to understand the common causes of flagstone patio damage. Identifying and addressing these issues can prevent future damage and prolong your patio’s life span.
- Natural Wear and Tear: As with any outdoor surface, exposure to natural elements such as sun, rain, snow, and extreme temperatures can take a toll on your flagstone patio. Over time, this constant exposure can cause stones to crack or chip.
- Heavy Foot Traffic: Flagstone patios are meant to be enjoyed and used regularly for outdoor gatherings and activities. However, excessive foot traffic can pressure the stones, causing them to shift or become loose.
- Poor Installation: If the patio is not installed correctly, it can lead to uneven surfaces, gaps between stones, and shifting stones. These problems can create tripping hazards and affect the overall appearance of your patio.
- Tree Root Growth: Trees and plants near or under your flagstone patio can also cause damage by growing their roots underneath and pushing up against the stones.
What Will You Need?
To repair your flagstone patio, you’ll need the following tools and materials:
- Safety Gear: It’s essential to wear protective gear such as gloves, safety glasses, and a dust mask when working on any home improvement project.
- Pry Bar: A pry bar will come in handy for lifting loose stones or removing damaged ones.
- Hammer: You’ll need a hammer to break up damaged stones or loosen them from their place.
- Chisel: A chisel helps cut out small sections of damaged stone or shape new rocks to fit into gaps.
- Masonry Saw: If you have large areas needing repair, a masonry saw can help you cut through the stones precisely.
- Grout/Mortar: Depending on your patio’s design and the type of damage, you may need either grout or mortar to fill in gaps between stones or hold them in place.
- Crushed Stone: This can be used as a base for new stones or to level uneven surfaces before filling in with grout or mortar.
8 Easy Steps on How to Repair Flagstone Patio
Step 1. Assess the Damage:
Begin by thoroughly examining the entire patio to identify the extent of the damage. Look for loose, cracked, or missing stones and any gaps where mortar or grout has deteriorated. Check for uneven surfaces that could pose safety hazards or areas where water may pool, which can cause further damage over time.
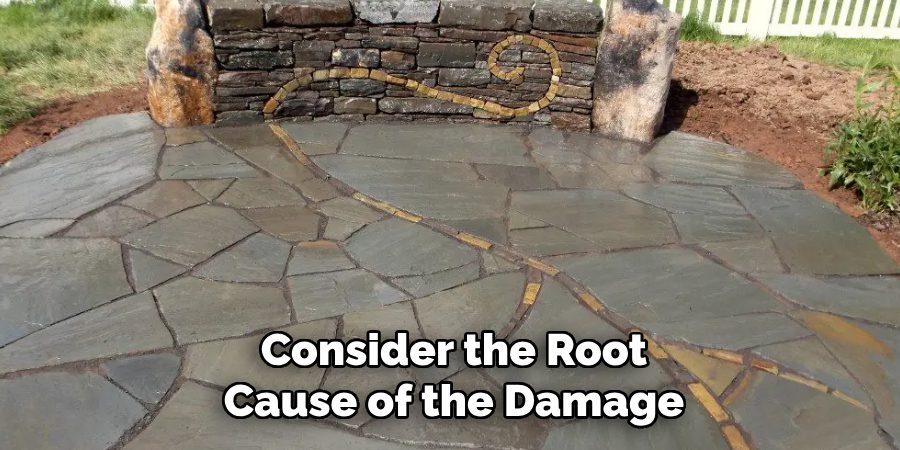
Take note of all the problematic spots so you can plan your repair process effectively. It’s also a good idea to consider the root cause of the damage, such as improper drainage, shifting soil, or heavy foot traffic, to ensure that future issues can be minimized after repairs are made. Documenting the damage with photos can also help as you move through the repair process.
Step 2. Gather the Necessary Tools and Materials:
Once you’ve assessed the damage and identified the areas needing repair, prepare all the tools and materials required for the job. Standard tools include a chisel, hammer, trowel, and a stiff-bristled brush. Materials might consist of replacement flagstones, mortar or grout, crushed stone, and a sealant for finishing. Preparation of everything will help you work efficiently and avoid interruptions during the repair process. Ensure that the tools are in good condition and suitable for the tasks, making the process smoother and more effective.
Step 3. Remove the Damaged Pieces:
Begin the repair process by carefully removing the damaged flagstones or pavers. Use a chisel and hammer to break the damaged pieces into smaller sections for easier removal.
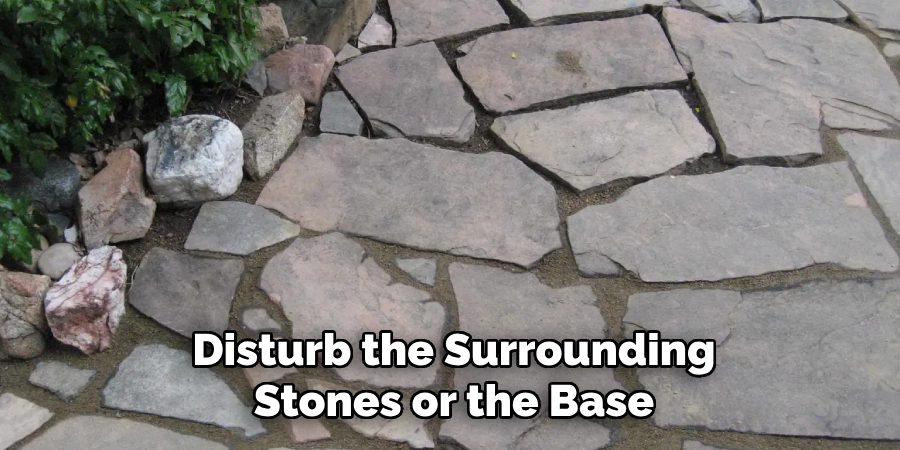
Take care not to disturb the surrounding stones or the base layer underneath. Once the broken pieces are cleared, use a stiff-bristled brush to remove debris, dirt, or old mortar from the vacant area. Ensuring the area is clean, and level will create a solid foundation for the replacement stones and result in a more durable repair.
Step 4. Prepare the Base Layer:
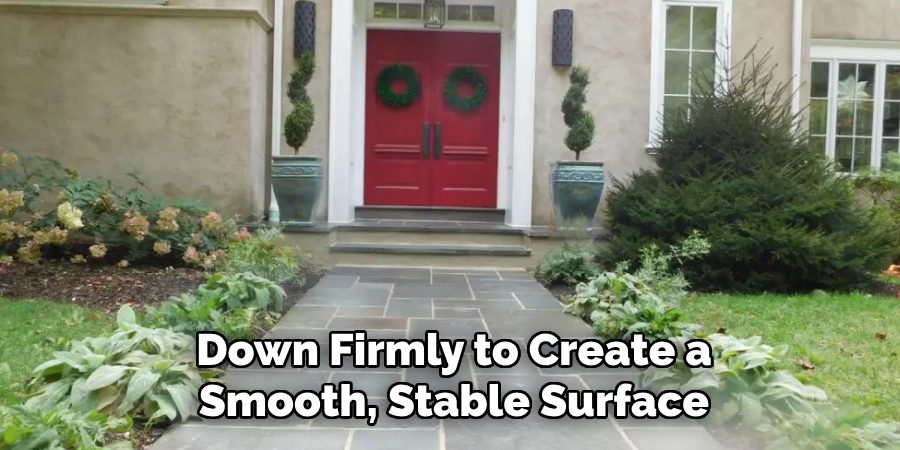
Ensure the base layer is adequately prepared before placing the new flagstones or pavers. If there are any low spots or uneven areas, fill them with crushed stone or sand and pack them down firmly to create a smooth, stable surface. Use a leveling tool to confirm the area is even and aligned with the surrounding stones. This step is crucial to prevent future shifting or instability in the repaired section.
Step 5. Install the Replacement Stones:
Carefully position the new flagstones or pavers into the prepared area, ensuring they fit snugly and align with the surrounding stones. Tap them gently into place using a rubber mallet to secure them without causing damage. Check that the surface is level with the adjacent stones, adjusting as necessary by adding or removing a small amount of sand or crushed stone beneath them. Once properly aligned, the new stones will seamlessly blend into the existing arrangement.
Step 6. Fill and Secure the Joints:
Once the replacement stones are correctly positioned, fill the joints with polymeric sand or jointing material. Use a broom to sweep the material into the gaps, ensuring it fills evenly. Lightly mist the area with water to activate the polymeric sand, which will harden and secure the stones in place. Be careful not to over-saturate, as excess water can wash away the material. Allow the area to dry and set as the product instructions recommend, ensuring a solid and stabilized surface.
Step 7. Clean the Surface:
After the jointing material has set and hardened, clean the surface of the stones to remove any residue or dust. Use a soft-bristle broom or a leaf blower to sweep away loose particles. A mild detergent and water can be used with a sponge or soft brush for more challenging spots. Be cautious not to disturb the newly fixed joints. This final step ensures that the repaired surface looks clean and cohesive, restoring its functionality and aesthetic appeal.
Step 8. Regular Maintenance:
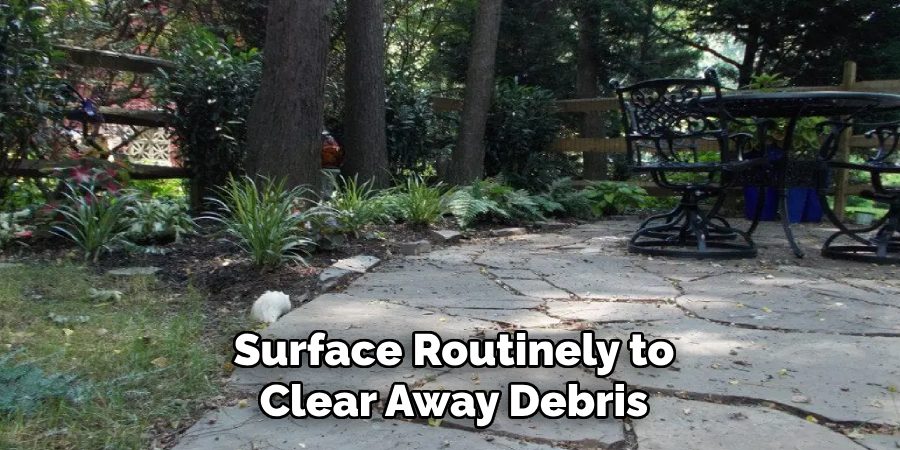
To ensure your surface remains in excellent condition, perform regular maintenance. Periodically inspect the area for signs of wear, such as cracks or shifting stones. Sweep the surface routinely to clear away debris, dirt, and leaves that can trap moisture and lead to damage. Reapply sealant or jointing material to reinforce stability and prevent weed growth. Your surface will maintain its durability and visual appeal for years with consistent care.
By following these steps, you can successfully repair your flagstone patio and restore its beauty and functionality.
5 Things You Should Avoid
- Using the Wrong Mortar Mix: Avoid using an incorrect mortar mix, as this can lead to weak joints that will crack or crumble quickly under pressure. Ensure you use a mix appropriate for outdoor flagstone patios.
- Skipping Proper Surface Preparation: Neglecting to properly clean and prepare the surface can result in poor adhesion. Remove any debris, loose material, or old mortar before starting the repair process.
- Ignoring Drainage Issues: Failing to address underlying drainage problems can cause water pooling, which may further damage the patio. Ensure proper water runoff and drainage before repairing the patio.
- Not Sealing the Flagstones: Skipping the sealing step leaves the stones vulnerable to weather damage and staining. Permanently seal the repaired flagstones to ensure longevity and a polished finish.
- Rushing the Drying Process: Avoid the temptation to rush the drying or curing process of the mortar. Allow adequate time for the mortar to set correctly to ensure a durable and stable repair.
When Should You Call a Professional?
While repairing your flagstone patio can be a DIY project, there are certain situations where it is best to call a professional. These include:
- Significant or Extensive Damage: If your flagstone patio has extensive damage, such as large cracks or significant loose stones, it may be best to call a professional. They will have the experience and equipment necessary to handle more substantial repairs.
- Lack of Experience: If you have never repaired a flagstone patio and feel unsure about the process, it is best to leave it to the professionals. Improper repairs can lead to further damage and costlier repairs in the future.
- Time Constraints: Repairing a flagstone patio can be time-consuming, especially if it requires extensive repairs. Hiring a professional can save you the hassle and ensure the job is done correctly if you have a busy schedule and limited time.
- Safety Concerns: Working with heavy flagstones and mortar can be dangerous, especially for inexperienced individuals. If you have safety concerns or are not confident in handling these materials, it is best to hire a professional.
Conclusion
How to repair flagstone patio can be a rewarding DIY project if you have the necessary tools, time, and confidence in your abilities.
However, it’s important to assess the extent of the damage and consider factors such as your experience level and safety. You can often handle repairs for minor cracks or loose stones by following proper guidelines and using the right materials. On the other hand, hiring a professional is the best course to ensure a durable and high-quality repair for extensive damage or if you’re facing time or safety constraints.
Whether you decide to tackle the job yourself or call in an expert, maintaining your flagstone patio will help preserve its beauty and functionality for years to come.

Professional Focus
Oliver Wood, a passionate patio designer, specializes in creating comfortable and inviting outdoor spaces that enhance relaxation and entertainment. His work combines a deep understanding of design with a love for nature, making him a standout professional in the field of outdoor living spaces. Through his thoughtful approach, he transforms everyday patios into extraordinary retreats for family and friends.
About the Author
Oliver Wood, a skilled patio designer, shares his expertise on outdoor living through his designs and insights. With a background in patio design and a genuine passion for creating beautiful spaces, he encourages others to invest in their outdoor environments, enhancing their homes with functional and inviting spaces for relaxation and entertainment.
Education History
University: Virginia Union University
Oliver’s education equipped him with the knowledge and skills to design patios that merge aesthetics with comfort, transforming outdoor areas into beautiful extensions of the home.
Expertise:
- Patio Design and Outdoor Living Spaces
- Functional and Aesthetic Landscaping
- Comfortable and Inviting Outdoor Environments
- Design Philosophy for Family-Oriented Spaces
- Creating Spaces for Relaxation and Entertainment
