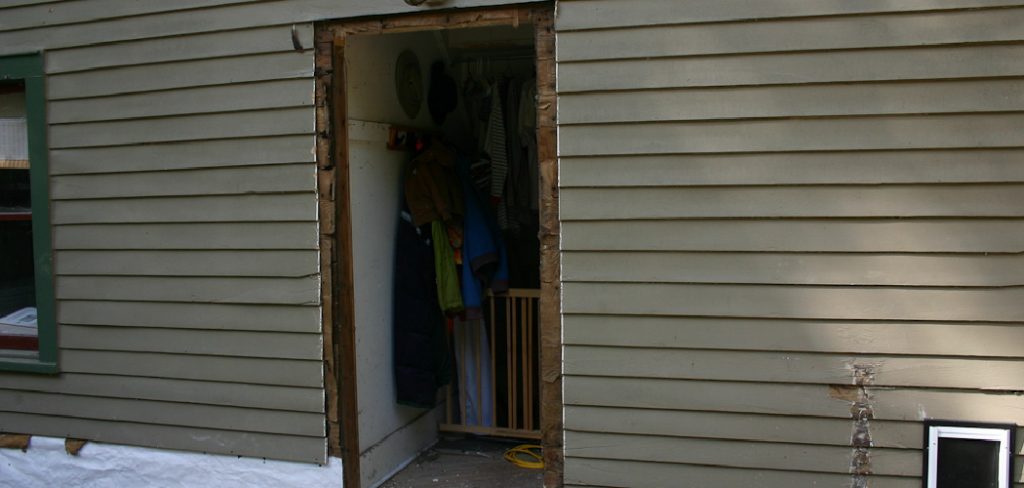
Replacing outdoor door trim is an essential maintenance task that can improve the appearance of your home while also protecting it from weather-related damage.

Over time, door trim can become worn, cracked, or rotted due to exposure to the elements. By replacing it, you can refresh your home’s exterior and ensure a proper seal to prevent drafts and moisture infiltration. This guide will walk you through the steps of how to replace outdoor door trim, even if you have limited experience with DIY projects.
Why Replacing Outdoor Door Trim is Important
Replacing outdoor door trim is vital for both aesthetic and functional reasons. Over time, damaged or rotted trim can compromise the overall look of your home’s exterior, creating an unkempt appearance. More importantly, deteriorated door trim can lead to serious issues such as water damage, mold growth, and pest infestations. Properly installed trim acts as a barrier that helps seal the edges of your door, preventing drafts and maintaining energy efficiency. By addressing damaged trim promptly, you can protect your home from costly repairs and preserve its structural integrity while enhancing curb appeal.
Preparing for the Project
Before starting your door trim replacement project, it’s essential to gather all the necessary tools and materials to ensure smooth progress. Begin by assembling tools such as a pry bar, tape measure, saw, hammer, drill, level, utility knife, and a caulking gun. You will also need replacement trim, wood filler (if required), nails or screws, exterior-grade caulk, weather-resistant paint, and primer.
Next, assess the condition of your current door trim to determine the extent of damage and measure the dimensions accurately for proper fitment of the new pieces. Clear the workspace around the door to give yourself ample room to work safely. Additionally, wearing protective gear like safety glasses and gloves can prevent potential injuries during the project. Proper preparation will set you up for success and reduce the likelihood of unexpected issues along the way.
Tools and Materials Required
Before starting the project, gather the following tools and materials to ensure a smooth process:
- Measuring tape – For precise measurements of the door frame and trim.
- Pry bar – To remove the old trim without damaging the surrounding areas.
- Hammer – Useful for both removing nails and securing the new trim in place.
- Utility knife – To cut caulk and any excess materials cleanly.
- Saw – A miter saw or hand saw to cut the new trim pieces to the correct size and angles.
- Paintbrush and paint – For priming and painting the new trim (if needed).
- Caulk and caulk gun – To seal gaps for weatherproofing and a professional finish.
- Nails or screws – To attach the new trim securely.
- Replacement door trim – Ensure the material suits your climate and matches your home’s style.
- Safety gear – Such as gloves and safety glasses to protect yourself during the project.
Having all tools and materials ready will make the task more efficient and enjoyable.
10 Methods How to Replace Outdoor Door Trim
1. Assessing the Condition of the Existing Trim
Before replacing outdoor door trim, the first step is to carefully assess the condition of the existing trim. Inspect the trim for signs of damage such as rot, warping, cracking, or peeling paint. Wooden trim is particularly susceptible to moisture damage, leading to decay over time. If you notice soft spots when pressing on the wood, it is likely rotted and should be replaced. If the damage is minor, a repair may be possible, but if the trim is significantly deteriorated, replacing it is the best option to ensure a sturdy and weatherproof door frame.

2. Gathering the Necessary Tools and Materials
Replacing outdoor door trim requires the right tools and materials for a smooth installation. Basic tools include a pry bar, utility knife, hammer, measuring tape, level, miter saw, caulk gun, and a nail gun or exterior-grade screws. Materials include the new trim boards, exterior-grade caulk, primer, and paint. When selecting the new trim, consider using rot-resistant materials such as PVC, composite, or pressure-treated wood to ensure longevity. Proper preparation with the necessary supplies will make the replacement process more efficient and prevent unnecessary delays.
3. Removing the Old Trim Safely
Carefully removing the old trim without damaging the surrounding structure is essential. Begin by using a utility knife to score along the edges of the trim where it meets the siding and door frame to break the seal of old caulk and paint. Then, use a pry bar to gently lift and remove the trim. Work gradually to avoid damaging the siding or the door jamb. If nails are difficult to remove, use pliers to pull them out or cut them off with a reciprocating saw. Once the trim is removed, clean the area by scraping off any old caulk and debris.
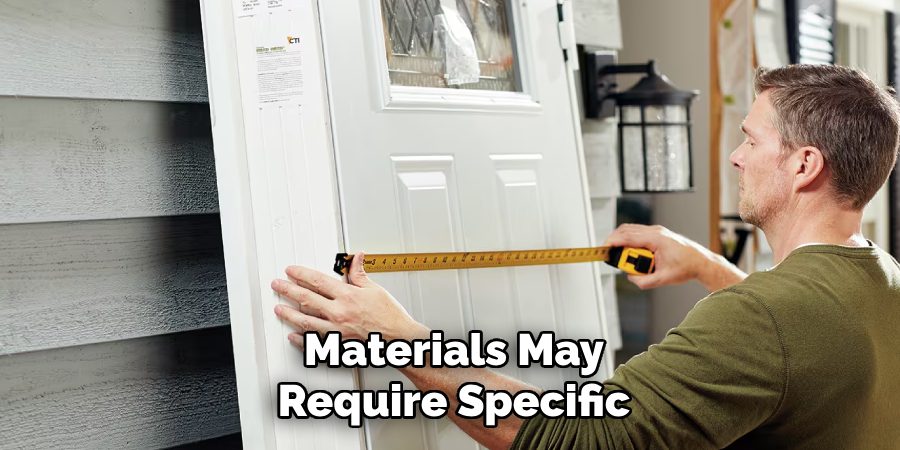
4. Measuring and Cutting the New Trim
Accurate measurements are crucial to ensuring the new trim fits correctly. Measure the height and width of the door frame and cut the trim boards accordingly using a miter saw. If the trim will have mitered corners, cut the edges at a 45-degree angle to create a clean joint. For a traditional butt-joint installation, make straight cuts. Double-check all measurements before cutting to avoid mistakes. If using wood trim, consider priming the ends before installation to prevent moisture absorption and extend the lifespan of the trim.
5. Choosing the Right Fasteners for Secure Installation
Selecting the appropriate fasteners is essential for durability and stability. Exterior trim should be secured using galvanized or stainless steel nails or screws to prevent rust and corrosion. A nail gun with finishing nails is commonly used for a clean look, but screws offer additional strength, especially for heavier trim materials. If using screws, countersink them slightly to allow for caulking and a smoother finish. Ensuring the trim is properly secured will help prevent warping or loosening over time due to exposure to the elements.

6. Attaching the New Trim to the Door Frame
Position the new trim along the door frame and check for proper alignment using a level. Secure the trim by nailing or screwing it into place, starting from one side and working your way around the door. For added stability, place fasteners approximately every 12-16 inches. If using PVC or composite trim, follow the manufacturer’s guidelines for fastening, as some materials may require specific screws or adhesives. Ensure that all pieces are flush against the door frame and siding for a seamless look.

7. Sealing Gaps with Exterior-Grade Caulk
Proper sealing is crucial to protect the door trim from moisture damage. Apply a bead of high-quality, exterior-grade caulk along the edges where the trim meets the siding and door frame. Use a caulking gun for even application and smooth the caulk with a finger or a caulk tool for a neat finish. Sealing all gaps prevents water infiltration, which can lead to wood rot and mold growth. Allow the caulk to dry completely before moving on to painting or staining.
8. Priming and Painting for a Finished Look
To enhance the appearance and longevity of the new trim, apply a coat of primer followed by exterior paint. If using pre-primed trim, you can skip the primer and proceed with painting. Choose a high-quality exterior paint that matches your home’s color scheme and provides protection against UV rays and moisture. Apply at least two coats of paint for durability, allowing adequate drying time between coats. If staining wood trim instead of painting, use an exterior-grade stain and sealant for added protection.
9. Ensuring Proper Water Drainage Around the Trim
An often-overlooked step in door trim replacement is ensuring proper water drainage. If the door trim is not installed correctly, water can accumulate and cause damage over time. To prevent this, install a small gap or flashing at the bottom of the trim to allow water to drain away rather than being trapped. Additionally, applying a bead of caulk along the top edge of the trim (but not the bottom) can help direct water away from the door frame while still allowing moisture to escape.
10. Inspecting and Maintaining the New Trim
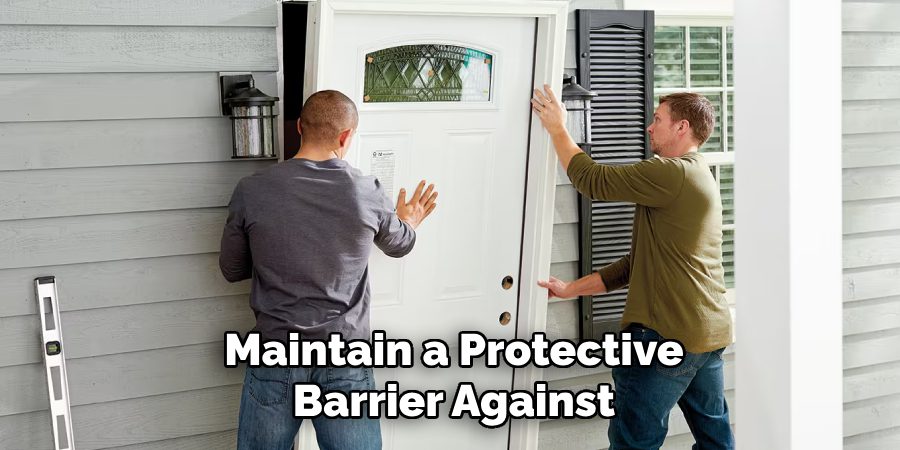
Once the new trim is installed, regular maintenance is key to ensuring its longevity. Inspect the trim periodically for signs of cracking, peeling paint, or caulk separation. Reapply caulk or touch up paint as needed to maintain a protective barrier against moisture. If you used wooden trim, check for any signs of rot or insect damage and address any issues promptly. Proper maintenance will keep the trim looking fresh and prevent costly repairs in the future.

Conclusion
Replacing exterior door trim is a manageable project that can enhance both the appearance and functionality of your home. By following the outlined steps—from preparation and removal to installation and maintenance—you can ensure a professional-looking result that stands the test of time. Thanks for reading, and we hope this has given you some inspiration on how to replace outdoor door trim!
Professional Focus:
Arden Bernier is dedicated to exploring and advancing patio design and maintenance, combining practical knowledge with innovative solutions. Specializing in outdoor living spaces, he provides expert advice on patio fixes, landscaping, and sustainable outdoor design. With a focus on creating functional, aesthetic, and durable outdoor environments, Arden empowers homeowners to transform their patios into beautiful and relaxing retreats.
Vision:
To inspire and assist homeowners in creating functional, aesthetically pleasing outdoor spaces. Arden encourages creativity and practical problem-solving in patio design, making outdoor living more accessible and enjoyable for everyone.
Education:
- Bachelor of Arts (BA) in Environmental Design – University of California, Berkeley.
- Master of Science (MS) in Landscape Architecture – University of Southern California.
- Specialized training in sustainable landscape design, outdoor space planning, and eco-friendly materials.
Recognition:
- Author at PatioFixes.com, providing expert advice on patio maintenance and design.
- Featured in online platforms and home improvement blogs for valuable tips on patio fixes and outdoor living.
- Recognized for his contributions to making outdoor spaces more eco-friendly and sustainable.
Expertise:
Patio expert with a focus on creating functional, beautiful, and durable outdoor living spaces. Specialization includes:
- Patio design and construction
- Outdoor furniture and décor
- Landscaping and sustainable patio solutions
- Outdoor maintenance and repair techniques
