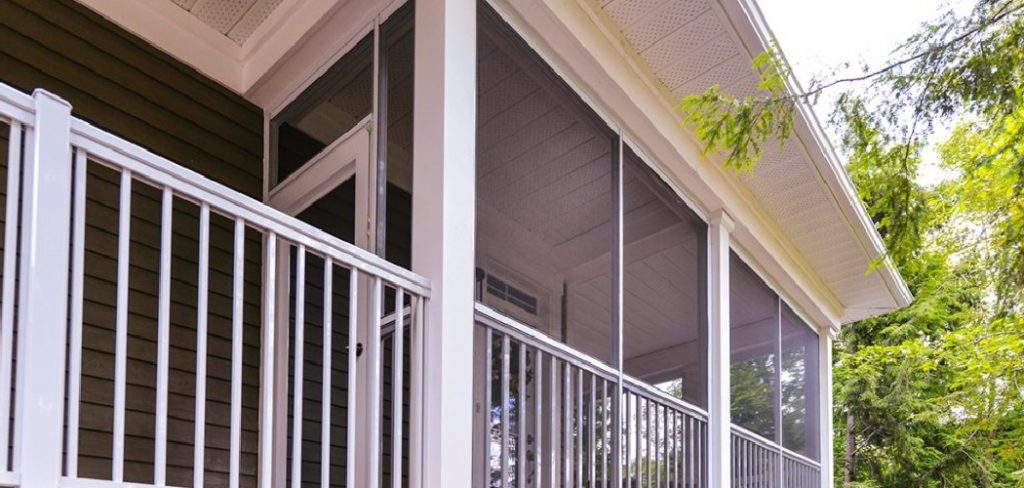
Screening on a porch with railings is an excellent way to create a comfortable, bug-free outdoor space while still enjoying the fresh air. This project can enhance the functionality of your porch, provide added privacy, and increase the value of your home. Whether you’re looking to spend relaxing evenings outside or create a practical space for entertaining guests, screening on your porch is a manageable DIY project with the right tools and preparation.
In this article on how to screen in a porch with railings, we will guide you through the process step by step.

Materials You’ll Need
Before starting your project, it’s essential to gather all the necessary materials. Here’s a list of what you’ll need:
Measuring Tape:
You’ll need a measuring tape to measure the dimensions of your porch and determine how much screening material you will need. Be sure to measure all sides accurately, including any angles or corners.
Screening Material:
The most common types of screen material used for porches are aluminum and fiberglass. Aluminum is more durable but can be more challenging to work with than fiberglass. Fiberglass is easier to install but may require more frequent maintenance.
Screen Spline:
Screen spline is a flexible rubber cord that secures the screen material in place on the frame. It comes in different sizes, so make sure to select one that matches the thickness of your screen material.
Screen Frame:
Screen frames can be made of wood, aluminum, or vinyl. Wood frames are the most traditional and can be easily customized to fit any porch. Aluminum and vinyl frames are more durable and low maintenance but may not provide as much design flexibility.
Screening Tools:
You’ll need a screen roller (or spline tool), utility knife, and scissors to cut the screening material to fit your frame accurately.

8 Steps on How to Screen in a Porch With Railings
Step 1: Measure Your Porch
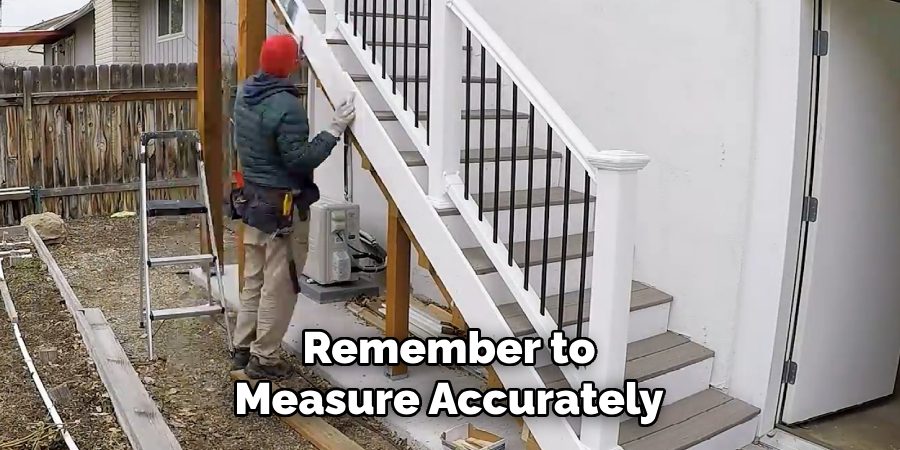
The first step in screening your porch is to take accurate measurements of the space. Use a sturdy measuring tape to measure the height and width of each section you plan to screen, including the areas between the railings.
Take note of the dimensions for every side and any unique angles or corners of your porch. It’s essential to double-check your measurements to ensure that the screening material and frames fit correctly. Accurate measurements will help prevent unnecessary adjustments during installation and ensure a smooth, professional-looking result.
Step 2: Prepare the Frames
Once you have your measurements, it’s time to prepare the frames for installation. If you’re using wood frames, cut them to fit the dimensions of each section of your porch. Sand down any rough edges and make sure they are all straight and level.
For pre-made aluminum or vinyl frames, check that they are the correct size for your porch before moving on to the next step.
Step 3: Install the Frames
After preparing the frames, the next step is to install them securely onto your porch. Begin by positioning each frame against the section of the porch it is intended to cover. Make sure the frame fits snugly and aligns properly with the edges of the porch railings and any supporting structures. Use a level to ensure the frames are straight and even before securing them in place.
Attach the frames using screws or brackets, depending on the material of the frame and the structure of your porch. For wood frames, use wood screws and ensure they are firmly driven into the support posts or railings. For aluminum or vinyl frames, follow the manufacturer’s instructions for the proper attachment method, as these often include specialized brackets or fasteners. Double-check that all frames are stable and secure before adding the screening material.
Step 4: Cut and Attach the Screen Material
Measure and cut the screening material to fit each frame, leaving an extra inch on all sides. This extra allowance will be used to secure the screen using a screen spline.
Starting at one corner of your porch, use a roller or spline tool to press the screen tightly into the grooves of the frame. Continue this process along all edges, pulling the screen taut as you go. Once all edges are done, trim off any excess screening material using a utility knife.

Step 5: Secure The Screen with Spline
With the screening material in place, it’s time to secure it using a screen spline. Starting at one corner, use a spline tool to press the screen into the frame’s groove. Continue around all edges, pulling the screen taut as you go. Use scissors or a utility knife to trim off any excess spline.
You may need to use multiple layers of spline, depending on the thickness of your screen material. Be sure to press each layer firmly into the groove for a secure fit.
Step 6: Install Screen Doors
If you want easy access in and out of your screened-in porch, consider installing a screen door. You can buy pre-made screen doors or make one yourself using wood frames and screening material. Make sure the door fits snugly within the frame and has proper hinges and a latch for opening and closing.
It’s essential to have at least one screen door on your porch for safety reasons, as it provides an exit in case of emergency.
Step 7: Add Finishing Touches
Once the screens and doors are installed, take some time to add any finishing touches to your screened-in porch. You can paint or stain the frames to match your home’s exterior or add decorative elements such as flowers or hanging plants.
If you want extra protection from insects and weather, consider adding a layer of clear vinyl film over the screens. This will also help keep your porch clean and dry during rainstorms.
Step 8: Enjoy Your Screened-In Porch!
Congratulations, you’ve successfully screened your porch! Now it’s time to sit back, relax, and enjoy your new outdoor space. Whether it’s for dining, entertaining, or just spending time outdoors without worrying about bugs, a screened-in porch is an excellent addition to any home. With proper maintenance and care, your porch screens will last for years to come.
Following these steps on how to screen in a porch with railings and using the proper tools and materials will help ensure a successful screen installation process. Remember to measure accurately, secure frames properly, and use high-quality screening material for the best results. Happy screening!

Frequently Asked Questions
Q: Can I Use Any Type of Screening Material for My Porch?
A: It’s best to use a durable and weather-resistant material such as fiberglass or aluminum screens. These materials are also less likely to sag or tear over time. Avoid using nylon or plastic screening material, as they are not as durable and may need frequent replacement.
Q: Do I Need to Remove My Porch Railings to Screen in My Porch?
A: No, you do not need to remove your porch railings to screen your porch. In fact, leaving the railings intact can provide extra stability for the frames and screens. However, if you plan on using mesh screens instead of solid ones, you may need to remove some railing sections to accommodate them.
Q: How Long Will It Take to Screen in My Porch With Railings?
A: The time it takes to screen on a porch will vary depending on the size of your porch, the number of frames and screens needed, and your level of experience. On average, it can take anywhere from a few hours to a full day.
Q: Can I Screen on My Porch By Myself or Should I Hire a Professional?
A: While screening in a porch with railings is a relatively simple DIY project, it does require some basic carpentry skills and tools. If you feel confident in your ability to measure accurately cut and install frames properly, then you can likely complete the project on your own. However, if you are unsure or do not have the necessary tools or experience, it’s best to hire a professional for optimal results.

Conclusion
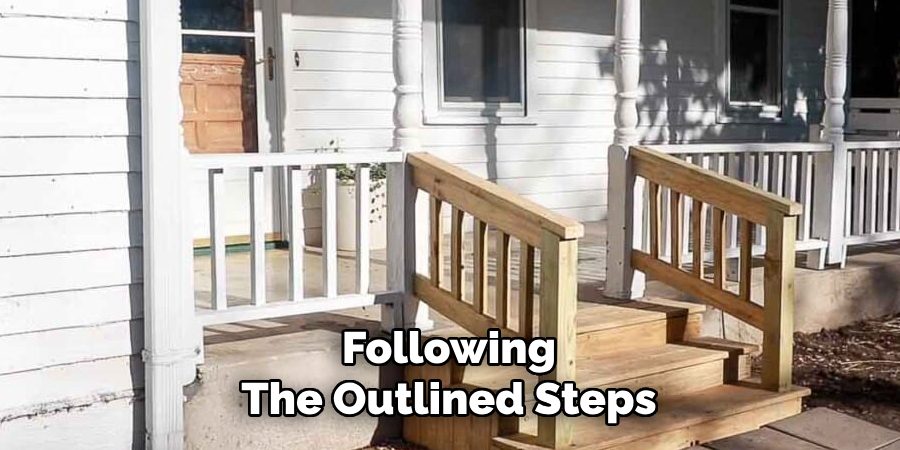
Screening on your porch is a rewarding project that enhances the usability and comfort of your outdoor space. By following the outlined steps on how to screen in a porch with railings, using quality materials, and taking the time to ensure proper measurements and installation, you can create a functional and inviting area to enjoy year-round.
Whether you’re hosting gatherings, relaxing with a book, or savoring the outdoors without the nuisance of bugs and debris, a screened-in porch can provide a seamless blend of indoor and outdoor living. With a little effort and care, your newly screened porch will become a valuable and cherished part of your home for years to come.

Professional Focus
Oliver Wood, a passionate patio designer, specializes in creating comfortable and inviting outdoor spaces that enhance relaxation and entertainment. His work combines a deep understanding of design with a love for nature, making him a standout professional in the field of outdoor living spaces. Through his thoughtful approach, he transforms everyday patios into extraordinary retreats for family and friends.
About the Author
Oliver Wood, a skilled patio designer, shares his expertise on outdoor living through his designs and insights. With a background in patio design and a genuine passion for creating beautiful spaces, he encourages others to invest in their outdoor environments, enhancing their homes with functional and inviting spaces for relaxation and entertainment.
Education History
University: Virginia Union University
Oliver’s education equipped him with the knowledge and skills to design patios that merge aesthetics with comfort, transforming outdoor areas into beautiful extensions of the home.
Expertise:
- Patio Design and Outdoor Living Spaces
- Functional and Aesthetic Landscaping
- Comfortable and Inviting Outdoor Environments
- Design Philosophy for Family-Oriented Spaces
- Creating Spaces for Relaxation and Entertainment
