Shrink-wrapping patio furniture is an effective way to protect it from harsh weather conditions, dirt, and debris during off-seasons or long periods of storage. This simple yet highly durable method ensures that your furniture remains in excellent condition, extending its lifespan and reducing the need for frequent cleaning or repairs. Whether you’re preparing for winter or just looking to shield your outdoor furniture from dust, learning the proper steps to shrink-wrap can save you time, effort, and money.
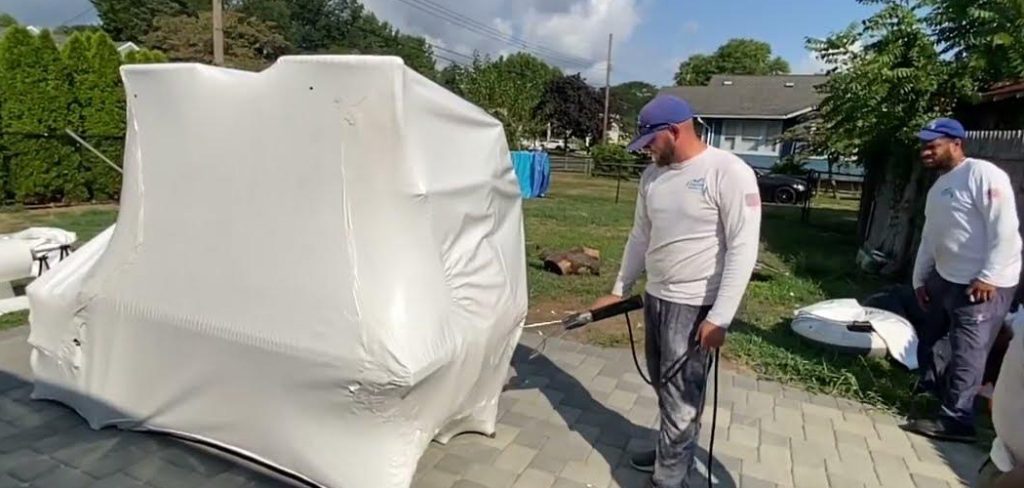
In this article on how to shrink wrap patio furniture, we will discuss the materials needed, the steps to follow, and additional tips to ensure a successful shrink-wrapping process.
Materials Needed
Before embarking on shrink-wrapping your patio furniture, it’s essential to gather all the necessary materials. These include:
Shrink Wrap Film
This is a specialized plastic film that shrinks when heated, creating a snug fit around the furniture.
Heat Gun
A heat gun is used to shrink the wrap and mold it tightly to the furniture’s contours. It can be purchased or rented from hardware stores.
Tape
Strong tape such as duct tape, is required to secure the shrink wrap and prevent any gaps.
Scissors or Knife
These will help you cut the shrink wrap to your desired length and trim off excess material after wrapping.
Optional Supplies
To further protect your furniture, you may also consider using bubble wrap, foam padding, or blankets before wrapping with shrink film. These additional layers act as cushions, preventing any scratches or damage.
7 Steps on How to Shrink Wrap Patio Furniture
Step 1: Clean and Dry the Furniture
Before starting the shrink-wrapping process, thoroughly clean your patio furniture to remove any dirt, dust, or moisture. Use a mild soap solution and a soft cloth or sponge to wipe down the surfaces.
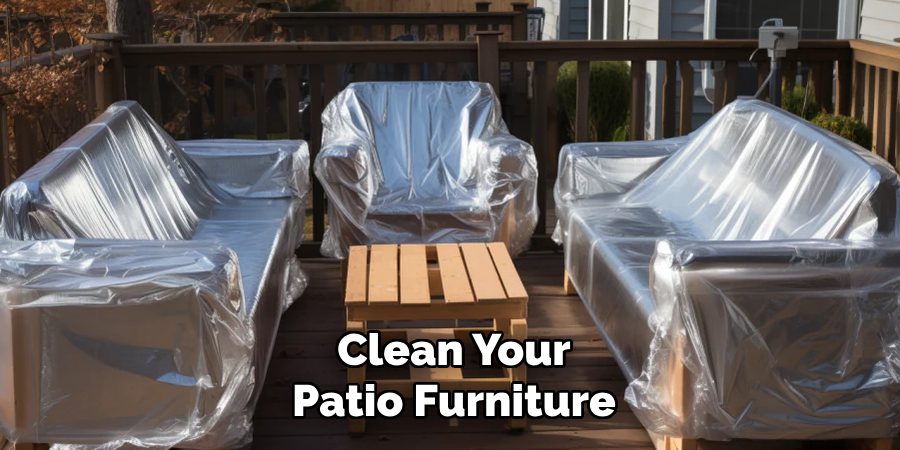
Then, rinse with clean water and allow the furniture to air dry completely. Any trapped dirt or moisture can lead to mold, mildew, or stains while the furniture is in storage, so ensure it is spotless and fully dry before moving on to the next step.
Step 2: Disassemble and Remove Any Detachable Parts
To make the shrink-wrapping process easier and more effective, disassemble your patio furniture and remove any detachable parts. This includes cushions, table legs, glass tops, or small accessories like umbrellas and decorative items. Separating these components not only ensures a tighter wrap around the main furniture pieces but also reduces the risk of any fragile parts being damaged.
Store the removed parts in a separate, safe area, and consider wrapping delicate items like glass with bubble wrap or foam padding for extra protection. Disassembling the furniture also makes it easier to stack or arrange pieces more compactly for storage.
Step 3: Measure and Cut the Shrink Wrap
Measure the length, width, and height of each furniture piece, including any protruding parts like chair arms or table legs. Add a few extra inches to your measurements to account for overlaps or folds in the shrink wrap.
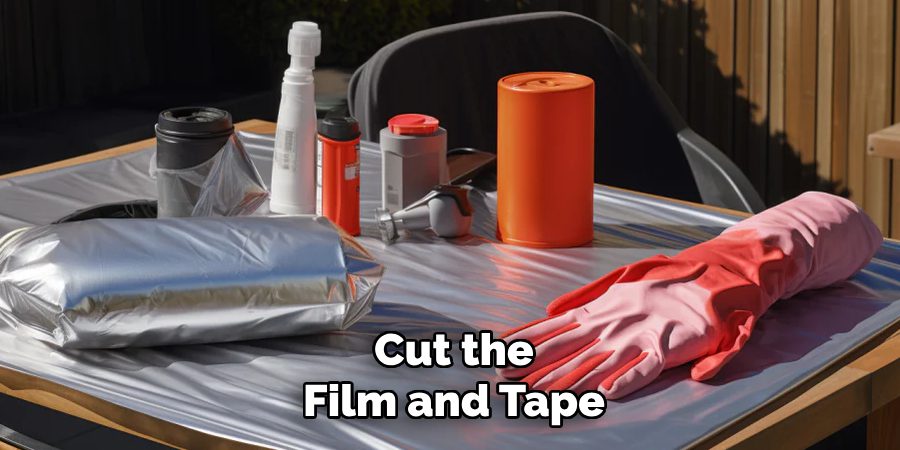
Next, unroll your shrink film on a flat surface and cut it according to your measurements. Be sure to use sharp scissors or a knife for clean cuts. If you need multiple pieces of shrink wrap for larger furniture, ensure that they overlap by at least one inch to create a seamless seal.
Step 4: Wrap Each Furniture Piece
Start with the largest furniture piece first and place it in the center of the shrink-wrap sheet. Wrap the film around it and use tape to secure it in place. Then, work your way outwards towards the edges, smoothing out any wrinkles or creases as you go along. For smaller pieces like chairs or coffee tables, you may need an extra set of hands to hold them steady while you wrap.
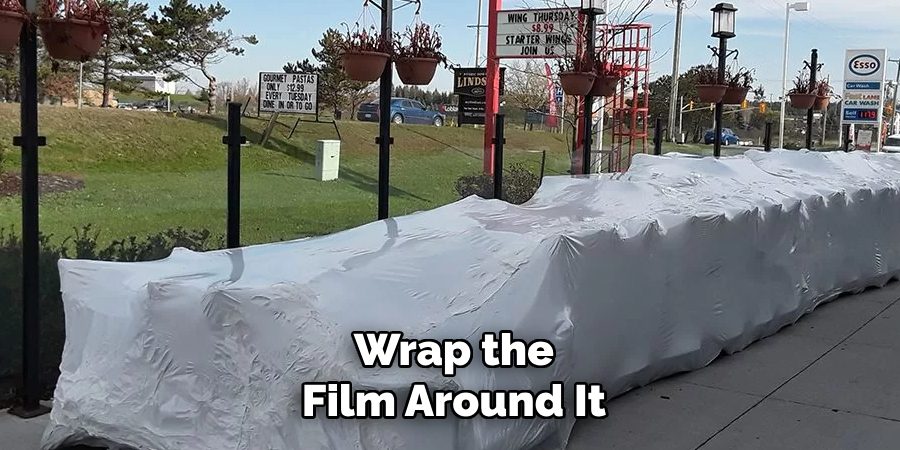
If you are using additional protective layers like bubble wrap or foam padding, place them around the furniture before wrapping them with shrink film. This will provide an extra layer of cushioning and prevent any sharp edges or corners from poking through the plastic.
Step 5: Heat the Shrink Wrap
Once the furniture is fully wrapped and secured with tape, it’s time to heat the shrink wrap to create a tight, protective covering. Using a heat gun, start at one corner of the wrapped furniture and gradually move the heat gun back and forth in a sweeping motion. Maintain a safe distance of approximately 6-12 inches from the wrap to avoid melting or burning the plastic.
Work your way evenly around the entire surface, allowing the film to shrink and conform closely to the furniture’s shape. Pay extra attention to corners, edges, and seams to ensure there are no loose or wrinkled areas. Be cautious not to overheat one spot, as this may cause the wrap to weaken or puncture.
Step 6: Trim and Seal Any Excess Material
Once the shrink wrap has fully shrunk, use scissors or a knife to trim off any extra material around the edges of the furniture. This will create a neat and tidy appearance while also preventing any loose pieces from getting caught or damaged during storage. If there are any gaps or holes in the wrap, use tape to seal them tightly.
It’s essential to seal the shrink wrap tightly to prevent any dust or moisture from entering and damaging your furniture.
Step 7: Label and Store Your Wrapped Furniture
After completing the shrink-wrapping process, it’s a good idea to label your wrapped furniture for easy identification during retrieval. Use a waterproof marker or adhesive labels to note the contents, such as “Patio Table” or “Chair Set,” on the outer surface of the wrap. This step can save you time and effort when unpacking or reorganizing.
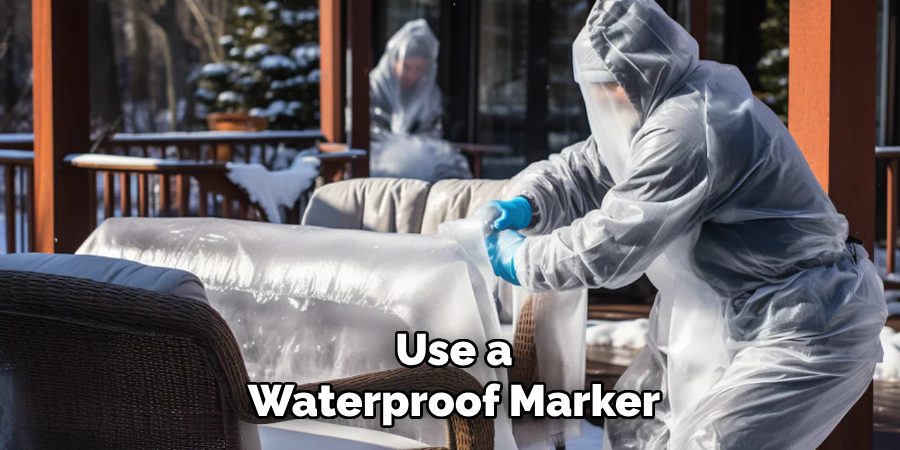
Following these steps on how to shrink wrap patio furniture will ensure that your patio furniture is well-protected and ready for storage until the next season. When storing, choose a dry and sheltered area away from direct sunlight or extreme temperatures. With proper shrink wrapping, your furniture will remain in excellent condition and be ready for use when the weather permits. Happy wrapping!
Additional Tips to Extend Your Furniture’s Lifespan
- Regularly clean and maintain your patio furniture, even when not in use.
- Store furniture in a dry, ventilated area to prevent mold or mildew growth.
- Consider using furniture covers for extra protection during storage.
- Avoid stacking heavy items on top of shrink-wrapped furniture to prevent damage.
- Remember to remove the shrink wrap before using the furniture again to avoid suffocation hazards.
- Reuse the shrink wrap for future packaging needs or recycle it responsibly. Enjoy your well-preserved patio furniture for years to come!
Frequently Asked Questions
Q: Can I Use Shrink Wrap to Protect Other Types of Outdoor Furniture, Such as Metal or Wicker?
A: Yes, shrink wrapping can be used on various types of outdoor furniture, including metal and wicker. However, it may not provide as much protection for delicate materials like wicker compared to sturdier materials like wood or metal. Consider using additional layers of protection, such as bubble wrap or furniture covers, for added durability and cushioning.
Q: How Long Does Shrink Wrap Last?
A: The lifespan of shrink wrap depends on various factors, including the quality of the film and how well it is sealed. Generally, shrink wrap can last up to two years if stored properly in a dry area away from direct sunlight. However, it’s best to check the condition of the wrap periodically and replace it when necessary to ensure maximum protection for your furniture.
Q: Can I Shrink Wrap Furniture that is Already Wet?
A: It is not recommended to shrink-wrap wet furniture as it can trap moisture and cause mold or mildew growth. If your furniture is wet, allow it to air dry completely before shrink-wrapping. You can also use absorbent materials like towels or blankets to dry off any excess moisture before wrapping. Always ensure that the furniture is completely dry before shrink-wrapping for optimal protection and longevity.
Q: Do I Need Special Equipment for Shrink Wrapping?
A: You will need a few essential tools for shrink wrapping, such as scissors or a knife to cut the film and tape to secure the wrap in place. A heat gun is recommended for heating the wrap, but a hairdryer on its highest setting can also work in a pinch.
Conclusion
Shrinkwrapping your patio furniture is a practical and efficient way to protect it from the elements and extend its lifespan. By following the outlined steps on how to shrink wrap patio furniture, you can ensure that your furniture remains clean, dry, and in good condition throughout the off-season.
Proper preparation, such as cleaning and drying the furniture, using additional protective layers, and securely sealing the wrap, plays a vital role in achieving the best results. With careful storage and maintenance, your shrink-wrapped furniture will be ready to provide comfort and style when it’s time to enjoy outdoor living once again.
Professional Focus:
Arden Bernier is dedicated to exploring and advancing patio design and maintenance, combining practical knowledge with innovative solutions. Specializing in outdoor living spaces, he provides expert advice on patio fixes, landscaping, and sustainable outdoor design. With a focus on creating functional, aesthetic, and durable outdoor environments, Arden empowers homeowners to transform their patios into beautiful and relaxing retreats.
Vision:
To inspire and assist homeowners in creating functional, aesthetically pleasing outdoor spaces. Arden encourages creativity and practical problem-solving in patio design, making outdoor living more accessible and enjoyable for everyone.
Education:
- Bachelor of Arts (BA) in Environmental Design – University of California, Berkeley.
- Master of Science (MS) in Landscape Architecture – University of Southern California.
- Specialized training in sustainable landscape design, outdoor space planning, and eco-friendly materials.
Recognition:
- Author at PatioFixes.com, providing expert advice on patio maintenance and design.
- Featured in online platforms and home improvement blogs for valuable tips on patio fixes and outdoor living.
- Recognized for his contributions to making outdoor spaces more eco-friendly and sustainable.
Expertise:
Patio expert with a focus on creating functional, beautiful, and durable outdoor living spaces. Specialization includes:
- Patio design and construction
- Outdoor furniture and décor
- Landscaping and sustainable patio solutions
- Outdoor maintenance and repair techniques
