Are you tired of your dull and worn-out aluminum patio furniture? With a little bit of time and effort, you can easily refinish it to give it a new and refreshed look.

How to refinish aluminum patio furniture is a cost-effective and rewarding way to restore its original beauty and extend its lifespan. Over time, exposure to the elements can cause fading, chipping, or corrosion, leaving your outdoor furniture looking worn and neglected. By following a few simple steps, you can bring new life to your aluminum pieces, refreshing their appearance and protecting them for years to come.
This guide will walk you through the essential tools, preparation techniques, and finishing steps needed to refinish your aluminum patio furniture with ease. Let’s get started!
What Are the Benefits of Refinishing Your Aluminum Patio Furniture?
Before diving into the refinishing steps, let’s explore why it is worth your time and effort.
- Cost-effective: Refinishing aluminum patio furniture is a cost-effective alternative to buying new pieces. It can save you money while still achieving a brand-new look.
- Customizable: When you refinish your furniture, you can choose any color or finish that best fits your style and outdoor space.
- Increased Lifespan: By properly refinishing and protecting your aluminum furniture, you can extend its lifespan and prevent it from deteriorating due to exposure to the elements.
- Eco-friendly: Refinishing your furniture is a sustainable option that reduces waste by giving new life to old pieces rather than disposing of them.
- Satisfaction: There’s nothing quite as satisfying as seeing the transformation of your once worn-out furniture into a beautiful and updated piece.
What Will You Need?
To successfully refinish your aluminum patio furniture, you will need the following tools and materials:
- Protective gear (gloves, safety glasses)
- Sandpaper or sanding block in various grits (60 to 220)
- Mild detergent or cleaner
- Water
- Soft-bristled brush
- Aluminum primer
- Rust-inhibiting spray paint (in the desired color)
- Clear coat sealer
Once you have gathered all the necessary materials, it’s time to start preparing your furniture for refinishing.
8 Easy Steps on How to Refinish Aluminum Patio Furniture
Step 1: Clean the Furniture

Start by thoroughly cleaning your aluminum patio furniture to remove any dirt, grime, or residues that may interfere with refinishing. Mix a mild detergent or cleaner with water and use a soft-bristled brush to scrub all furniture surfaces. Focus on areas with visible stains or buildup, which can impact the final finish. Pay special attention to cracks, crevices, and joints where debris accumulates.
Once cleaned, rinse the furniture thoroughly with clean water to remove any soap residue. Allow the furniture to dry completely before proceeding to the next step. This step ensures a solid foundation for refinishing, improving paint adhesion, and delivering a smoother, longer-lasting finish.
Step 2: Remove Old Paint or Finish
After the furniture is clean and dry, the next step is to remove any old paint or finish that may still be present. Use sandpaper or a sanding block with medium grit to sand the aluminum surface gently. This step helps strip peeling paint away, smooth out imperfections, and create a surface that allows the new paint or finish to adhere better. Be careful not to sand too aggressively, as this can damage the aluminum.
You can use a wire brush or small sanding tool for hard-to-reach areas or intricate designs. Once sanding is complete, wipe down the furniture with a clean, damp cloth to remove all dust and debris. This prepares the aluminum for a flawless application of primer and paint.
Step 3: Apply Primer

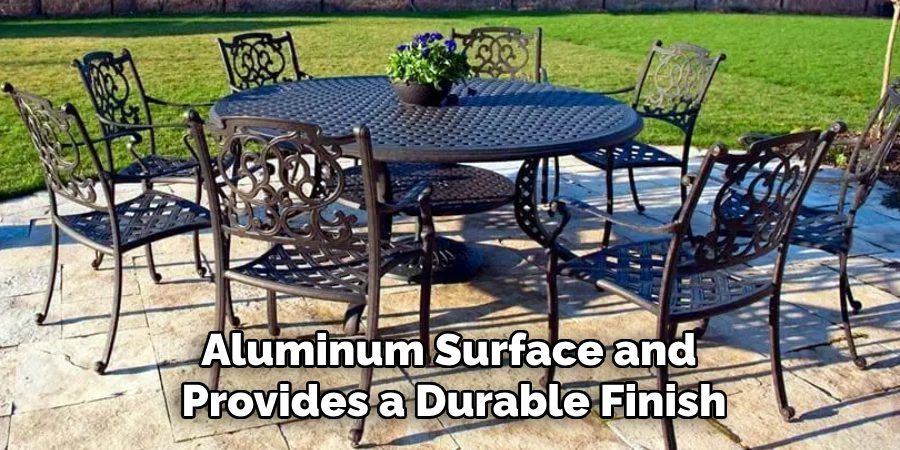
Applying a primer is crucial to ensure the new paint adheres properly to the aluminum surface and provides a durable finish. Choose a primer specifically designed for use on metal, as this will prevent rust and corrosion while aiding in paint adhesion. Shake the primer thoroughly before application and hold it about 8-10 inches away from the surface.
Spray the primer evenly across the aluminum, ensuring complete coverage without creating drips or pools. Allow the primer to dry completely per the manufacturer’s instructions before moving on to the painting step. This creates a smooth foundation for your paint and enhances the final result.
Step 4: Paint the Aluminum
Once the primer has dried, it’s time to apply the paint. Select a high-quality paint suitable for use on metal surfaces, preferably for outdoor use if the aluminum is exposed to weather conditions. Shake the paint can thoroughly before starting. Hold the can 8-10 inches away from the surface and apply thin, even coats to avoid drips or uneven coverage. Allow each coat to dry completely before applying the next one. Two to three coats are typically sufficient for a durable and vibrant finish. Take your time with this step to ensure a professional and long-lasting result.
Step 5: Seal the Aluminum

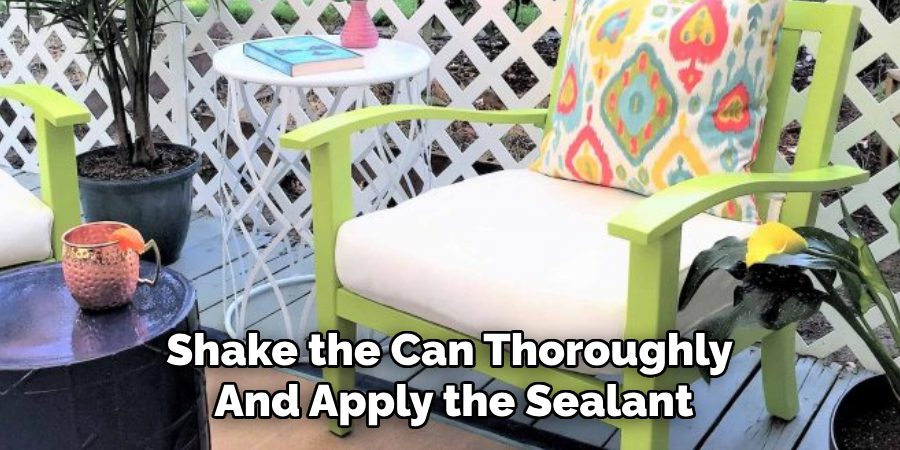
After the paint has thoroughly dried, a clear sealant is essential to protect the finish and extend its lifespan. Choose a clear coat or sealant designed for metal surfaces to ensure compatibility. Shake the can thoroughly and apply the sealant in thin, even layers, holding the can 8-10 inches away from the surface. Allow each layer to dry completely before applying additional coats, if necessary. This extra step will help protect the paint from chipping, fading, and weather-related damage, preserving the appearance of your aluminum project for years to come.
Step 6: Reassemble and Enjoy
Once the sealant has dried completely, it’s time to reassemble your aluminum project. Carefully attach any parts or components that were removed during the preparation process. Ensure that everything is securely fastened and functioning as intended. Take a moment to admire your work and the renewed appearance of your aluminum surface. Proper care and maintenance will keep it looking fresh and polished for a long time, so consider periodic cleaning and touch-ups to maintain its allure.
Step 7: Clean Up and Store Materials
After completing your aluminum project, cleaning up your workspace and storing your materials properly is important. Dispose of used sandpaper, paint containers, and sealant responsibly, following local guidelines for hazardous waste. Clean any brushes or tools immediately to prevent paint or sealant from hardening. Store leftover paint and sealant in a cool, dry place for future use, ensuring lids are tightly sealed in order to avoid drying out. Keeping your workspace organized and your materials in good condition will make your next project smoother and more efficient.
Step 8: Enjoy the Results
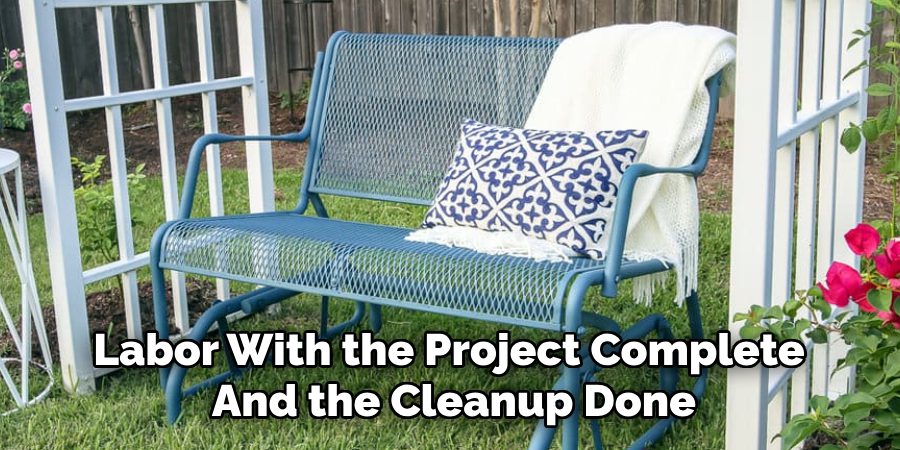
Enjoy the fruits of your labor with the project complete and the cleanup done. Admire the transformation and the effort you’ve put into renewing and enhancing your aluminum surface. Share your work with friends or family, and consider taking photos to document the results for future reference or inspiration. Completing a project like this improves the aluminum’s appearance and functionality and delivers the satisfaction of a job well done. Prepare to confidently tackle your next project knowing you’ve mastered an essential process.

You can successfully refinish aluminum furniture and other surfaces by following these steps and using the right materials and techniques.
5 Things You Should Avoid
- Skipping Proper Cleaning: Neglecting thoroughly cleaning your aluminum furniture before refinishing can lead to a poor finish. Dirt, grime, or old paint residues can prevent the new coating from adhering properly.
- Using the Wrong Tools: Avoid using harsh tools like steel wool or rough sandpaper that can scratch or damage the surface. Instead, opt for fine-grain sandpaper and tools specifically designed for metal surfaces.
- Ignoring Weather Conditions: Refinishing during humid or rainy weather can cause uneven drying and weaken paint adhesion. Choose a clear, dry day to ensure the best results.
- Skipping Primer Application: Forgoing primer is a common mistake leading to chipping and flaking paint. Always use a primer suitable for aluminum to create a smooth and durable base.
- Using Low-Quality Paint: Cheap or inappropriate paint can fail to bond with aluminum surfaces, resulting in a lackluster finish. Use high-quality, weather-resistant paint specifically designed for metal to ensure a lasting result.
What Type of Finish Should You Choose?
When refinishing your aluminum furniture, you have several options for the finish you want. Some popular choices include:
- Paint: Painting your aluminum furniture can give it a fresh look and protect it from environmental elements. Acrylic or enamel paint is an excellent option for metal surfaces and comes in various colors.
- Powder Coating: This method involves spraying dry powder onto the furniture’s surface and heating it to create a smooth, durable finish. Powder coating is known for its chipping, scratching, and fading resistance.
- Anodizing: Anodizing is an electrochemical process that creates a protective oxide layer on the surface of the aluminum, making it more resistant to corrosion and wear. This method is commonly used for outdoor furniture.
- Clear Coating: Clear coating involves applying a transparent sealant over the aluminum surface to protect it from chipping, fading, and weather damage while maintaining its natural appearance.
Ultimately, the type of finish you choose will depend on your preferences and the intended use of your aluminum furniture or project.
Conclusion
How to refinish aluminum patio furniture is a rewarding process that can extend the life of your outdoor pieces while giving them a fresh, renewed look.
By carefully selecting the appropriate method, such as painting, powder coating, anodizing, or clear coating, you can ensure that your furniture remains durable and visually appealing for years to come. With proper preparation, attention to detail, and the right finishing technique, you can protect your aluminum furniture from the elements and enhance its aesthetic value.
Taking the time to refinish your patio furniture saves money and fosters sustainability by reducing waste and promoting reuse.

Professional Focus
Oliver Wood, a passionate patio designer, specializes in creating comfortable and inviting outdoor spaces that enhance relaxation and entertainment. His work combines a deep understanding of design with a love for nature, making him a standout professional in the field of outdoor living spaces. Through his thoughtful approach, he transforms everyday patios into extraordinary retreats for family and friends.
About the Author
Oliver Wood, a skilled patio designer, shares his expertise on outdoor living through his designs and insights. With a background in patio design and a genuine passion for creating beautiful spaces, he encourages others to invest in their outdoor environments, enhancing their homes with functional and inviting spaces for relaxation and entertainment.
Education History
University: Virginia Union University
Oliver’s education equipped him with the knowledge and skills to design patios that merge aesthetics with comfort, transforming outdoor areas into beautiful extensions of the home.
Expertise:
- Patio Design and Outdoor Living Spaces
- Functional and Aesthetic Landscaping
- Comfortable and Inviting Outdoor Environments
- Design Philosophy for Family-Oriented Spaces
- Creating Spaces for Relaxation and Entertainment
