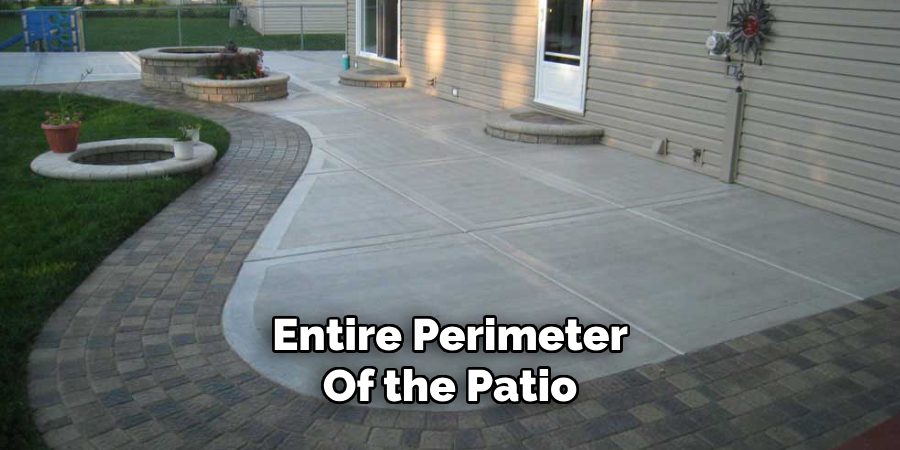
Pouring a concrete patio is a rewarding DIY project that improves the aesthetics of your outdoor space and adds a functional and long-lasting feature to your home. Concrete patios are highly desirable for their durability, requiring minimal maintenance while standing up to various weather conditions. Additionally, they offer versatile design options, allowing homeowners to
tailor the patio’s size, shape, and finish to their specific needs and preferences. This guide is designed to provide a comprehensive, step-by-step approach to help you successfully complete this project. Whether you’re a DIY enthusiast or a beginner, following this guide will equip you with the knowledge, tools, and confidence to transform your outdoor area. By the end, you’ll know exactly how to pour a concrete patio that is both sturdy and visually appealing, creating a space you can enjoy for years to come.
Planning and Preparing for the Concrete Patio
Proper planning and preparation are essential to ensuring the success of your concrete patio project. Taking the time to consider each step carefully will save you time and effort while also helping create a durable and attractive result.
Choosing the Right Location
Begin by selecting the ideal spot for your concrete patio. Look for a flat, level area that has adequate drainage to prevent water from pooling around the patio. Avoid locations where structural interference, such as tree roots or underground utilities, may be an issue. Additionally, take note of foot traffic patterns and choose a space that complements your surroundings without obstructing daily activities.
Measuring and Marking the Area
Using a measuring tape, determine the dimensions of your planned patio and ensure it fits your intended use and layout. Once the measurements are finalized, mark the area’s perimeter with wooden stakes and string to create a visual guide. Double-check the dimensions to confirm accuracy and ensure the layout aligns with your overall design plan.
Gathering Necessary Materials and Tools
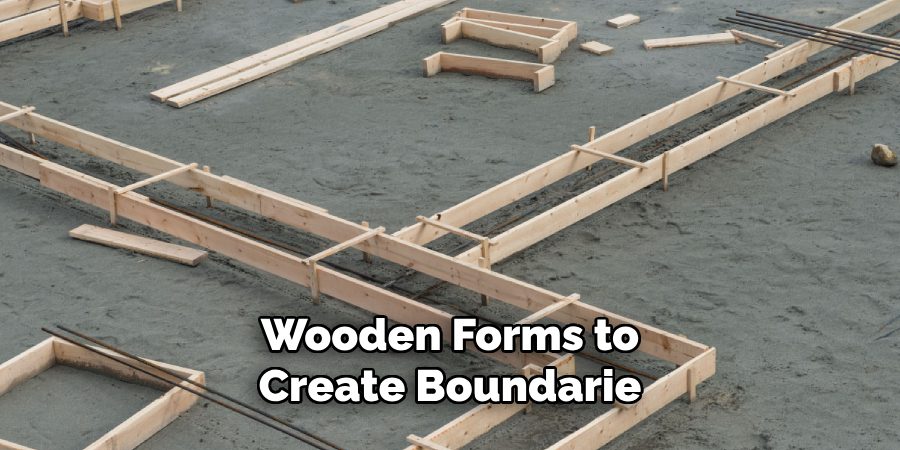
All the necessary materials and tools will make the process more efficient. Essential materials include concrete mix, rebar or wire mesh for reinforcement, gravel for the base layer, and wooden forms to create boundaries. You’ll need a shovel, wheelbarrow, level, trowel, hammer, and stakes. Ensuring you have quality materials and reliable tools will enhance your construction process and final results.
Proper planning will set a strong foundation for your concrete patio project, ensuring a smooth and successful build.
Excavating the Patio Area
Step 1: Digging the Area to the Correct Depth
Begin by excavating the marked area to a depth of about 4-6 inches, depending on the thickness of your planned concrete slab and base. A uniform depth is critical to ensure a stable and level foundation. While digging, maintain a slight slope of approximately 1/8 inch per foot to facilitate proper drainage away from the structure. This slope will prevent water from pooling on the surface of your patio. Use a level or measuring tools to check the depth and slope consistency as you work.
Step 2: Removing Large Debris
Once the area is excavated, carefully remove any large roots, rocks, or other debris that could interfere with the concrete pour or shift over time. Such obstacles can weaken the integrity of the slab or cause uneven surfaces. After clearing the area, compact the soil thoroughly using a plate compactor or tamper. A firm, well-compacted base will prevent settling or cracking in your concrete patio over time, contributing to the durability and longevity of your project. Take the time to double-check the area to ensure it’s properly prepped before moving forward to the next step.
Creating the Formwork for the Concrete Slab
Step 1: Building the Forms
To create the perimeter for your concrete patio, use 2×4 or 2×6 lumber as the formwork. These wooden boards will act as a mold to hold the concrete in place while it sets. Begin by placing the lumber along the edges of the excavated area, ensuring it aligns with your desired patio shape. Secure the formwork firmly by driving wooden or metal stakes into the ground at intervals of every 2 feet along the outside of the lumber. Make sure each stake is securely driven to prevent shifting during the concrete pour. Attach the lumber to the stakes using screws or nails, ensuring the boards are tightly connected.
Step 2: Ensuring the Forms Are Level and Square
Once the formwork is in place, use a level to check that the top edge of the form is even across the entire perimeter of the patio. This step is vital, as an uneven form will lead to an uneven concrete surface. Adjust the height of the boards or stakes as needed to achieve a level top edge. Next, confirm that the corners of the formwork are square using a square tool. Properly squared
corners (90-degree angles) will help maintain structural accuracy and ensure your patio’s clean, professional look. Take your time to make precise adjustments, as well-constructed formwork is a key foundation for a successful concrete pour.
Preparing the Foundation for the Concrete
Step 1: Adding Gravel or Crushed Stone
Start by creating a stable base for your concrete patio. Lay a 3-4 inch layer of gravel or crushed stone evenly across the ground within the formwork. This layer helps with drainage and prevents the concrete from shifting over time. Use a rake to spread the material uniformly, covering the entire area. Once in place, compact the gravel using a plate compactor or a hand tamper. Proper compaction is essential to produce a solid foundation that will support the weight of the concrete and resist settling.
Step 2: Installing Reinforcement
Reinforcement provides additional strength and durability to the concrete slab. Place rebar or wire mesh over the compacted gravel layer, ensuring it extends across the entire patio area. If using rebar, position the bars parallel and perpendicular to each other, forming a grid. Secure the intersections with wire ties to prevent movement. For wire mesh, simply lay it flat across the
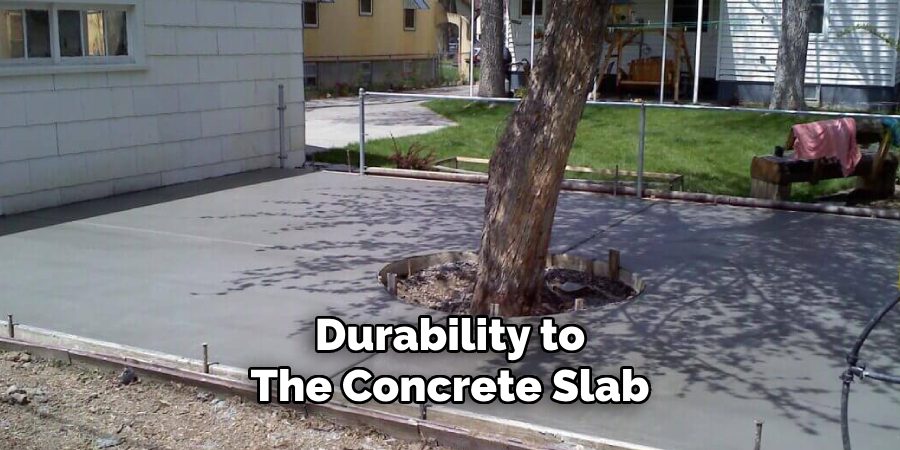
area. Ensure the reinforcement is slightly elevated off the gravel base by using small concrete or plastic spacers, allowing it to rest within the concrete once poured. Properly installed reinforcement helps minimize cracks and ensures a resilient, lasting structure for your patio.
How to Pour a Concrete Patio: Mixing and Pouring the Concrete
Step 1: Mixing the Concrete
Mixing the concrete correctly is crucial to ensure a strong and durable patio. Begin by using a wheelbarrow or a concrete mixer to combine the concrete mix with water. Refer to the manufacturer’s guidelines to determine the appropriate water-to-concrete
ratio, as using too much or too little water can weaken the mixture. Carefully add water in small increments, stirring thoroughly, until the concrete reaches a thick, workable consistency. The mixture should be uniform and free of dry clumps or excess liquid.
Step 2: Pouring the Concrete
Start pouring the mixed concrete into the prepared form, beginning at one patio corner. Gradually work your way across the area, ensuring the concrete fills all edges and corners of the form. Pour the concrete into manageable sections to maintain
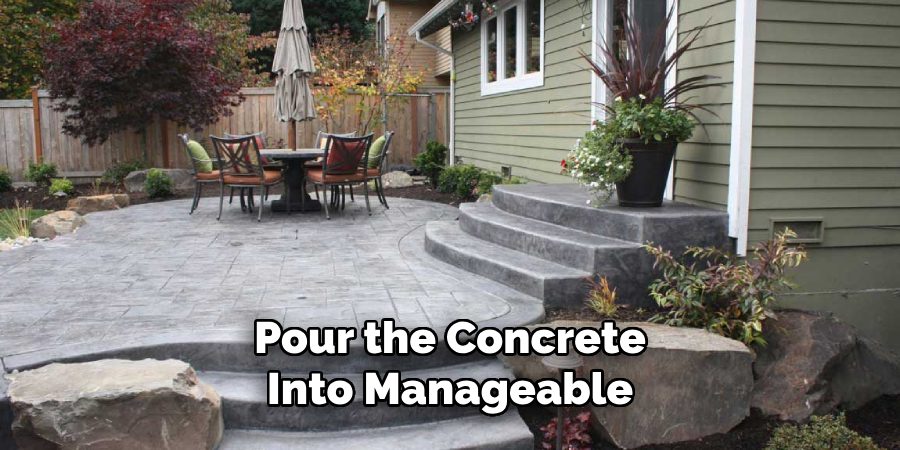
control and avoid gaps. Use a shovel or a rake to spread the concrete evenly, eliminating any air pockets that may weaken the structure. Be sure the mixture completely envelops the reinforcement placed earlier for optimal bonding and stability.
Step 3: Leveling the Concrete
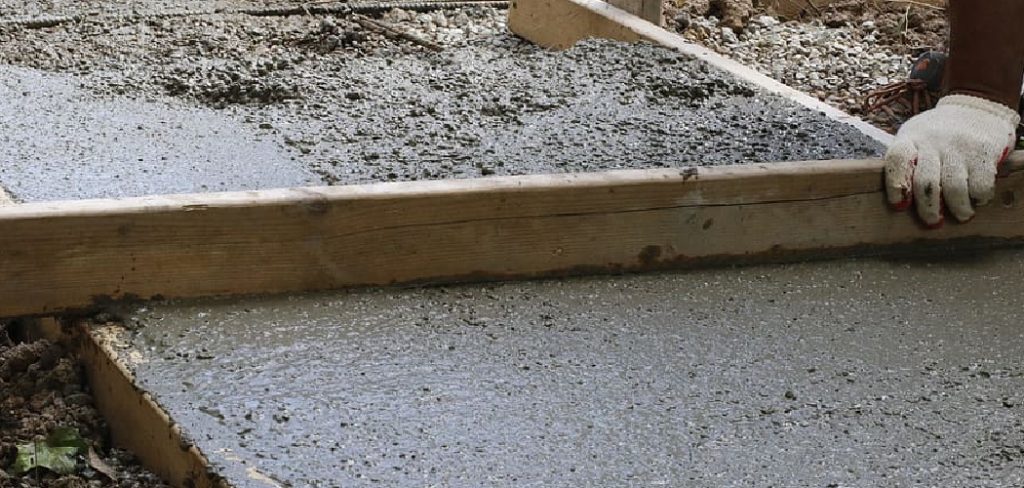
Once the form is filled, it’s time to level and smooth the surface. Take a straight 2×4 board and drag it across the top of the form, using a sawing motion to distribute the concrete evenly and remove excess material. This process, known as screening, ensures the patio has a level base and prepares the surface for finishing touches. Proper leveling at this stage is critical to achieving a flawless final result.
Finishing the Concrete Surface
Step 1: Floating the Surface
Once the concrete has been leveled, the next step is to float the surface. Use a bull float to smooth the concrete and ensure an even finish. Push the float across the surface in a sweeping motion to eliminate ridges and push any excess water (surface bleed) toward the edges of the form. This process also helps to compact the concrete slightly, enhancing its durability. Be sure to wait until the surface has firmed up slightly — not too wet or runny — before moving on to the next finishing stages. The timing is critical, as working the surface too early can lead to imperfections later.
Step 2: Troweling the Edges and Surface
After floating, use a trowel to polish and refine the surface further. Begin at the edges, smoothing out any roughness or imperfections carefully to achieve a uniform appearance. A hand trowel is handy for precise areas, especially along the perimeter. To add a professional touch, use a groover tool to define clean, straight lines around the edges, helping to prevent
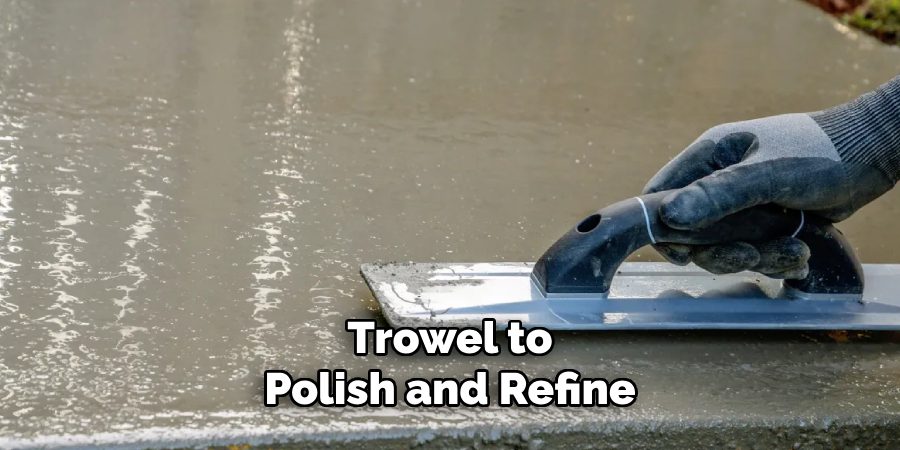
cracking as the concrete cures. Continue troweling across the patio surface to enhance the texture and create a smooth, finished look. Proper troweling ensures the concrete is well-prepared for curing and long-term use.
Curing and Sealing the Concrete Patio
Curing the Concrete
Once the finishing process is complete, it’s essential to focus on curing the concrete to ensure its strength and durability. Cover the surface with a plastic sheet or apply a curing compound to help retain moisture and prevent drying too quickly. Maintaining proper moisture during this phase is critical to minimize cracking and achieve optimal results. Allow the concrete to cure undisturbed for at least 7 days before walking on it or placing any furniture.
Sealing the Patio
After the concrete has fully cured, applying a concrete sealer is the next step to protect the patio from stains, moisture, and weather damage. A high-quality sealer helps repel water, prevent discoloration, and extend the life of the patio. Make sure the surface is clean and dry before applying the sealer in thin, even layers. To maintain the patio’s appearance and durability, reapply the sealer every 1-2 years as needed.
Conclusion
Learning how to pour a concrete patio can be a rewarding DIY endeavor that transforms your outdoor space. The key steps include thorough planning, precise digging, constructing sturdy forms, properly pouring the concrete, and carefully finishing the surface. Patience is essential, especially during curing, to ensure long-term strength and durability. Don’t rush through the stages; taking your time results in a patio that withstands the test of time. With proper preparation and attention to detail, anyone can successfully complete this project and enjoy the satisfaction of creating a functional and attractive patio with confidence and care.

Professional Focus
Oliver Wood, a passionate patio designer, specializes in creating comfortable and inviting outdoor spaces that enhance relaxation and entertainment. His work combines a deep understanding of design with a love for nature, making him a standout professional in the field of outdoor living spaces. Through his thoughtful approach, he transforms everyday patios into extraordinary retreats for family and friends.
About the Author
Oliver Wood, a skilled patio designer, shares his expertise on outdoor living through his designs and insights. With a background in patio design and a genuine passion for creating beautiful spaces, he encourages others to invest in their outdoor environments, enhancing their homes with functional and inviting spaces for relaxation and entertainment.
Education History
University: Virginia Union University
Oliver’s education equipped him with the knowledge and skills to design patios that merge aesthetics with comfort, transforming outdoor areas into beautiful extensions of the home.
Expertise:
- Patio Design and Outdoor Living Spaces
- Functional and Aesthetic Landscaping
- Comfortable and Inviting Outdoor Environments
- Design Philosophy for Family-Oriented Spaces
- Creating Spaces for Relaxation and Entertainment
