Building a small porch can add both functionality and charm to your home. Whether you want a cozy space to relax outdoors or an inviting entrance for guests, a well-constructed porch enhances curb appeal while serving practical purposes.
This guide on how to build a small porch will walk you through the basic steps and considerations for creating a durable and attractive small porch that suits your needs.

Needed Materials
Measuring Tape:
Before you begin your porch construction, it’s important to measure the space where you plan to build. This will determine how much material you will need for the project.
Decking Material:
Choose a durable decking material such as wood, composite, or PVC that complements the style of your home and fits within your budget. Be sure to also consider factors such as weather resistance and maintenance requirements when selecting your material.
Support Posts:
Support posts are essential for providing stability and strength to your porch structure. The number of support posts needed will depend on the size and weight capacity of your porch, as well as local building codes.
Fasteners:
To secure the decking material to the support posts, you will need fasteners such as screws or nails. Make sure to choose high-quality and weather-resistant fasteners for a long-lasting porch.
Tools:
To build your porch, you will need basic tools such as a saw, drill, level, and measuring tape. It’s also helpful to have clamps and a miter saw for more precise cuts. Keep all tools in good condition and use safety precautions while operating them.

8 Step-by-step Guidelines on How to Build a Small Porch
Step 1: Plan and Prepare
Before starting construction, take the time to create a detailed plan for your small porch. Begin by determining the purpose and size of the porch, as well as its location. Check local building codes and regulations to ensure your design complies with guidelines, including permits that may be required.
Draw a sketch or blueprint of your porch, outlining dimensions and structural details. Calculate the necessary materials and create a comprehensive list to avoid delays during construction. Finally, prepare the site by clearing the area of debris, leveling the ground, and marking the porch’s layout using stakes and string. Proper planning and preparation will set the foundation for a successful and efficient build.
Step 2: Set the Support Posts
With your plan finalized and the site prepared, the next step is to set up the support posts that will form the foundation of your porch.
Begin by marking the exact locations where the posts will be installed, ensuring they are evenly spaced and aligned with your design. Use a post-hole digger to dig holes at least 12-18 inches deep, or as required by your local building codes, to provide a stable base.
Place the support posts into the holes and check that they are plumb using a level. Pour concrete into each hole to secure the posts, filling them to ground level. Allow the concrete to cure according to the manufacturer’s instructions before proceeding to the next step. This ensures the support posts are solid and capable of bearing the load of your porch structure.
Step 3: Install the Decking Material
Once the support posts are in place, it’s time to install the decking material. Start by measuring and cutting the boards to fit between the support posts. Lay out the boards on top of the support posts, ensuring they are spaced evenly and aligned with your design.
Use fasteners to secure the boards in place, making sure they are level as you go. For added stability, consider adding diagonal bracing between each post and the deck board.
Step 4: Add Railings
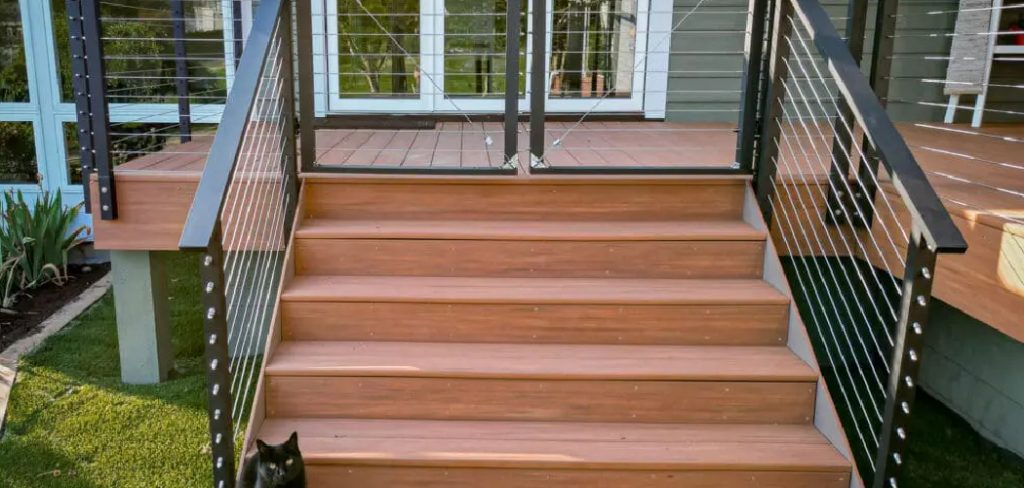
Adding railings to your small porch provides safety and enhances its overall appearance. Begin by measuring and marking the locations for the railing posts along the edges of the porch. Cut the railing posts to the appropriate height and attach them securely to the decking using brackets or screws, ensuring they are evenly spaced and plumb.
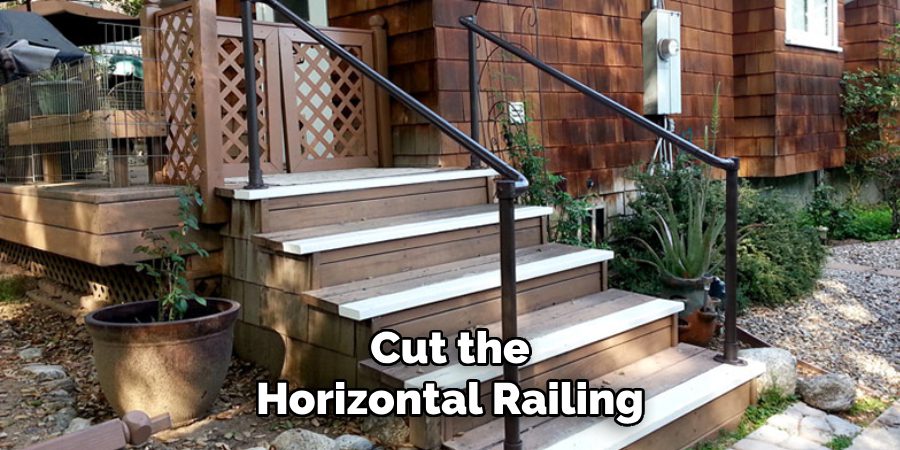
Next, measure and cut the horizontal railings to fit between the posts. Attach the railings to the posts using screws or nails, making sure they are level. Depending on your chosen design, you can also install balusters or spindles between the railings for additional support and aesthetic appeal.
Be sure to follow local building codes for spacing and height requirements to ensure safety compliance. Once all components are securely fastened, inspect the railings for stability and make any necessary adjustments.

Step 5: Install Stairs (If Needed)
For elevated porches, stairs are necessary to access the space. To install stairs, you will need to determine the number of steps needed based on the height of your porch and local building codes. Next, measure and cut stair stringers to fit between the porch decking and ground level. Secure the stringers to the porch using brackets or screws, making sure they are evenly spaced and plumb.
Next, attach each step to the stringers using fasteners. Finally, install a handrail on one or both sides of the stairs for added safety and support.
Step 6: Finishing Touches
With the main structure of your small porch complete, it’s time to add finishing touches. These may include decorative elements such as lighting fixtures, a roof or pergola for shade, or landscaping around the porch to enhance its appeal. Be sure to carefully consider each addition and how it will contribute to the overall function and appearance of your porch.
The finishing touches are also a great opportunity to add personal touches and make your porch feel like an extension of your home. Consider adding furniture, plants, or other decor that reflects your style and personality.
Step 7: Check for Safety and Stability
Before enjoying your new small porch, it’s essential to check for safety and stability. Inspect all components of the structure, including support posts, decking material, railings, and stairs. Make any necessary adjustments or repairs to ensure everything is secure and able to withstand regular use.
But don’t stop there – it’s important to regularly inspect and maintain your porch to ensure it remains safe and stable for years to come. Regular cleaning, repairs, and upkeep will help prevent any potential hazards or damage.
Step 8: Regular Maintenance
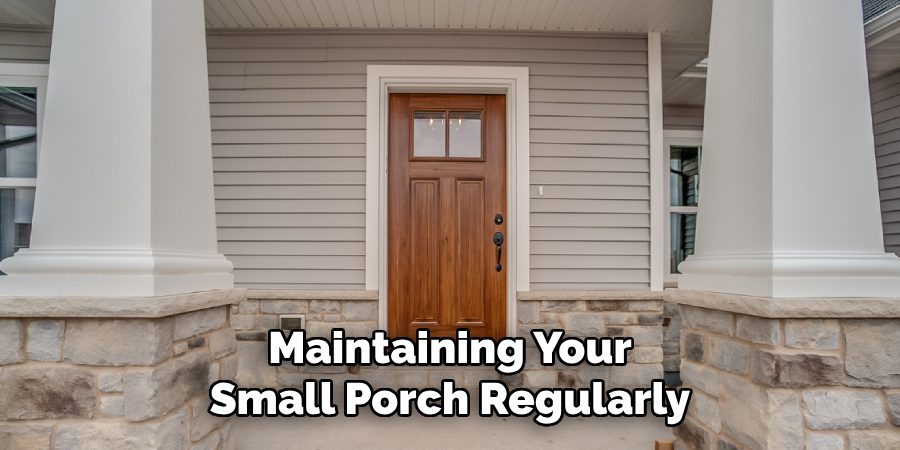
Maintaining your small porch regularly is essential to ensure its longevity and safety. Start by routinely inspecting the porch for signs of wear, such as loose fasteners, cracks in the wood, or rust on metal components. Clean the porch surface periodically to remove dirt, debris, and mildew, using appropriate cleaning solutions that won’t damage the materials. For wooden porches, consider applying a fresh coat of sealant or stain every couple of years to protect against weathering and moisture damage.

Following these simple steps on how to build a small porch and staying on top of regular maintenance will help extend the life of your small porch and keep it a safe and enjoyable space for years to come. Remember to always follow local building codes and guidelines, and don’t hesitate to seek professional assistance if needed. With careful planning, proper execution, and consistent upkeep, your small porch can become a beloved addition to your home that you can enjoy year-round. Happy building!
Safety and Maintenance Tips
- Always follow local building codes and guidelines when constructing a porch to ensure safety compliance.
- Regularly inspect and maintain your porch for any signs of wear or damage, and make necessary repairs promptly.
- Use appropriate cleaning solutions and methods to clean the porch surface without causing damage.
- Apply sealant or stain periodically to protect wooden porches against weathering and moisture damage.
- Seek professional assistance if needed for any complex construction or repair tasks.
- Consider adding diagonal bracing, balusters, or spindles to provide additional support and stability to the porch structure.
- Install railings and stairs according to local building codes to ensure safety compliance.
- Regularly check the stability of all porch components, including support posts, decking material, railings, and stairs.
- Personalize your porch with furniture, decor, and landscaping that reflects your style and personality.
- Enjoy your small porch year-round by taking proper precautions during extreme weather conditions such as high winds or heavy snowfall.

Frequently Asked Questions
Q1: Do I Need a Building Permit to Construct a Small Porch?
A1: It depends on the size, location, and materials of your porch. In some areas, a building permit is required for any porch structure over 30 inches tall, while others may have different requirements. It’s best to check with your local government or building department before beginning construction to ensure you are following all necessary regulations.
Q2: How Much Does it Cost to Build a Small Porch?
A2: The cost of building a small porch can vary greatly depending on the size, location, materials used, and any additional features such as railings or stairs. On average, a simple porch can cost anywhere from $500 to $10,000. It’s essential to consider your budget and prioritize which aspects of the porch are most important to you before beginning construction.
Q3: How Long Does it Take to Build a Small Porch?
A3: The time it takes to build a small porch can also vary depending on the complexity of the design and materials used. On average, a simple porch can take anywhere from 1-2 weeks, while more elaborate designs may take longer. It’s essential to plan ahead and allow enough time for construction before your desired completion date.

Conclusion
Building a small porch can be a rewarding project that adds value, functionality, and charm to your home. By carefully planning each step, following safety guidelines on how to build a small porch, and keeping up with regular maintenance, your porch can serve as a welcoming space for relaxation and socializing for years to come. Whether you choose a simple design or incorporate custom features, this addition provides an opportunity to enhance your home’s aesthetics and usability.
Remember, every detail matters – from the materials you use to the final decorative touches. With patience, dedication, and attention to detail, your small porch can become the perfect extension of your living space.

Professional Focus
Oliver Wood, a passionate patio designer, specializes in creating comfortable and inviting outdoor spaces that enhance relaxation and entertainment. His work combines a deep understanding of design with a love for nature, making him a standout professional in the field of outdoor living spaces. Through his thoughtful approach, he transforms everyday patios into extraordinary retreats for family and friends.
About the Author
Oliver Wood, a skilled patio designer, shares his expertise on outdoor living through his designs and insights. With a background in patio design and a genuine passion for creating beautiful spaces, he encourages others to invest in their outdoor environments, enhancing their homes with functional and inviting spaces for relaxation and entertainment.
Education History
University: Virginia Union University
Oliver’s education equipped him with the knowledge and skills to design patios that merge aesthetics with comfort, transforming outdoor areas into beautiful extensions of the home.
Expertise:
- Patio Design and Outdoor Living Spaces
- Functional and Aesthetic Landscaping
- Comfortable and Inviting Outdoor Environments
- Design Philosophy for Family-Oriented Spaces
- Creating Spaces for Relaxation and Entertainment
