Are you looking for ways to make your porch winter-ready? Don’t worry. We’ve got you covered!
Winterizing a porch is essential to prepare your home for colder months and ensure the space remains functional and protected from the elements. Harsh winter weather, including snow, ice, and freezing temperatures, can cause significant wear and tear on an exposed porch.
By taking the time to winterize properly, homeowners can extend the lifespan of their porch materials, improve energy efficiency, and create a cozy environment that can be enjoyed year-round. As a bonus, winterizing your porch can also help save on heating costs.
This guide on how to winterize a porch will walk you through key steps and tips to help you effectively winterize your porch. Let’s get started!

What Are the Benefits of Winterizing a Porch?
Before diving into the specific steps, let’s first understand why winterizing your porch is essential. Here are some key benefits:
- Protects Against Damage: By adequately preparing your porch for winter, you can prevent any potential damage caused by snow, ice, and freezing temperatures. This includes protecting against mold growth, rotting wood, and other structural damage.
- Extends Lifespan of Materials: Regular exposure to harsh winter weather can significantly decrease the lifespan of certain porch materials. Properly winterizing can help extend their longevity and save you from costly repairs or replacements.
- Improves Energy Efficiency: A well-insulated porch helps keep warm air inside your home, reducing the workload on your heating system and potentially lowering your energy bills.
- Creates a Cozy Space: A winterized porch can provide an additional living space for you and your family to enjoy during colder months. With the proper preparation, you can transform it into a cozy retreat to relax or entertain guests.
Now that we understand the benefits of winterizing a porch let’s take a closer look at the steps involved.
What Will You Need?
Before winterizing your porch, ensure you have the right tools and materials. Here’s a basic checklist to get you started:
- Cleaning supplies: This includes a broom, dustpan, mop, and any other cleaning products you may need.
- Gloves: Protecting your hands when handling potentially harsh chemicals or materials is always a good idea.
- Caulk gun and caulk: Caulk is used to seal any gaps or cracks in windows or doors to prevent cold air from entering.
- Weatherstripping tape: Similar to caulk, weatherstripping tape can be used to seal small openings that may let cold air in.
- Plastic window film and tape: This can help provide extra insulation for your windows.
- Insulation materials: Depending on your porch type, you may need additional insulation to keep it warm during winter.
- Outdoor rugs or mats: These can help protect your porch flooring from damage caused by ice and snow.
Now that you have everything you need let’s get started with the steps.

8 Easy Steps on How to Winterize a Porch:
Step 1: Clear the Porch
Before beginning any winterizing tasks, starting with a clean and organized porch is essential. Remove all furniture, decorations, plants, and other items from the porch. This ensures you have a clean workspace and can thoroughly inspect the area for any damage or areas that need attention.
Sweep the entire porch, including corners and crevices, to remove dust, dirt, and debris. Depending on the weather and condition of the porch flooring, you may also consider washing the surface with a hose or a mop to remove any stubborn grime.
Allow the porch to dry completely before moving on to the following steps, as a dry surface is critical for proper sealing and insulation. Taking the time to clear and clean your porch will provide a solid foundation for all the other winterizing activities.
Step 2: Inspect for Damage
Once the porch is clear and clean, thoroughly inspect the area for any signs of damage or wear. Look for cracks in the flooring, loose boards, or damaged railings that need repair. Pay close attention to areas around windows, doors, and joints, as these spots are prone to developing gaps and leaks over time.
If you notice any significant issues, such as rotting wood or structural problems, address these before proceeding with further winterizing. Making necessary repairs now will help ensure your porch is safe, sturdy, and better equipped to withstand harsh winter conditions.
Step 3: Seal and Protect
After addressing any necessary repairs, focus on sealing and protecting your porch from the elements. Apply a weather-resistant sealant or wood preservative to exposed wood surfaces to prevent moisture damage and warping during winter.
Use a concrete sealant to guard against cracks caused by freezing and thawing cycles for concrete porches. Ensure all sealants are evenly applied and allow them to dry completely according to the manufacturer’s instructions. Sealing your porch will help extend its lifespan and keep it looking great through even the harshest winter weather.
Step 4: Install Weatherproofing Accessories
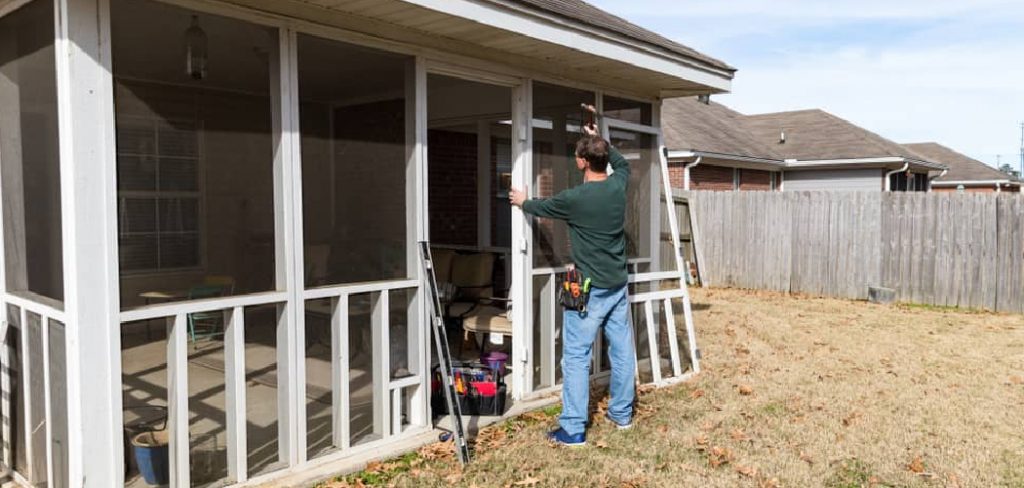
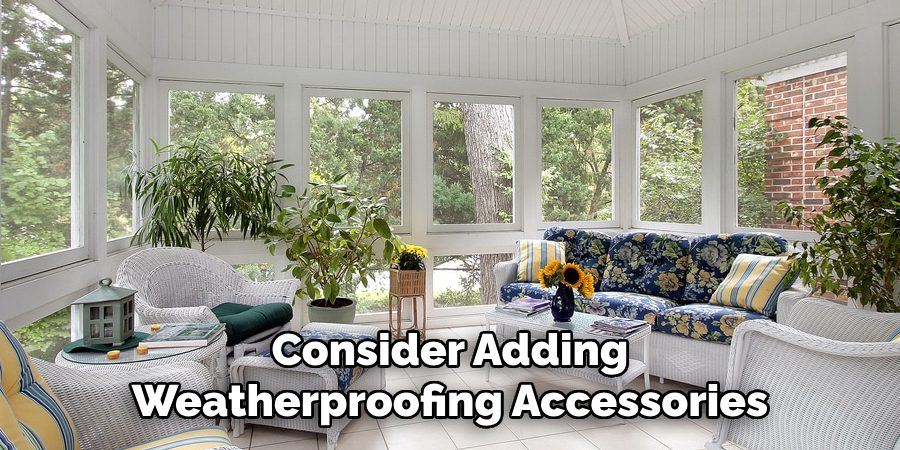
Consider adding weatherproofing accessories to protect your porch further and enhance its usability during winter. Install durable weatherstripping around doors to reduce drafts and prevent heat loss. Removable plastic window coverings or vinyl panels are used for screened porches to shield against wind and snow.
Adding an outdoor rug or floor mat can provide extra traction while protecting the surface during icy conditions. These accessories will protect your porch and make it more functional and comfortable throughout the colder months.

Step 5: Regular Maintenance During Winter
Perform regular maintenance checks to ensure your porch remains in good condition throughout the winter. Remove snow and ice promptly to prevent buildup, which can cause damage or create slippery conditions. Use a plastic shovel or a broom to clear snow, as metal tools may scratch or harm the surface.
Additionally, inspect for any signs of wear and tear, such as peeling sealant or loose weatherproofing accessories, and make repairs as needed. Maintaining your porch during winter will keep it safe and functional and minimize the need for extensive repairs once the season ends.
Step 6: Enhance Security and Lighting
Winter days are shorter, and decreased daylight can make outdoor spaces less safe. Install adequate lighting on your porch to ensure visibility during dark mornings and evenings. Solar-powered lights or LED fixtures are energy-efficient options for illuminating walkways and entryways.
Additionally, consider adding security features such as motion-detecting lights or smart cameras to monitor activity. These enhancements will improve safety and create a welcoming ambiance for your porch during the winter months.
Step 7: Add Winter Decor
Make your porch more inviting during the cold months by incorporating seasonal decor. Consider adding a wreath of evergreen branches or pine cones to your door, and use weather-resistant rugs or mats featuring winter-themed patterns.
Despite the cold weather, potted plants like hardy evergreen shrubs or artificial arrangements can bring life and color to the space. These simple touches will create a cozy and festive atmosphere, making your porch a pleasant entryway to your home.

Step 8: Protect Outdoor Furniture
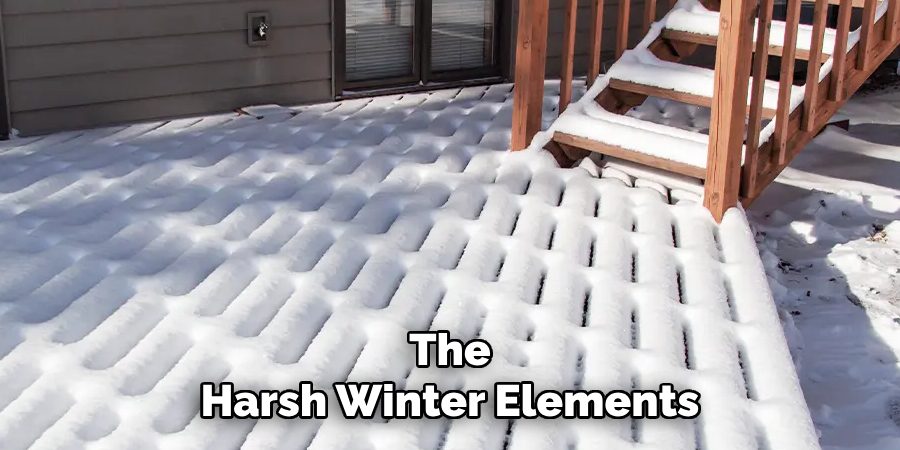
Ensure your porch furniture is ready to withstand the harsh winter elements by taking protective measures. Use weatherproof covers to shield chairs, tables, and other pieces from snow, ice, and moisture. Alternatively, consider storing lightweight or less durable items indoors for the season.
For furniture that remains outside, opt for durable, winter-resistant materials such as metal or treated wood, and add waterproof cushions to maintain comfort. Proper care will extend the lifespan of your outdoor furniture while keeping your porch functional and inviting throughout the colder months.
By following these steps and investing a little time and effort, your porch can remain a functional and enjoyable space throughout winter.
5 Things You Should Avoid
- Neglecting to Seal Cracks and Gaps: Failing to seal any cracks or gaps in the porch structure properly can allow cold air, moisture, and pests to enter, compromising the effectiveness of your winterization efforts.
- Using Improper Insulation Materials: Avoid using materials not designed for outdoor use, as they may deteriorate quickly in cold or wet conditions, leading to inefficiency and wasted effort.
- Skipping Routine Maintenance Before Winterizing: Ignoring essential maintenance, such as cleaning debris or repairing damaged areas, can result in more significant issues over the winter, as snow and ice can exacerbate existing problems.
- Overlooking Proper Ventilation: Sealing a porch too tightly without allowing for appropriate ventilation can lead to condensation and mold growth, damaging the structure and posing health risks.
- Not Protecting Furniture and Other Items: Leaving furniture or decorations exposed to harsh winter weather without covering or storing them can lead to unnecessary wear and tear, shortening their lifespan.

Conclusion
How to winterize a porch is a vital step in protecting your outdoor space and ensuring it remains functional and well-maintained throughout the colder months.
By carefully sealing gaps, using the correct insulation materials, performing routine maintenance, ensuring proper ventilation, and protecting furniture and other items, you can prevent costly damage and extend the lifespan of your porch. Taking the time to prepare now will help you enjoy your porch for years, no matter the season.
Hopefully, this guide has provided helpful tips and steps to winterize your porch successfully. Happy winterizing!
Professional Focus:
Arden Bernier is dedicated to exploring and advancing patio design and maintenance, combining practical knowledge with innovative solutions. Specializing in outdoor living spaces, he provides expert advice on patio fixes, landscaping, and sustainable outdoor design. With a focus on creating functional, aesthetic, and durable outdoor environments, Arden empowers homeowners to transform their patios into beautiful and relaxing retreats.
Vision:
To inspire and assist homeowners in creating functional, aesthetically pleasing outdoor spaces. Arden encourages creativity and practical problem-solving in patio design, making outdoor living more accessible and enjoyable for everyone.
Education:
- Bachelor of Arts (BA) in Environmental Design – University of California, Berkeley.
- Master of Science (MS) in Landscape Architecture – University of Southern California.
- Specialized training in sustainable landscape design, outdoor space planning, and eco-friendly materials.
Recognition:
- Author at PatioFixes.com, providing expert advice on patio maintenance and design.
- Featured in online platforms and home improvement blogs for valuable tips on patio fixes and outdoor living.
- Recognized for his contributions to making outdoor spaces more eco-friendly and sustainable.
Expertise:
Patio expert with a focus on creating functional, beautiful, and durable outdoor living spaces. Specialization includes:
- Patio design and construction
- Outdoor furniture and décor
- Landscaping and sustainable patio solutions
- Outdoor maintenance and repair techniques
