Are you tired of your boring brick patio sitting in the corner of your backyard for years? Do you want to give it a new and updated look without spending a fortune? Well, edging your brick patio might just be the solution you’re looking for!
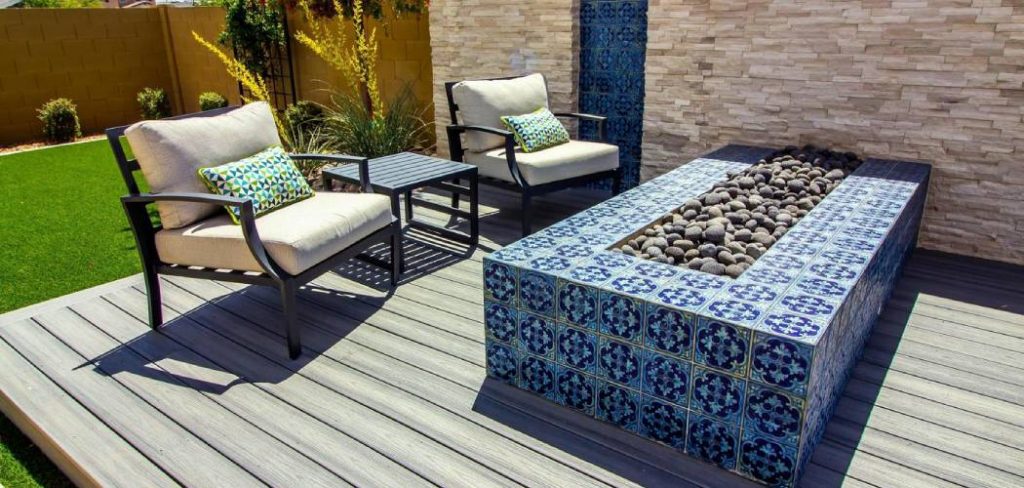
How to edge brick patio is an essential step to ensure its durability, functionality, and aesthetic appeal. Proper edging helps keep the bricks in place, prevents shifting over time, and creates a clean, polished look that enhances the overall design of your outdoor space. Whether you’re tackling a DIY project or refining an existing patio, understanding the basics of brick patio edging will help you achieve a professional and long-lasting result.
This guide will walk you through the tools, materials, and steps needed to edge your brick patio effectively.
What Are the Benefits of Edging Your Brick Patio?
Before we dive into the how-to’s, let’s first understand why edging your brick patio is necessary. Here are some benefits that come with this simple yet crucial step:
- Stability: Edging keeps the bricks in place and prevents them from shifting or sinking over time due to foot traffic or harsh weather conditions.
- Weed Control: A well-edged patio creates a barrier between the brick surface and surrounding grass or soil, minimizing weed growth and making maintenance easier.
- Visual Appeal: Proper edging gives your patio a clean and polished appearance, elevating its overall look and adding value to your home.
What Will You Need?
To edge your brick patio, you’ll need the following tools and materials:
- A shovel
- Edging stones or bricks
- Sand or gravel
- Hammer
- Chisel
Once you have all the necessary materials, you can start edging your brick patio!
10 Easy Steps on How to Edge Brick Patio
Step 1: Prepare the Area
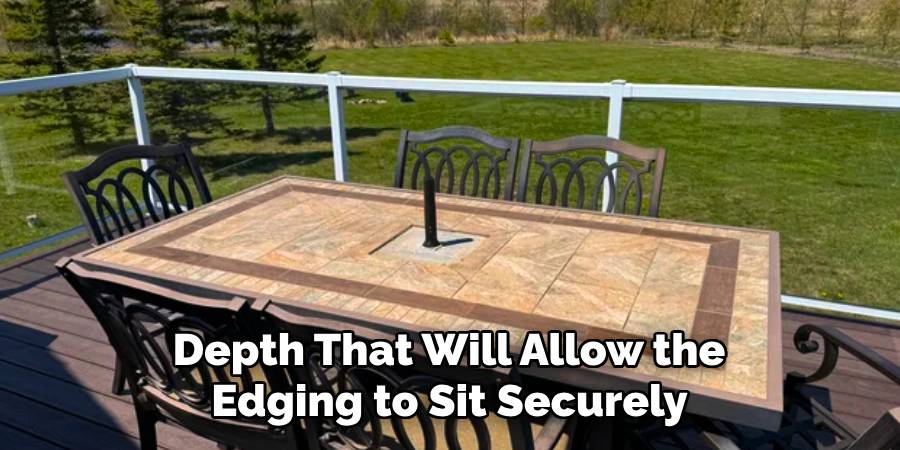
Begin by clearing the area around the edges of your brick patio. Remove any debris, grass, or soil that might be in the way. Use a shovel to dig a shallow trench along the patio’s perimeter where the edging will be installed. Ensure the trench is wide enough to accommodate the edging stones or bricks and dig to a depth that will allow the edging to sit securely in place while remaining slightly above the patio’s surface for proper support and aesthetics.
Take the time to ensure the trench is even and level, as this will make the installation smoother and result in a more professional-looking finish. Proper preparation at this stage will help ensure the edging stays stable and durable.
Step 2: Lay the Base Layer
Once the trench is prepared, it’s time to lay the base layer. Fill the bottom of the trench with a layer of coarse sand or crushed gravel. This layer will provide a stable foundation for the edging and help with drainage. Spread the material evenly along the trench and use a tamper or a hand tool to compact it firmly. Aim for a smooth, level base layer that is well-packed, as this will ensure the edging bricks or stones sit securely without shifting over time. Double-check the levelness before moving on to the next step.
Step 3: Position the Edging Materials
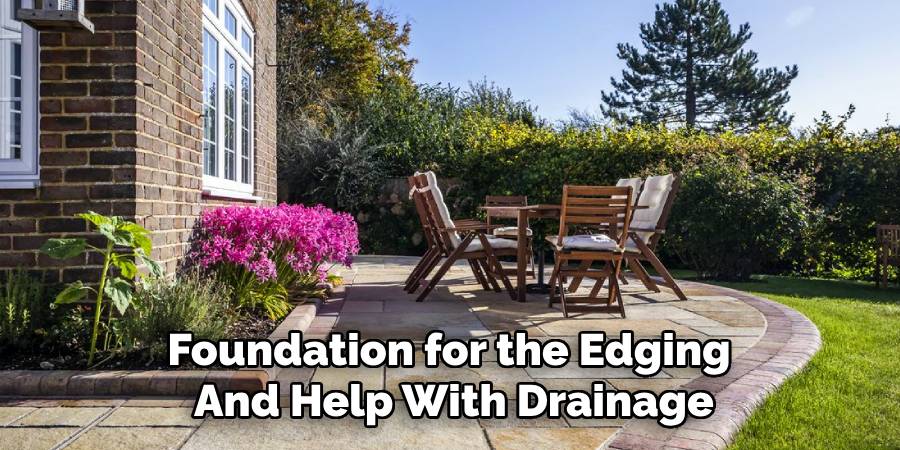
With the base layer in place, begin positioning the edging materials along the trench, such as bricks, stones, or prefabricated edging pieces. Place each piece carefully, firmly on the compacted base layer. For a seamless and uniform look, align the edges of the materials and check for consistent spacing between them. Use a rubber mallet to gently tap the edging into place, ensuring it is level and secure. Take your time during this step to adjust and align the pieces properly, as this will significantly affect the overall appearance and stability of the edging.
Step 4: Fill and Secure the Edging
Once all the edging materials are positioned and aligned, anchor the gaps around the edges with sand or soil. Gently spread material along both sides of the edging, packing it tightly to ensure stability and prevent shifting over time. You can use landscape adhesive or mortar for added security, particularly for heavier materials like stones or bricks. Finally, brush away any excess material and ensure the edging sits at a level. This step completes the installation, resulting in a neat and durable edge that enhances the appearance of your landscaping.
Step 5: Maintain Your Edging
Regular maintenance is essential to keep your edging looking its best over time. Periodically check for any shifting, cracks, or damage and make necessary adjustments or repairs. Remove weeds and debris that may accumulate along the edging to maintain its clean appearance. If the edging is made of materials like wood, consider applying a protective sealant to extend its lifespan. A little upkeep ensures your edging remains an attractive and functional part of your landscaping for years to come.
Step 6: Enhance Your Edging with Decorative Elements
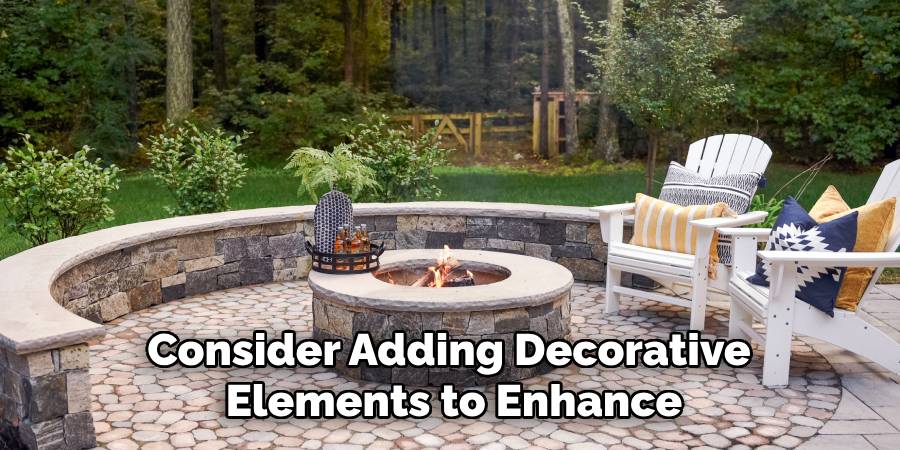
Once your edging is installed and maintained, consider adding decorative elements to enhance its visual appeal further. To create a polished and cohesive look, you can place decorative rocks, mulch, or small plants along the edge. Solar lights can also be added to illuminate the edging at night, providing both aesthetic charm and practicality. These finishing touches can elevate the overall appearance of your landscaping and make your outdoor spaces even more inviting.
Step 7: Evaluate and Adjust as Needed
After completing your edging project, take the time to evaluate the overall result and ensure it meets your expectations. Walk around your yard and inspect the edging from different angles to check for alignment, consistency, and visual balance. Make the necessary adjustments if you notice any areas that seem uneven or out of place. Over time, environmental factors like soil shifting or plant growth may affect the appearance of your edging, so periodic evaluations are essential. By addressing any issues promptly, you can keep your landscaping looking its best.
Step 8: Maintain Your Edging
Regular maintenance is key to preserve the integrity and aesthetic of your edging. Clear away dirt, debris, and any overgrown grass or weeds that may encroach on the edges. Trim nearby plants to prevent them from obstructing the clean lines of your edging. If you’ve used materials like stone or bricks, inspect them periodically for any displacement or damage and reposition as needed. Proper upkeep ensures that your landscaping continues to look sharp and well-defined year-round.
Step 9: Keep an Eye on Drainage
Proper drainage is essential for the longevity of your edging and the overall health of your landscaping. Inspect the area around your patio periodically to ensure no water pooling or excess moisture could cause damage. If you notice any issues, improve drainage, such as adding a rain gutter system or creating a slope away from the patio. By maintaining good drainage, you can prevent erosion and keep your edging in top shape.
Step 10: Enjoy Your Beautifully Edged Brick Patio!
Taking time to enjoy the results of your hard work is one of the most satisfying aspects of any landscaping project. Your beautifully edged brick patio is now a functional and aesthetic centerpiece, ideal for gatherings, relaxation, or simply taking in the scenery of your outdoor space. To make the most of your patio, consider adding furniture such as a dining table, chairs, or even a cozy seating area with cushions and throws for added comfort. Use potted plants or lanterns to create a warm, inviting atmosphere that complements your landscaping. Don’t forget to maintain this beautiful space by routinely cleaning the bricks, trimming overgrown plants, and addressing any changes in the surroundings caused by seasons or weather.
By following these steps, you can create a beautifully edged brick patio that adds value to your property and enhances the enjoyment of your outdoor living space.
5 Things You Should Avoid
- Not Preparing the Ground Properly: Skipping the step of leveling and compacting the ground can lead to uneven edges and instability. Always ensure the foundation is well-prepared to avoid future issues.
- Using the Wrong Materials: Selecting edging materials that are not durable or compatible with your patio style can cause long-term problems. Avoid low-quality or mismatched materials for a cohesive, lasting finish.
- Ignoring Drainage Requirements: Poor drainage can lead to water pooling and damage to the patio over time. Always consider water flow and ensure proper drainage systems are in place.
- Failing to Secure Edging in Place: Loose edges can shift and disrupt the structure of your patio. Make sure to anchor your edging with stakes or other securing methods firmly.
- Overlooking Maintenance: Neglecting regular upkeep can cause weeds, dirt, and debris to accumulate around the edges. Periodically clean and maintain the edges to preserve the patio’s appearance and functionality.
Conclusion
How to edge brick patio is a critical step in ensuring its durability, stability, and aesthetic appeal.
You can create a professional and long-lasting finish by avoiding common mistakes such as neglecting drainage, using inappropriate materials, or overlooking maintenance. Taking the time to prepare the foundation properly, select quality materials, and secure the edging will enhance your patio’s overall look and performance for years to come.
A well-edged brick patio provides a polished appearance and ensures the structure remains intact and functional, making it a worthwhile investment of effort and attention to detail.

Professional Focus
Oliver Wood, a passionate patio designer, specializes in creating comfortable and inviting outdoor spaces that enhance relaxation and entertainment. His work combines a deep understanding of design with a love for nature, making him a standout professional in the field of outdoor living spaces. Through his thoughtful approach, he transforms everyday patios into extraordinary retreats for family and friends.
About the Author
Oliver Wood, a skilled patio designer, shares his expertise on outdoor living through his designs and insights. With a background in patio design and a genuine passion for creating beautiful spaces, he encourages others to invest in their outdoor environments, enhancing their homes with functional and inviting spaces for relaxation and entertainment.
Education History
University: Virginia Union University
Oliver’s education equipped him with the knowledge and skills to design patios that merge aesthetics with comfort, transforming outdoor areas into beautiful extensions of the home.
Expertise:
- Patio Design and Outdoor Living Spaces
- Functional and Aesthetic Landscaping
- Comfortable and Inviting Outdoor Environments
- Design Philosophy for Family-Oriented Spaces
- Creating Spaces for Relaxation and Entertainment
