Are you tired of constantly replacing your patio chairs due to rips and tears? Don’t worry; with a little time and effort, you can quickly fix torn patio chairs yourself. Here are some simple steps to follow.

Patio chairs are a great addition to any outdoor space, providing comfort and style for relaxation or social gatherings. However, over time, wear and tear from regular use and exposure to the elements can cause the fabric or material of the chairs to tear or weaken. Fortunately, how to fix torn patio chairs is a simple and cost-effective way to extend their life and keep your outdoor area looking pristine.
Whether it’s replacing the fabric, repairing minor rips, or reinforcing the chair’s structure, this guide will walk you through the steps needed to restore your patio chairs and make them as good as new.
What Are the Causes of Torn Patio Chairs?
Before diving into the solutions, it’s essential to understand why your patio chairs may be experiencing tearing. Some common causes include:
- Exposure to harsh weather conditions such as rain, snow, or extreme heat
- Regular use and strain on the fabric or material
- Poor quality materials or construction
It’s also worth noting that some fabrics and materials are more prone to tearing than others. For example, canvas and mesh fabrics are known for their durability and tear resistance, while vinyl and plastic tend to be more susceptible.
What Will You Need?
The materials and tools you will need depend on the extent of the damage and the type of repair required. Here are some basic supplies to have on hand:
- Fabric or material for replacement (if necessary)
- Scissors
- Sewing machine or needle and thread
- Upholstery stapler
- Staple gun
- Foam padding (if repairing seat cushion)
- Screwdriver (if reinforcing structure)
Once you have gathered all the necessary supplies, it’s time to get started on fixing your torn patio chairs.
8 Easy Steps on How to Fix Torn Patio Chairs
Step 1: Assess the Damage

Carefully examine the tear or damage on your patio chair to determine the extent of the issue. Look for any frayed areas, loose threads, or structural damage that may need attention. This step will help you plan whether a simple patch or a more thorough repair is required. Ensure the chair is clean and dry before proceeding.
Step 2: Remove the Damaged Material
If the tear is severe or the material is beyond repair, carefully remove the damaged fabric or material from the chair. Use scissors or a utility knife to remove the torn section, ensuring clean edges. If the material is attached with staples or screws, use the appropriate tools, like a staple remover or screwdriver, to detach it without damaging the frame. This process will prepare the chair for replacement fabric or repairs.
Step 3: Measure and Cut Replacement Material
Start by measuring the dimensions of the area where the fabric or material needs to be replaced. Use a measuring tape to carefully record the length and width, ensuring accuracy to avoid misaligned or improperly fitting replacement material. Once you have the measurements, select a durable and weather-resistant fabric or material that complements your existing patio furniture.

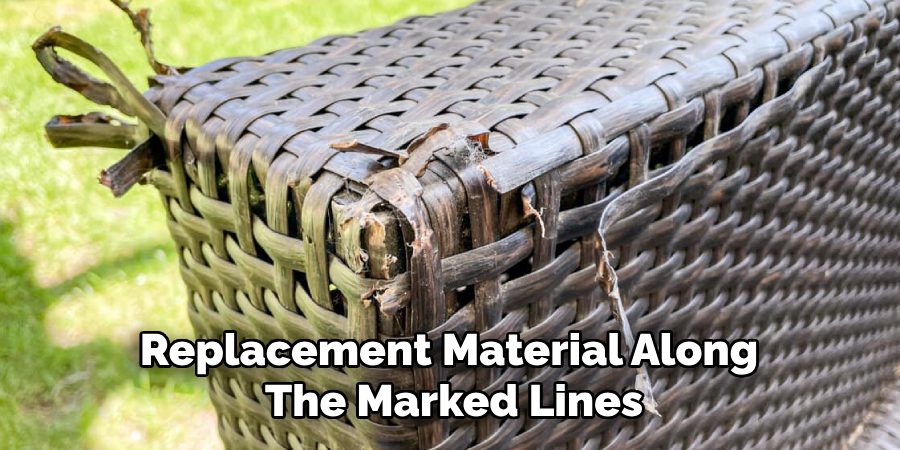
Mark the measurements onto the new material using a pencil or fabric chalk, double-checking them for precision. Then, use sharp scissors or a utility knife to cut the replacement material along the marked lines. Leave a small allowance, about an extra inch on each side, to secure the material to the chair frame. This ensures a snug and clean fit when the material is attached.
Step 4: Attach the Replacement Material
Begin by aligning the replacement material with the chair frame, ensuring it is appropriately centered and evenly positioned. Start securing the material by attaching it to one side of the frame using staples, screws, or a strong adhesive, depending on the chair’s design and the tools recommended by the manufacturer.
Gradually move to the opposite side, pulling the material taut to remove wrinkles and ensure a smooth appearance. Repeat this process for the remaining sides, working systematically to maintain even tension throughout. Once all sides are secured, trim any excess material and check that the fabric sits firmly and does not shift. This careful attachment step ensures the chair is both functional and aesthetically pleasing.
Step 5: Reassemble the Chair
Once the replacement material is securely attached, begin reassembling the chair. Reattach any components you removed earlier, such as the legs, armrests, or backing, using the original screws or fasteners. Ensure each piece is appropriately tightened to maintain the chair’s stability and structure. Double-check all connections to confirm the chair is sturdy and ready for use. Finally, give the chair a thorough inspection, ensuring the material is smooth and the assembly is complete. Your chair should now look refreshed and be ready for many more years of use.
Step 6: Final Touches and Maintenance

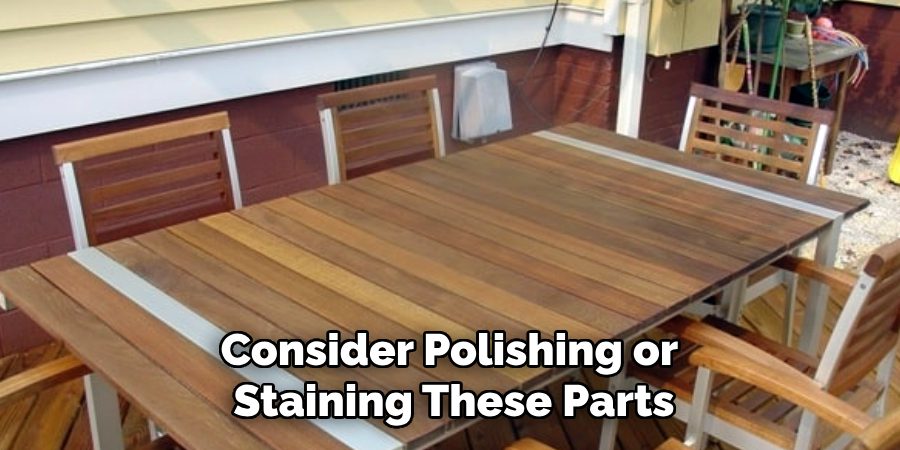
After reassembling the chair, take a moment to add any final touches. If the chair has wooden elements, consider polishing or staining these parts to enhance their appearance and protect the wood. Check for any scratches or rust for metal components and address them with appropriate treatments. Test the chair by sitting on it and adjusting any minor imperfections to ensure comfort and functionality. To maintain your newly restored chair, regularly clean the surface and inspect for any signs of wear or damage. Proper care will help preserve your work and extend the chair’s lifespan.
Step 7: Keep an Eye Out for Weak Points
Over time, even well-maintained chairs can develop weak points that compromise their stability and safety. It is crucial to routinely inspect areas where joints, bolts, or screws connect different parts of the chair, as these are common points of stress. Pay particular attention to wooden chairs, as fluctuations in humidity and temperature can cause the wood to expand or contract, potentially loosening joints. For metal chairs, look out for any signs of rust or corrosion that might weaken structural integrity. Addressing these issues early can prevent more significant problems and ensure your chair remains sturdy and reliable. Regular tightening of loose screws or joints and applying protective finishes will go a long way in maintaining the chair’s durability and functionality.
Step 8. Enjoy Your Restored Chair

Now that your chair is fully restored, it’s time to enjoy the fruits of your labor. Place the chair in your desired location, indoors or outside, and admire the transformation. Take pride in your effort to revive it, turning it into a functional and attractive piece once again. If the chair has sentimental value, this process may add more meaning to its use. Invite friends or family to try it out and share the story of its restoration. With proper maintenance, your chair will continue to be a practical and cherished item for years.
By following these steps, you can restore your patio chair and extend its lifespan, saving it from the landfill and giving it new life.
5 Things You Should Avoid
- Using the Wrong Materials: Avoid using low-quality or improper materials that cannot withstand outdoor conditions. Opt for durable, weather-resistant fabrics and strong adhesives designed for outdoor furniture.
- Ignoring Proper Measurements: Failing to measure the torn section correctly can result in a poorly fitted repair, making the chair look awkward or less functional. Always measure carefully before cutting or attaching any materials.
- Skipping Surface Preparation: Neglecting to clean and prepare the chair’s surface can cause adhesives, patches, or repairs to fail prematurely. Make sure to wash and dry the affected area thoroughly before beginning repairs.
- Over-Tightening Screws or Fasteners: When using screws or fasteners to secure new fabric or support, overtightening can damage the frame or cause uneven stress. Tighten them carefully to avoid ruining the structure of the chair.
- Rushing the Repair Process: Fixing torn patio chairs takes time and patience. Avoid rushing, as this can lead to mistakes or shortcuts that compromise the durability and overall quality of the repair. Take your time to ensure a thorough and lasting fix.
Can You Glue Fabric to a Chair?
Yes, you can glue fabric to a chair using a strong, weather-resistant adhesive. However, it is essential to select the correct type of adhesive for the fabric and surface of your chair. Some adhesives may work better with certain materials, such as wood or metal, so be sure to read the instructions carefully before applying.
It is also essential to properly prepare the surface before gluing. Clean and dry the area thoroughly to ensure a strong bond between the fabric and the chair. Additionally, consider reinforcing any torn or weak areas with patches or extra layers of cloth before applying the glue.
While glue can provide a quick fix for torn patio chairs, remember that it may not be as durable as other repair methods, such as sewing or replacing the fabric entirely. It is essential to regularly inspect and maintain your outdoor furniture to avoid further damage and ensure its longevity.
Conclusion
How to fix torn patio chairs can be a straightforward process if approached with the right tools and techniques.
Depending on the severity of the damage, you can choose between sewing, replacing the fabric, or applying adhesive for minor tears. Each method has its benefits, with replacement offering the longest-lasting results and glue providing a quick and efficient fix. By adequately preparing the materials and following maintenance practices, you can extend the life of your outdoor furniture and keep it looking great for years to come.
Regular inspections and timely repairs are key to preserving your patio chairs’ appearance and functionality.

Professional Focus
Oliver Wood, a passionate patio designer, specializes in creating comfortable and inviting outdoor spaces that enhance relaxation and entertainment. His work combines a deep understanding of design with a love for nature, making him a standout professional in the field of outdoor living spaces. Through his thoughtful approach, he transforms everyday patios into extraordinary retreats for family and friends.
About the Author
Oliver Wood, a skilled patio designer, shares his expertise on outdoor living through his designs and insights. With a background in patio design and a genuine passion for creating beautiful spaces, he encourages others to invest in their outdoor environments, enhancing their homes with functional and inviting spaces for relaxation and entertainment.
Education History
University: Virginia Union University
Oliver’s education equipped him with the knowledge and skills to design patios that merge aesthetics with comfort, transforming outdoor areas into beautiful extensions of the home.
Expertise:
- Patio Design and Outdoor Living Spaces
- Functional and Aesthetic Landscaping
- Comfortable and Inviting Outdoor Environments
- Design Philosophy for Family-Oriented Spaces
- Creating Spaces for Relaxation and Entertainment
