Insulating a garage ceiling is an effective way to improve energy efficiency, regulate temperature, and make the space more comfortable year-round. Whether you use your garage as a workspace, storage area, or simply to park your vehicles, proper insulation can prevent heat loss in the winter and reduce heat buildup in the summer.
This guide on how to insulate a garage ceiling will walk you through the steps and considerations needed to insulate a garage ceiling effectively, ensuring you get the most out of your effort and investment.
What is Garage Ceiling Insulation?
Garage ceiling insulation is the process of adding a layer or barrier that prevents heat loss and transfer between the garage and the living space above it. It usually involves installing insulation materials on top of the ceiling, between the joists, or even attached to the roof rafters.
There are several types of insulation materials available, such as fiberglass, cellulose, foam boards, and spray foam. Each has its advantages and disadvantages in terms of cost, effectiveness, and ease of installation.
Factors to Consider Before Insulating Your Garage Ceiling
Before diving into the actual steps of insulating your garage ceiling, there are a few factors you should consider:
Climate
The climate in your area will play a significant role in determining the type and amount of insulation you need. If you live in a colder climate, you’ll want to choose materials with higher R-values (thermal resistance) to keep the heat inside during the winter. In warmer climates, consider materials that can also provide some soundproofing and prevent heat buildup.
Garage Usage
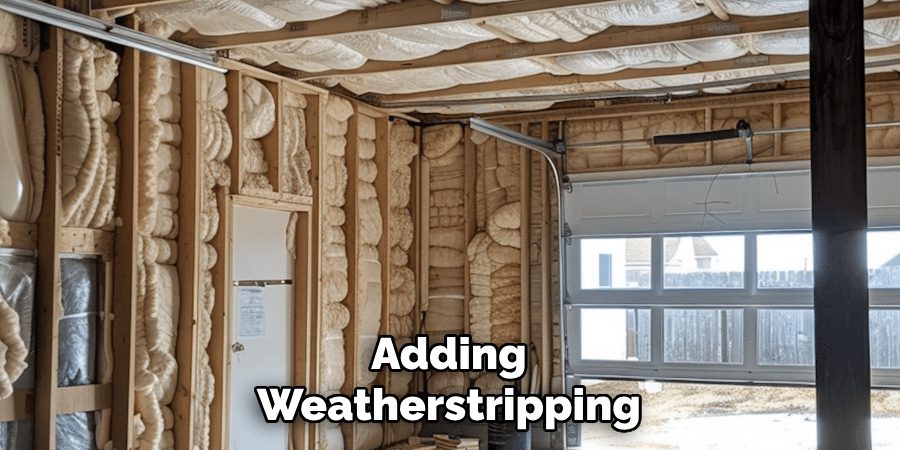
How you use your garage will also impact your insulation choices. If it’s solely used for parking vehicles, then simply insulating the ceiling may be enough. However, if the garage is used as a workspace or storage area, additional measures like sealing air leaks and adding weatherstripping may be necessary to maintain a comfortable temperature.
Access
Consider how easy it is to access your garage ceiling. If you have a finished living space above the garage, accessing and insulating the ceiling may be more challenging and require professional help.
Building Codes
Check with your local building codes before starting any insulation project. They may have specific requirements for insulation types, materials, and installation methods that need to be followed.
7 Steps on How to Insulate a Garage Ceiling
Step 1: Measure and Calculate the Area
Before purchasing insulation materials, start by measuring the dimensions of your garage ceiling to calculate the total area that needs to be insulated. Use a measuring tape to determine the length and width of the ceiling, multiplying these values together to find the total square footage. If your garage ceiling has irregular shapes or features, such as beams or ducts, take these into account by breaking the ceiling into smaller sections and calculating the area for each section separately.
This precise measurement ensures you buy the correct amount of insulation material, minimizing waste and keeping costs under control. Always add a small buffer of extra material to account for any errors or adjustments during installation.
Step 2: Choose the Insulation Material
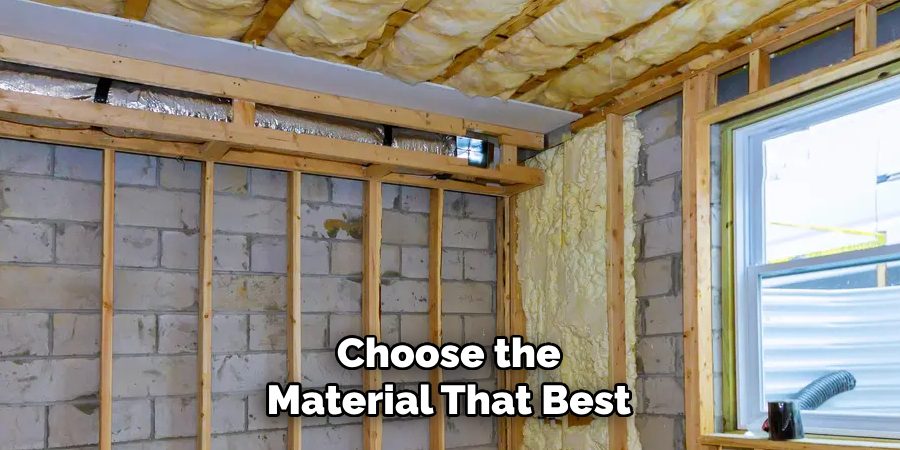
Selecting the right insulation material is a crucial step in ensuring the effectiveness of your project. There are several options available, each with its own benefits and drawbacks. Common materials include fiberglass batts, rigid foam boards, cellulose, and spray foam.
Fiberglass Batts
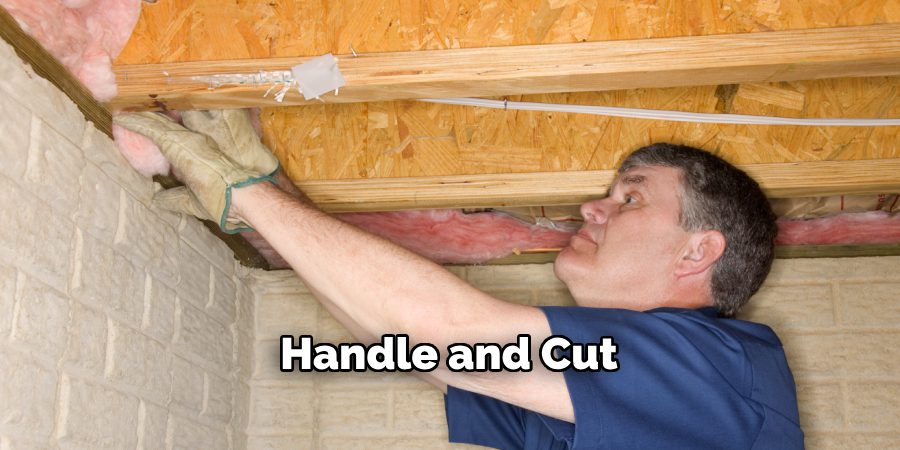
These are an affordable and widely used option, known for their ease of installation and availability in various R-value levels. They come in pre-cut panels, making them easy to handle and cut into the desired size for your ceiling. However, they can be messy and irritating to work with due to their small glass fibers.
Rigid Foam Boards
These boards are lightweight and simple to install, providing excellent insulation properties. They are great for garages with limited headroom as they require less thickness than other materials to achieve the same R-value. However, they may not be suitable for areas with high moisture levels without proper vapor barriers.
Cellulose Insulation
This material is made from recycled paper or plant-based materials, making it an eco-friendly choice. It also has a higher R-value per inch compared to other materials, providing better insulation. However, it requires specialized equipment for installation and can be messy to work with.
Spray Foam
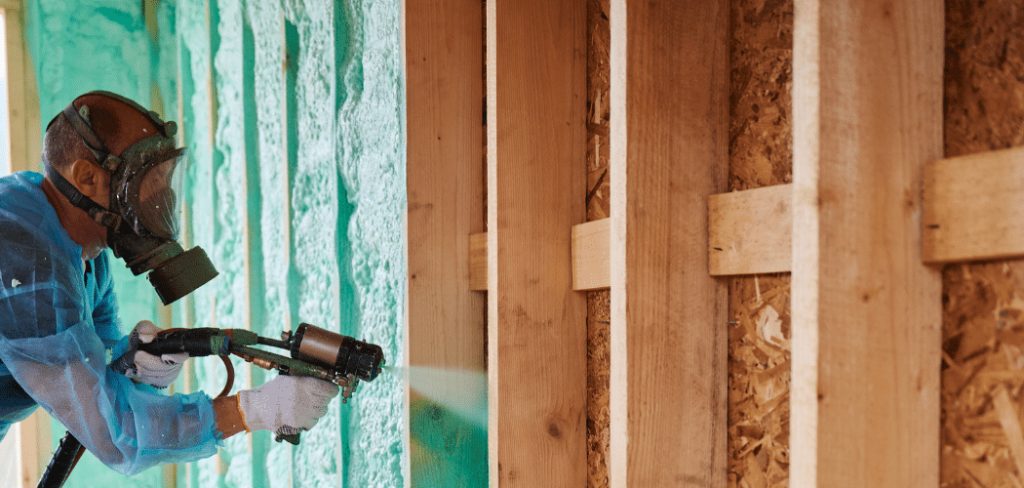
This option provides the most effective insulation but also comes at a higher cost. It expands as it dries, filling in all gaps and creating an airtight seal. This makes it perfect for insulating irregularly shaped ceilings or areas with air leaks. However, it requires professional installation and special protective gear due to its chemical properties.
Step 3: Prepare the Ceiling
Proper preparation of your garage ceiling is key to ensuring a smooth and effective insulation process. Start by clearing any obstacles or dust from the ceiling area. Use a broom or vacuum to remove cobwebs, dirt, and debris that might interfere with the insulation. If your garage ceiling has existing drywall or paneling, determine whether it needs to be removed or if the insulation can be installed directly over it, depending on the material type you’ve chosen.

Next, inspect the ceiling for any signs of damage, such as cracks, holes, or moisture issues, and repair these before proceeding. Seal any gaps or air leaks using caulk or expanding foam to improve the insulation’s overall efficiency. For ceilings with exposed joists, ensure the space between them is free of nails, screws, or obstructions, as these can hinder the installation process. Finally, gather all necessary tools and safety equipment, such as gloves, goggles, and a face mask, to protect yourself during the installation, especially if working with fiberglass or spray foam. Preparing the ceiling thoroughly will help the insulation adhere properly and maximize its performance.
Step 4: Install a Vapor Barrier
If you live in a climate with high humidity, it’s essential to install a vapor barrier before adding any insulation. This layer of plastic or foil material prevents moisture from seeping into your ceiling and causing mold growth or water damage. Place the barrier over the joists, ensuring that all seams are sealed properly using tape or staples.
You can also consider using faced insulation, which comes with a kraft paper or foil backing that acts as a vapor barrier.
Step 5: Install the Insulation
Start by placing the insulation material between the ceiling joists, making sure it fits snugly and covers the entire area without leaving any gaps or spaces. Use a utility knife to trim any excess material if necessary. For fiberglass batts, wear protective gear and handle them carefully to avoid skin irritation. For rigid foam boards, cut them into smaller pieces if needed and use adhesive or tape to secure them in place. Cellulose should be blown in using specialized equipment, while spray foam requires professional installation.
Be careful not to compress the insulation, as this reduces its effectiveness. For areas with wires or pipes running through the ceiling, use wire supports or plastic piping to create an air gap between them and the insulation.
Step 6: Seal Gaps and Air Leaks
Once the insulation is installed, take the time to thoroughly seal any remaining gaps or air leaks in your garage ceiling. Even small gaps can significantly reduce the effectiveness of your insulation by allowing air to escape or enter. Use caulking or expanding foam to seal around edges, corners, and any areas where the insulation doesn’t create a perfect fit, such as around ducts, pipes, or wiring.
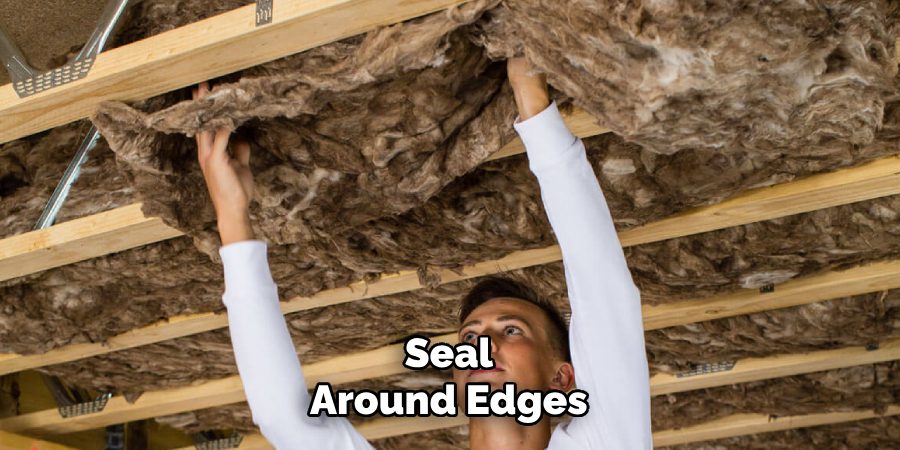
For larger gaps or open spaces, consider using additional pieces of rigid foam boards or other insulating materials to cover these areas before sealing them. Make sure the sealant or foam you use is compatible with your insulation material to prevent any adverse reactions. By carefully addressing air leaks, you’ll enhance the overall energy efficiency of your insulation project, ensuring a more comfortable and cost-effective garage environment.
Step 7: Finish the Ceiling
If you removed any existing drywall or paneling, now is the time to replace it. Alternatively, you can opt for a suspended ceiling system, which provides easy access to pipes and wiring while also improving the insulation’s overall efficiency. Consider adding a layer of drywall over your insulation for added protection and improved aesthetics. You can also paint or add finishing touches to match your garage’s décor and personal style.
With these steps completed, your garage ceiling should be well-insulated and ready to withstand any weather conditions while keeping your space comfortable and energy-efficient. Remember to regularly check for any signs of damage or deterioration in your insulation and make necessary repairs to maintain its effectiveness.
Following these steps on how to insulate a garage ceiling will not only improve the insulation of your garage, but it can also potentially increase the value of your home and save you money on energy costs. So, why wait? Get started on insulating your garage ceiling today and enjoy the benefits for years to come!
Frequently Asked Questions
Q1: Can I Insulate My Garage Ceiling by Myself?
A: It is possible to insulate your garage ceiling on your own, but it may require specialized equipment and can be messy. It is recommended that you hire a professional for spray foam insulation if you are not comfortable with DIY projects. However, installing batt insulation or rigid foam boards can be done by following proper safety measures and instructions.
Q2: Is it Important to Seal Gaps in My Garage Ceiling?
A: Yes, sealing gaps and air leaks is crucial to the effectiveness of your garage ceiling insulation. These gaps allow air to escape or enter, reducing the insulation’s overall performance and potentially increasing energy costs. It also helps prevent moisture from entering and causing damage to your ceiling or insulation.
Q3: What is the Best Insulation Material for My Garage Ceiling?
A: The best insulation material for your garage ceiling depends on various factors such as your budget, climate, and personal preference. Fiberglass batts, rigid foam boards, cellulose, and spray foam are popular options. Be sure to research and choose the material that best suits your needs and budget. However, it is recommended to consult a professional for advice on the most suitable insulation material for your specific garage.
Conclusion
Properly insulating your garage ceiling is a worthwhile investment that enhances both comfort and energy efficiency in your home. By following the steps on how to insulate a garage ceiling outlined above, you can create a well-insulated space that reduces heat loss in the winter and prevents excessive heat gain in the summer. Not only does this improve the overall usability of your garage, but it can also lead to significant energy savings and contribute to a more environmentally friendly household.
With thorough preparation, the right materials, and attention to detail during installation, your garage ceiling insulation project is sure to deliver lasting value and satisfaction. Whether you’re tackling this project yourself or hiring professionals, the benefits of a well-insulated garage are undeniable. Take the first step today and enjoy the comfort and cost savings for years to come!
Professional Focus:
Arden Bernier is dedicated to exploring and advancing patio design and maintenance, combining practical knowledge with innovative solutions. Specializing in outdoor living spaces, he provides expert advice on patio fixes, landscaping, and sustainable outdoor design. With a focus on creating functional, aesthetic, and durable outdoor environments, Arden empowers homeowners to transform their patios into beautiful and relaxing retreats.
Vision:
To inspire and assist homeowners in creating functional, aesthetically pleasing outdoor spaces. Arden encourages creativity and practical problem-solving in patio design, making outdoor living more accessible and enjoyable for everyone.
Education:
- Bachelor of Arts (BA) in Environmental Design – University of California, Berkeley.
- Master of Science (MS) in Landscape Architecture – University of Southern California.
- Specialized training in sustainable landscape design, outdoor space planning, and eco-friendly materials.
Recognition:
- Author at PatioFixes.com, providing expert advice on patio maintenance and design.
- Featured in online platforms and home improvement blogs for valuable tips on patio fixes and outdoor living.
- Recognized for his contributions to making outdoor spaces more eco-friendly and sustainable.
Expertise:
Patio expert with a focus on creating functional, beautiful, and durable outdoor living spaces. Specialization includes:
- Patio design and construction
- Outdoor furniture and décor
- Landscaping and sustainable patio solutions
- Outdoor maintenance and repair techniques
