Building a covered patio is a fantastic way to enhance your outdoor living space, creating a comfortable area for relaxation, entertainment, or dining. With its ability to shield against harsh sunlight and rain, a covered patio allows you to enjoy the outdoors in various weather conditions while adding a touch of style and functionality to your home.
Beyond its practical benefits, a well-designed patio can significantly boost your property’s aesthetic appeal and value.
This guide is designed to provide you with clear, step-by-step instructions on how to make a covered patio that is both sturdy and visually appealing.
Whether you’re aiming for a simple, minimalist design or a more elaborate structure, this guide will help you bring your vision to life. Following these steps, you can create a durable and inviting space perfectly suited to your lifestyle and preferences.
Choosing the Right Location for Your Covered Patio
Evaluating the Space
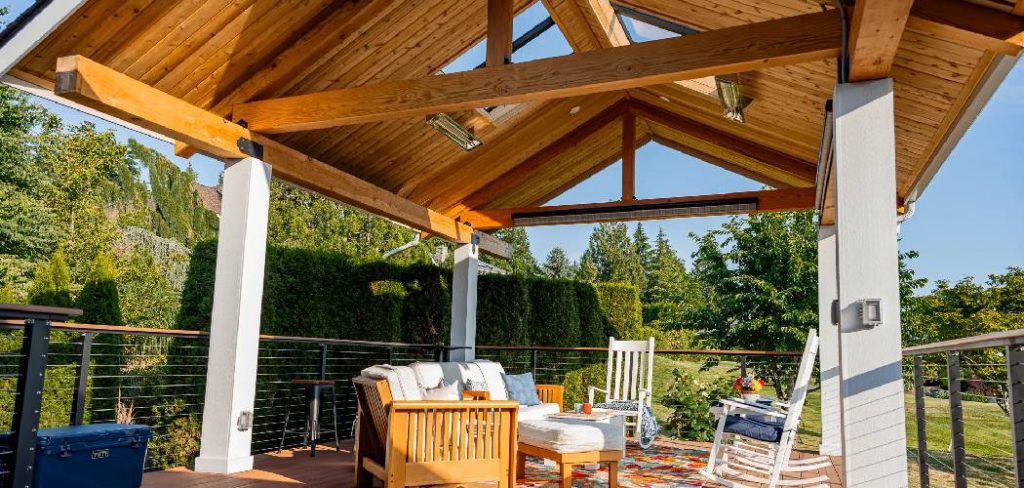
Selecting the ideal location for your covered patio starts with evaluating your outdoor space. Consider how the patio will integrate with your home, ensuring proximity to frequently used rooms, such as the kitchen or living area, for added convenience.
Privacy is another key factor—choose a spot that offers seclusion from neighboring properties or street views. Additionally, accessibility is crucial, as the patio should be easy to access from your home while also providing a smooth transition to the rest of the yard.
Legal Considerations
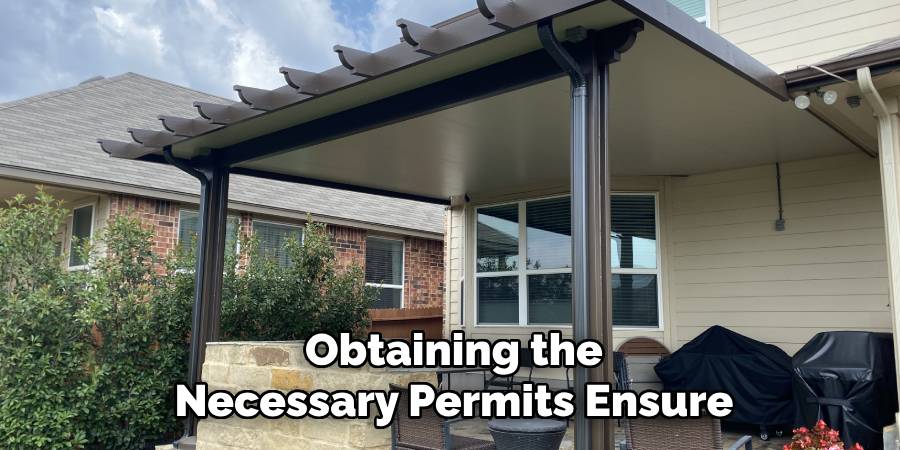
Before starting construction, it’s essential to review local zoning laws, permits, and building codes. Some municipalities have regulations regarding the size, height, and placement of covered patios.
Be sure to contact your local government or homeowners’ association for guidelines to avoid potential fines or complications. Obtaining the necessary permits ensures your project aligns with legal standards and avoids delays.
Site Preparation
Once the location is selected, focus on preparing the site. The ground should be level to support a stable structure, which might require grading or soil adjustments. Remove any obstructions such as bushes, large rocks, or debris to create a clean and workable area for construction. Proper preparation ensures a solid foundation for your covered patio.
Designing Your Covered Patio
A well-designed covered patio blends seamlessly with your home’s architecture while meeting your practical needs. Here are key aspects to consider during the design phase:
Selecting a Roof-Style
The roof style you choose not only affects the patio’s appearance but also its functionality. Gable roofs are a popular choice for their classic triangular shape, offering excellent drainage and a spacious feel.
Hip roofs provide a more compact and wind-resistant option, making them ideal for areas with fluctuating weather.
Flat roofs are modern and minimalist, blending effortlessly with contemporary homes, while pergola-style roofs offer partial coverage, perfect for those looking to combine shade and sunlight. Consider your climate, aesthetic preferences, and maintenance requirements when selecting a roof style.
Determining the Size
The size of your covered patio should correspond to its intended purpose and the layout of your home. A smaller footprint may suffice for cozy gatherings, while larger patios are ideal for alfresco dining or outdoor kitchens.
Remember that the patio should harmonize with your yard’s size, avoiding a design that feels overly cramped or disproportionately large. Carefully measure your space and plan for enough room for furniture and easy movement.
Choosing Materials
Materials play a significant role in the patio’s durability and look. Wood provides a warm, natural aesthetic for the frame, though it requires more maintenance. Metal offers sleek durability and weather resistance, while vinyl is a low-maintenance yet versatile option.
For your roofing, consider polycarbonate for translucent strength, metal for longevity, or fabric for a softer touch. Combining materials smartly can enhance both functionality and visual appeal.
Gathering Materials and Tools
Before beginning your covered patio project, gathering all the necessary materials and tools is essential to ensure a smooth and efficient process. Having the right resources on hand will save time and help achieve a sturdy and visually appealing result.
Essential Materials
Key materials include lumber for the frame, concrete for anchoring posts, and your chosen roofing materials—such as polycarbonate, metal sheets, or fabric. Additionally, you’ll need screws, nails, and fasteners to assemble everything securely. These materials form the backbone of your patio and directly impact its stability and longevity.
Tools Needed
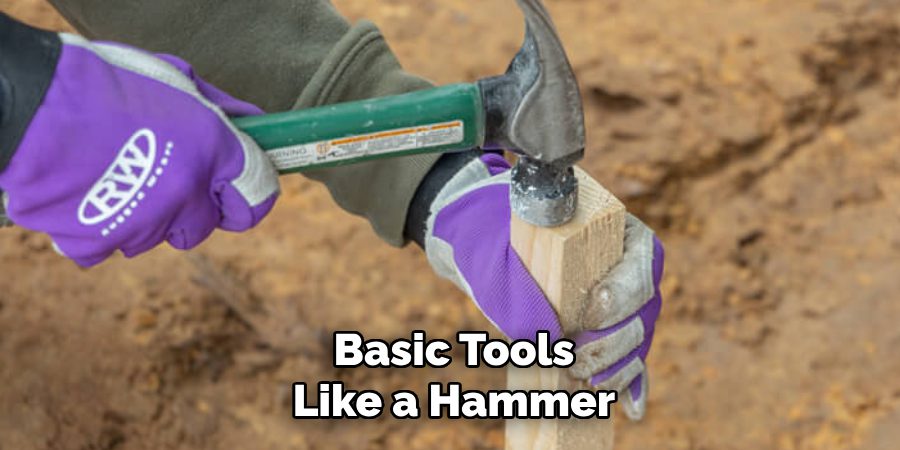
To construct your patio, you’ll require tools like a saw for cutting wood, a drill for making precise holes, and a level to ensure your structure is even. A tape measure will help with accuracy, while a post-hole digger ensures proper footing for the patio posts. Basic tools like a hammer and safety gear—such as gloves and goggles—are also crucial to keep you protected and effective during construction.
Optional Additions
To elevate your patio’s comfort and ambiance, consider optional add-ons like lights for evening use, ceiling fans to keep cool, or curtains to provide shade and privacy. These elements can turn a simple patio into a highly functional outdoor retreat.
How to Make a Covered Patio: Building the Framework
Step 1: Installing the Posts
Begin by marking the locations for your support posts. Use a measuring tape and level to ensure accurate placement and alignment. Once the locations are marked, dig holes deep enough to provide a stable base for your posts—usually around 2 to 3 feet, depending on your local conditions and frost line.
Place each post in its hole, then pour concrete to secure it firmly. Allow the concrete to cure completely, which typically takes 24 to 48 hours, ensuring the posts remain stable and upright.
Step 2: Installing Beams and Rafters
Attach horizontal beams to the posts once the support posts are solidly in place. Use screws or bolts for a secure connection, making sure the beams are level for even weight distribution. These beams form the structural backbone of your patio roof.
Next, install rafters by spacing them evenly across the beams. Rafters provide the framework to support your roof material, so focus on precise measurements and sturdy fastening while attaching them. Proper spacing ensures durability and prevents sagging over time.
Step 3: Ensuring Stability
To reinforce the framework, add diagonal braces between the posts and beams. These braces provide additional stability and reduce swaying or shifting caused by wind or use. Alternatively, you can use metal brackets or connectors to secure the beams and rafters further. These extra reinforcements ensure the patio structure stands firm, offering long-term reliability.
Installing the Roof of the Covered Patio
Preparing the Roof Frame
Start by measuring and cutting the roof panels or beams to fit the patio structure. Ensure the panels are aligned and provide sufficient overhang to direct rainwater away from the patio, protecting it from water damage.
Install the panels securely onto the rafters, checking for consistency and balance across the frame. Proper preparation of the roof frame is essential to support your roofing material and ensure long-lasting durability.
Securing the Roofing Material
Once the frame is ready, attach your chosen roofing material. Options include polycarbonate sheets, metal panels, or shingles, depending on your preferences and the climate in your area. Secure these materials to the frame using screws or fasteners designed for your chosen material.
Ensure each piece overlaps slightly to create a seamless surface, preventing water or debris from entering through gaps. For added security, apply additional fasteners along the edges and corners to keep the materials firmly in place even in harsh weather conditions.
Waterproofing and Ventilation
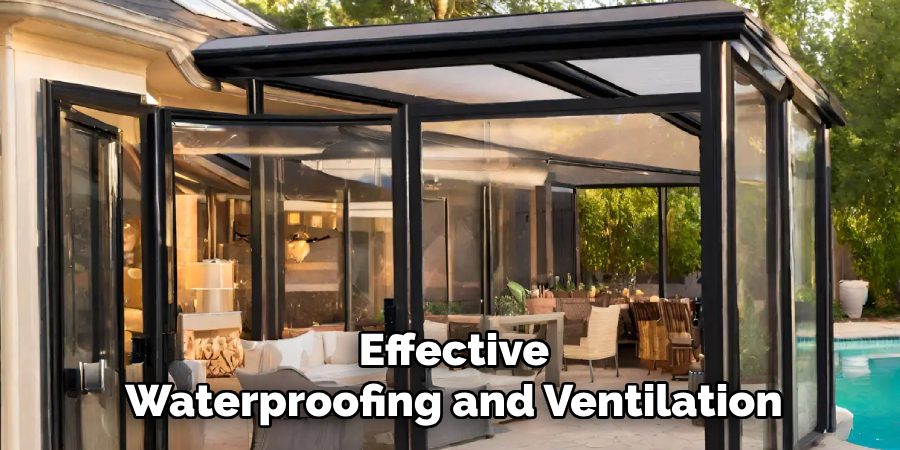
After installing the roofing material, seal the roof to prevent leaks. Use waterproof sealant along joints, edges, and any openings for optimal protection.
Additionally, consider adding a roof vent or leaving small gaps for ventilation to allow airflow, reducing moisture buildup and heat accumulation under the patio roof. By combining effective waterproofing and ventilation, your covered patio will remain sturdy and comfortable for years to come.
Adding Finishing Touches to Your Covered Patio
Installing Lighting and Electrical Features
Consider installing weatherproof lighting fixtures to elevate the functionality and ambiance of your covered patio. LED string lights, recessed ceiling lights, or mounted sconces can provide a warm, inviting glow for evening gatherings.
Integrating ceiling fans with lights adds both illumination and air circulation, keeping the space comfortable during warmer months. Ensure all electrical features are rated for outdoor use, and hire a professional electrician if necessary to set up wiring and connections safely.
Adding Privacy Screens or Curtains
Incorporate privacy screens or curtains into your patio design for additional privacy and shade. Options such as fabric panels, bamboo blinds, or wooden slats can enhance your patio’s aesthetics while shielding it from views or excess sunlight.
Curtains in weather-resistant materials can also be easily adjusted, allowing flexibility in creating a cozier or more open ambiance.
Outdoor Furniture and Décor
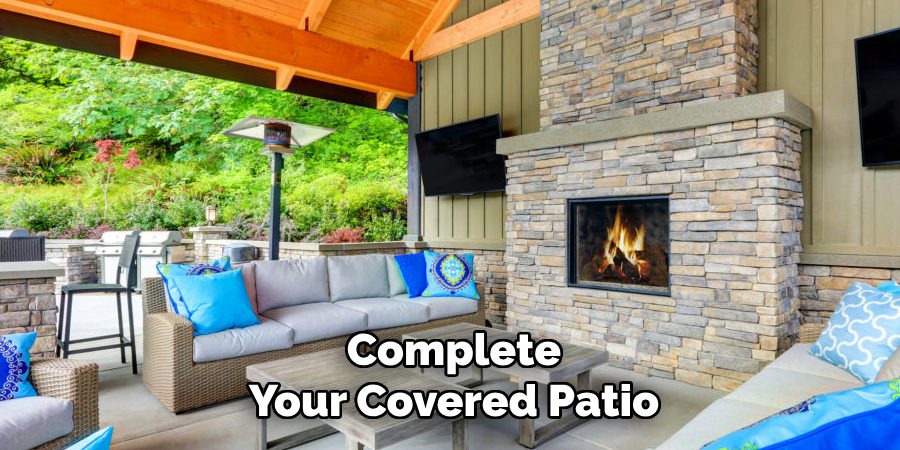
Complete your covered patio by adding stylish and comfortable outdoor furniture. Select weather-resistant seating with plush cushions for optimal relaxation, and accentuate the space with decorative elements like throw pillows, rugs, or potted plants.
Incorporate functional items like side tables or an outdoor coffee table to create a welcoming space where friends and family can gather and enjoy the outdoors.
Conclusion
Creating a covered patio involves several key steps, starting with choosing the ideal location and designing the space to meet your needs. Building the framework and adding finishing touches, such as furniture and décor, complete the process.
Learning how to make a covered patio enhances outdoor enjoyment and adds significant value to your home. To ensure the best results, focus on constructing a sturdy and functional space that reflects your personal style.
With careful planning and thoughtful design, your covered patio can become a beautiful and versatile addition to your outdoor living area.

Professional Focus
Oliver Wood, a passionate patio designer, specializes in creating comfortable and inviting outdoor spaces that enhance relaxation and entertainment. His work combines a deep understanding of design with a love for nature, making him a standout professional in the field of outdoor living spaces. Through his thoughtful approach, he transforms everyday patios into extraordinary retreats for family and friends.
About the Author
Oliver Wood, a skilled patio designer, shares his expertise on outdoor living through his designs and insights. With a background in patio design and a genuine passion for creating beautiful spaces, he encourages others to invest in their outdoor environments, enhancing their homes with functional and inviting spaces for relaxation and entertainment.
Education History
University: Virginia Union University
Oliver’s education equipped him with the knowledge and skills to design patios that merge aesthetics with comfort, transforming outdoor areas into beautiful extensions of the home.
Expertise:
- Patio Design and Outdoor Living Spaces
- Functional and Aesthetic Landscaping
- Comfortable and Inviting Outdoor Environments
- Design Philosophy for Family-Oriented Spaces
- Creating Spaces for Relaxation and Entertainment
