Painting your garage floor is a simple yet effective way to enhance its durability and improve its appearance. A freshly painted floor can protect against stains, cracks, and wear while giving your garage a clean, polished look.
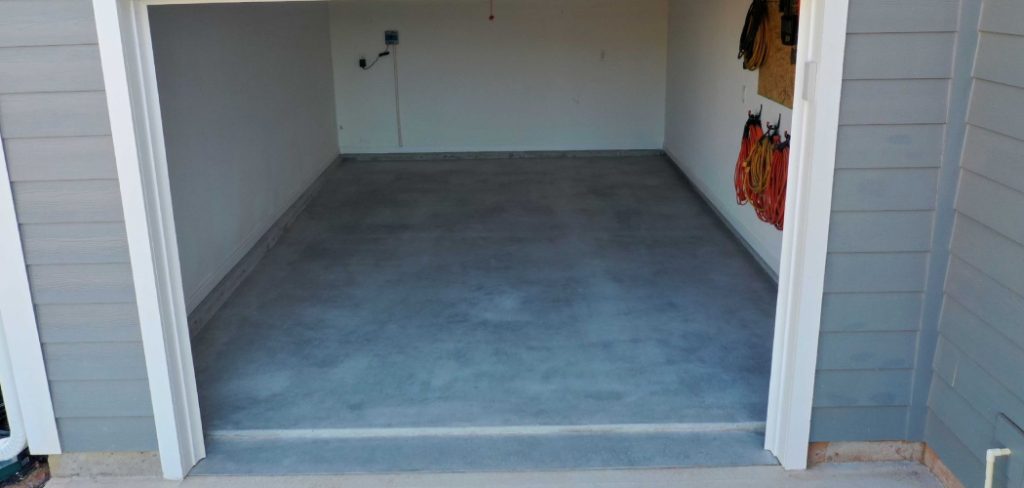
Whether you’re tackling this project for functional purposes or to boost your home’s aesthetic appeal, proper preparation and execution are key to achieving long-lasting results. This guide on how to paint garage floor will walk you through the steps needed to successfully paint your garage floor like a pro.
Why Paint Your Garage Floor?
Before we dive into the process of painting your garage floor, let’s first understand why this is a worthwhile project. Here are some reasons to consider painting your garage floor:
Enhanced Durability
A painted garage floor is less prone to stains and damage, making it more durable and long-lasting. The paint can act as a protective layer against oil and chemical spills, as well as daily wear and tear from vehicles, tools, and foot traffic.
Improved Appearance
Let’s face it – garage floors are not known for their aesthetic appeal. But by adding a fresh coat of paint, you can instantly transform your garage into a more polished and inviting space. With various color options available, you can customize the look of your garage to suit your personal style.
Easier Maintenance
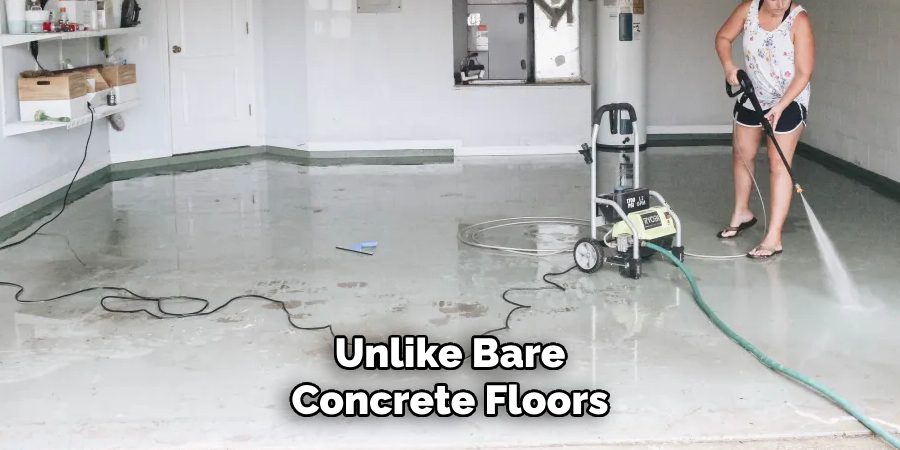
Painting your garage floor can make cleaning a breeze. Unlike bare concrete floors that tend to absorb dirt and grime, a painted floor is easier to sweep or mop clean. This means less time spent on maintenance and more time enjoying your garage space.
Materials Needed
Before you begin painting your garage floor, make sure you have all the necessary materials on hand. Here’s a list of items you’ll need for this project:
Concrete Cleaner or Degreaser
The first step in preparing your garage floor for paint is to thoroughly clean and remove any stains or oil spots. A concrete cleaner or degreaser can help with this task.
Concrete Etcher
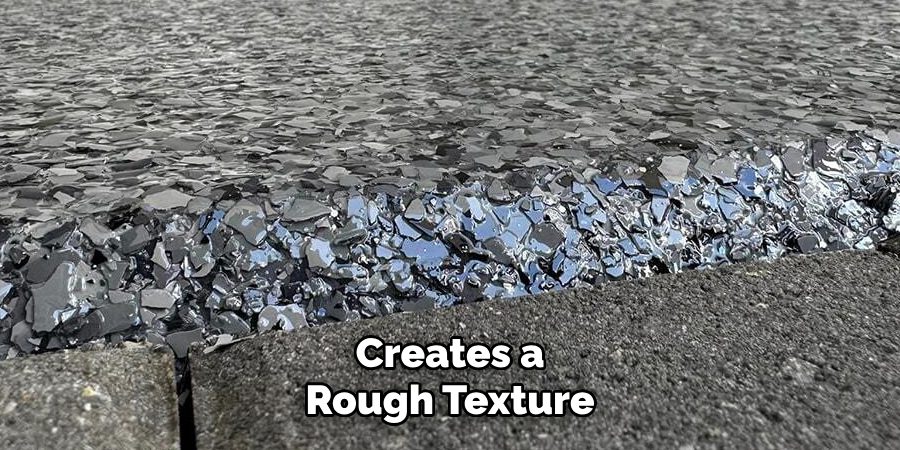
To ensure proper adhesion of the paint, it’s important to etch the concrete surface. This will create a rough texture that allows the paint to bond better.
Epoxy Garage Floor Paint
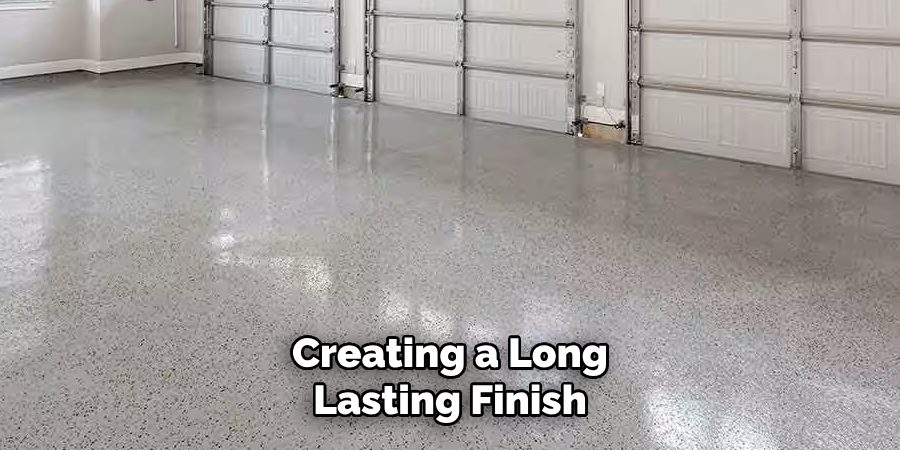
This type of paint is specifically designed for use on garage floors. It provides a durable and long-lasting finish that can withstand heavy traffic and resist chipping and peeling.
Paint Brushes/Rollers
Choose high-quality brushes or rollers specifically made for painting concrete surfaces. These will ensure a smooth and even application of the paint.
Protective Gear
As with any painting project, it’s important to protect yourself by wearing gloves, safety glasses, and a mask to avoid inhaling any fumes or particles.
6 Step-by-step Guides on How to Paint Garage Floor
Step 1: Prepare the Surface
Proper surface preparation is crucial for achieving a professional-looking finish and ensuring the paint adheres well to the garage floor. Follow these steps to prepare the surface effectively:
Clear the Garage
Remove all items from your garage, including vehicles, tools, and storage items. This will give you ample space to work and prevent any accidental spills or damage to your belongings.
Clean the Floor
Sweep or vacuum the floor to remove any loose debris. Then, use a concrete cleaner or degreaser to remove any stains or oil spots. Follow the instructions on the product label for best results.
Rinse with Water
Once you’ve cleaned the floor, rinse it thoroughly with water to remove any residue from the cleaning solution. Allow the floor to dry completely before moving on to the next step.
Step 2: Etch the Concrete Surface
Etching is an essential step in preparing your garage floor for paint. It creates a rough texture that allows the paint to adhere better and creates a stronger bond. Follow these steps to etch the concrete surface:
Mix the Etcher:
Follow the instructions on the concrete etcher product label to mix it with water in a large bucket.
Apply the Etcher
Using a stiff-bristled brush or roller, apply the etcher solution to the floor in small sections. Use even and consistent strokes to ensure proper coverage.
Let it Sit
Allow the etcher solution to sit on the floor for 20-30 minutes as per product instructions. This will give enough time for it to react with the concrete and create a textured surface.
Rinse with Water
After the designated time, rinse the floor thoroughly with water to remove any traces of the etcher solution. Allow the floor to dry completely before moving on to the next step.
Step 3: Fill Cracks and Patches
Before painting, inspect your garage floor for any cracks, holes, or imperfections that need to be repaired. Filling these gaps ensures a smooth and even surface for the paint to adhere to and enhances the overall appearance of the finished floor. Follow these steps to fill cracks and patches:
Inspect the Floor
Carefully examine the entire floor for cracks or damaged areas. Use a marker or tape to identify the spots that need attention.
Choose the Right Filler
Select a concrete repair filler or patching compound suitable for garage floors. Read the product instructions to ensure it’s appropriate for the size and depth of the cracks you’re repairing.
Apply the Filler
Using a putty knife or trowel, apply the filler or patching compound to the cracks and damaged areas. Press it firmly into the gaps to ensure full coverage and eliminate air pockets.
Smooth the Surface
Once the filler is applied, use the edge of the putty knife or trowel to smooth out the surface and remove any excess material. This will help create an even and leveled finish.
Allow to Cure
Follow the curing time recommended on the filler product label. Ensure the patched areas are fully cured and hardened before moving on to the next step. This can take anywhere from a few hours to a full day, depending on the product.
Step 4: Prime the Floor
Priming your garage floor is crucial for ensuring proper adhesion of the paint and creating a long-lasting finish. Follow these steps to prime your garage floor:
Choose an Epoxy Primer
Select an epoxy primer specifically designed for concrete surfaces. This will help seal the pores in the concrete and provide a strong base for the paint.
Mix Primer Solution
Follow the instructions on the product label to mix the primer solution with water in a large bucket.
Apply Primer
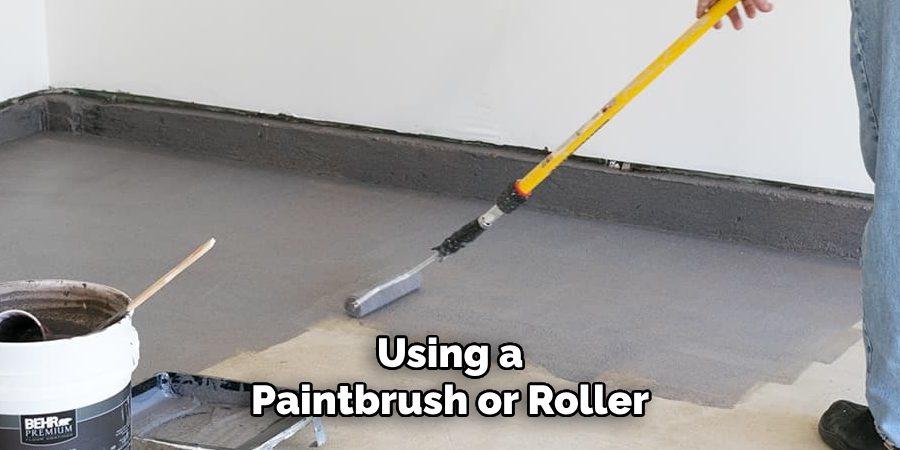
Using a paintbrush or roller, apply an even coat of primer to the floor. Work in small sections and use smooth, consistent strokes for best results.
Allow Primer to Dry
Follow the drying time recommended on the product label before moving on to the next step. This can take anywhere from a few hours to a full day, depending on the product and environmental conditions.
Step 5: Mix and Apply Epoxy Garage Floor Paint
Once the primer is fully dry, you can begin painting your garage floor with epoxy paint. Follow these steps to mix and apply the paint:
Mix Epoxy Paint
Read the instructions on the epoxy paint product label carefully before mixing it. Some products require a two-part mixture, while others come pre-mixed.
Choose the Right Tools
Use a paintbrush or roller specifically designed for concrete surfaces to ensure an even and smooth application of the epoxy paint.
Apply First Coat
Using even and consistent strokes, apply the first coat of epoxy paint to your garage floor. Work in small sections and avoid overlapping.
Allow to Dry
Follow the recommended drying time on the product label before applying a second coat. This can take anywhere from a few hours to a full day, depending on the product and environmental conditions.
Apply Second Coat (optional)
For best results, apply a second coat of epoxy paint following the same steps as above. This will provide extra durability and protection to your garage floor.
Step 6: Add Non-Slip Additives (optional)
If you want to add a non-slip texture to your garage floor, now is the time to do it. Follow these steps:
Choose Non-Slip Additive
Select a non-slip additive suitable for epoxy paint and concrete surfaces. Follow the product instructions carefully to ensure proper mixing.
Sprinkle on Wet Paint
While the second coat of epoxy paint is still wet, sprinkle the non-slip additive evenly across the surface. Use enough to create a visible texture, but avoid clumping.
Allow to Dry
Once the non-slip additive is applied, allow the paint to dry completely. Follow the recommended drying time on the product label before using your garage floor.
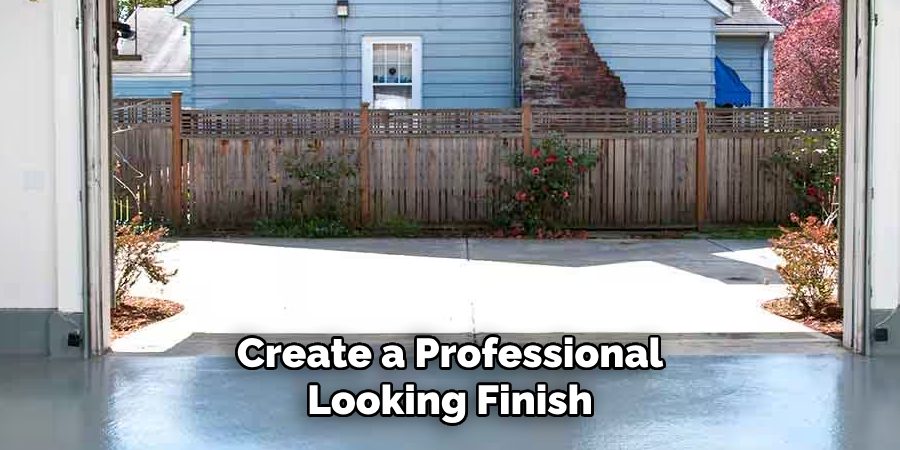
Following these steps on how to paint garage floor will help you successfully paint your garage floor and create a professional-looking finish. Remember to read the product labels carefully, work in a well-ventilated area, and wear appropriate protective gear throughout the process. With proper preparation and application, your painted garage floor will not only look great but also last for years to come!
Frequently Asked Questions
Q1: Can I Paint My Garage Floor Without Using an Etcher Solution?
A1: Yes, you can paint your garage floor without using an etcher solution. However, using an etcher solution helps ensure better adhesion of the paint to the concrete surface and creates a more durable finish. It also helps remove any oil or grease stains that may be present on the floor.
Q2: How Long Does it Take to Paint a Garage Floor?
A2: The time it takes to paint a garage floor depends on several factors, such as the size of your garage and the type of paint you’re using. However, on average, it can take anywhere from 1-3 days to complete the entire process, including preparation, painting, and drying time.
Q3: Can I Drive My Car onto a Freshly Painted Garage Floor?
A3: No, you should avoid driving or parking your car on a freshly painted garage floor until the paint has fully dried and cured. This can take anywhere from a few hours to a full day, depending on the product and environmental conditions. Driving on the floor too soon may cause damage or leave tire marks on the paint.
Conclusion
By following these steps on how to paint garage floor, you can achieve a professional-looking and durable finish for your garage floor. Remember to read and follow all product instructions carefully for best results.
With proper preparation and application, your newly painted garage floor will not only look great but also withstand heavy use for years to come!
Professional Focus:
Arden Bernier is dedicated to exploring and advancing patio design and maintenance, combining practical knowledge with innovative solutions. Specializing in outdoor living spaces, he provides expert advice on patio fixes, landscaping, and sustainable outdoor design. With a focus on creating functional, aesthetic, and durable outdoor environments, Arden empowers homeowners to transform their patios into beautiful and relaxing retreats.
Vision:
To inspire and assist homeowners in creating functional, aesthetically pleasing outdoor spaces. Arden encourages creativity and practical problem-solving in patio design, making outdoor living more accessible and enjoyable for everyone.
Education:
- Bachelor of Arts (BA) in Environmental Design – University of California, Berkeley.
- Master of Science (MS) in Landscape Architecture – University of Southern California.
- Specialized training in sustainable landscape design, outdoor space planning, and eco-friendly materials.
Recognition:
- Author at PatioFixes.com, providing expert advice on patio maintenance and design.
- Featured in online platforms and home improvement blogs for valuable tips on patio fixes and outdoor living.
- Recognized for his contributions to making outdoor spaces more eco-friendly and sustainable.
Expertise:
Patio expert with a focus on creating functional, beautiful, and durable outdoor living spaces. Specialization includes:
- Patio design and construction
- Outdoor furniture and décor
- Landscaping and sustainable patio solutions
- Outdoor maintenance and repair techniques
