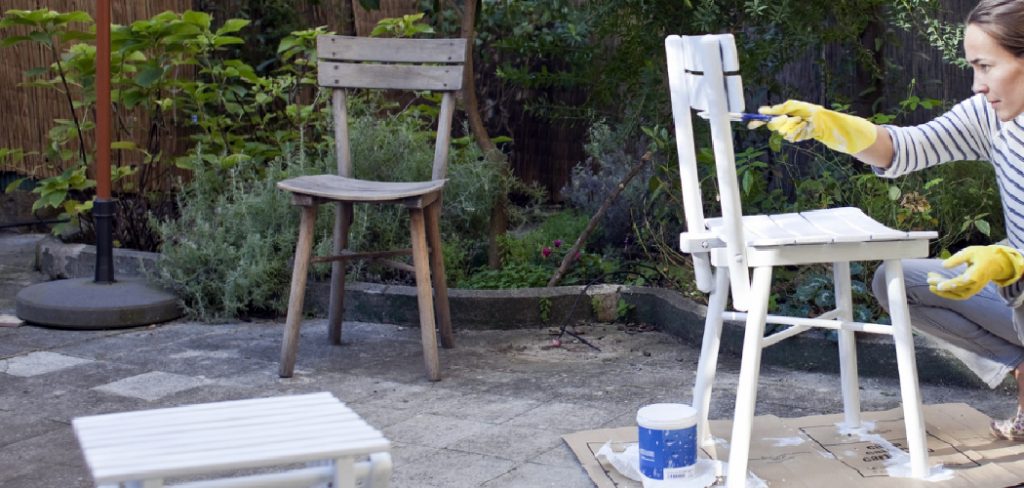
Are you looking to add color and a personal touch to your outdoor space? Painting your patio chairs is an easy and cost-effective way to give them a fresh look.

How to paint patio chairs is a simple and rewarding DIY project that can breathe new life into your outdoor furniture. Over time, patio chairs can become worn, faded, or chipped due to exposure to the elements. With the right tools and techniques, you can transform your chairs with a fresh coat of paint, restoring their appearance and protecting them from further damage.
Whether you want to match your existing décor or experiment with bold new colors, this guide will walk you through the steps to achieve a professional and long-lasting finish. Let’s get started!
What Are the Benefits of Painting Patio Chairs?
Before we dive into painting patio chairs, let’s first understand why it is beneficial to do so. Here are some reasons why you should consider giving your outdoor furniture a fresh coat of paint:
- Cost-effective: Painting them is a more budget-friendly option instead of buying new patio chairs.
- Customization: You can choose any color or finish that fits your style and complements your outdoor space.
- Protection: A layer of paint protects against weathering, preventing your chairs from rusting or rotting.
- Increased Lifespan: Regularly repainting your patio chairs can extend their lifespan by protecting them from sun, rain, and other outdoor elements.
Once you’ve decided to paint your patio chairs, follow these steps for a professional and long-lasting finish.
What Will You Need?
To get started, gather the following materials:
- Patio Chairs: Choose chairs made of metal, wood, or plastic. Make sure they are clean and dry before you start painting.
- Paint and Primer: Look for paint designed for outdoor use to ensure durability and fade resistance. Primer is essential for adhesion and creating a smooth surface.
- Paintbrushes or Sprayer: Depending on your preference, you can either use paintbrushes or a sprayer to apply the paint.
- Drop Cloth/Tarp: This protects your surrounding area from drips or spills.
- Sandpaper/Sander: Use sandpaper or a sander to remove chipping paint or rough surfaces.
- Cleaning Supplies: You’ll need soap, water, and a scrub brush to clean your chairs before painting.
Once you have all your materials, it’s time to start painting!
8 Easy Steps on How to Paint Patio Chairs
Step 1: Prep Your Chairs

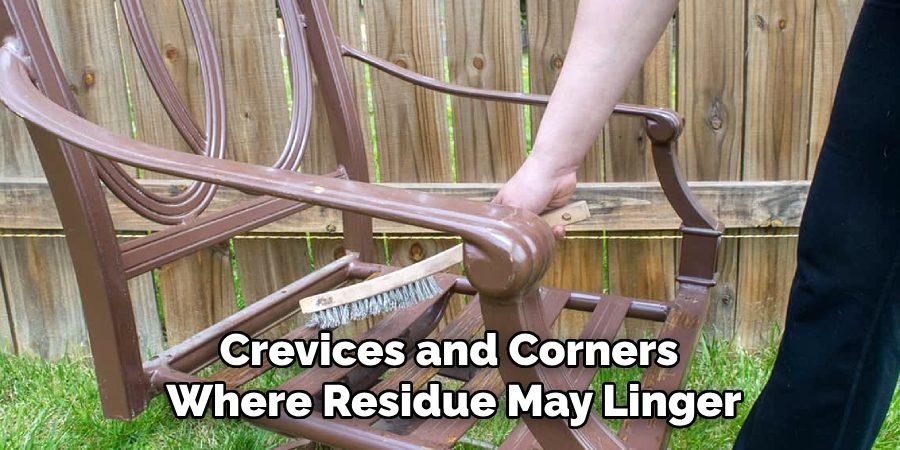
Begin by thoroughly cleaning your patio chairs to ensure the paint adheres properly. Remove any dirt, grime, or buildup accumulated over time using soap, water, and a scrub brush. Pay special attention to crevices and corners where residue may linger. After cleaning, rinse the chairs with water and let them dry completely. Once dry, inspect the surface of the chairs for any old, flaky, or peeling paint. Use sandpaper or a sander to smooth these areas, creating an even surface for priming and painting. This step improves the overall finish and ensures that the paint will last longer and resist chipping over time.
Step 2: Protect Surrounding Areas
Before you begin painting, protecting the surrounding area from accidental paint splatters or overspray is important. Lay down a drop cloth or old newspapers underneath and around the chairs to catch any spills. If you’re painting near walls or other furniture, consider using masking tape or plastic sheeting to shield those surfaces. Preparing your workspace will save you from unnecessary cleanup later and help keep everything neat and organized as you work.
Step 3: Apply Primer

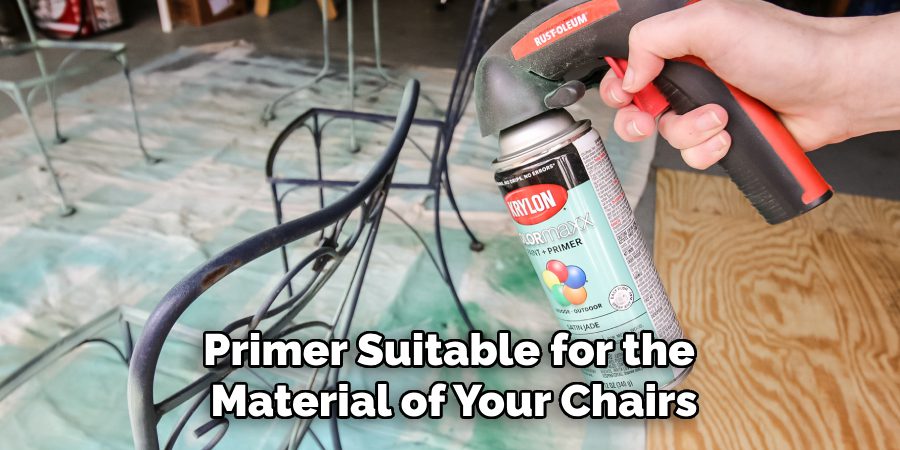
Applying primer is crucial to ensure the paint adheres well to the surface and lasts longer. Choose a primer suitable for the material of your chairs, whether they are wood, metal, or plastic. Use a paintbrush or a spray primer for even coverage, and coat all areas, including corners and edges. Allow the primer to dry completely per the manufacturer’s instructions before proceeding to the next step. This will create a smooth base for your paint and help achieve a more professional-looking finish.
Step 4: Paint the Chairs
Once the primer is completely dry, it’s time to apply your chosen paint. Select a high-quality paint suitable for the chair material and your desired finish, such as matte, satin, or gloss. Use a paintbrush or spray paint for even and consistent application. Start with a thin coat and allow it to dry fully before applying additional coats if needed. Pay attention to detail, ensuring all surfaces, edges, and corners are well-covered. Multiple thin coats will result in a smoother, more durable finish than a single thick coat. Follow the drying times the paint manufacturer recommends to avoid smudging or uneven textures.
Step 5: Seal and Protect the Finish

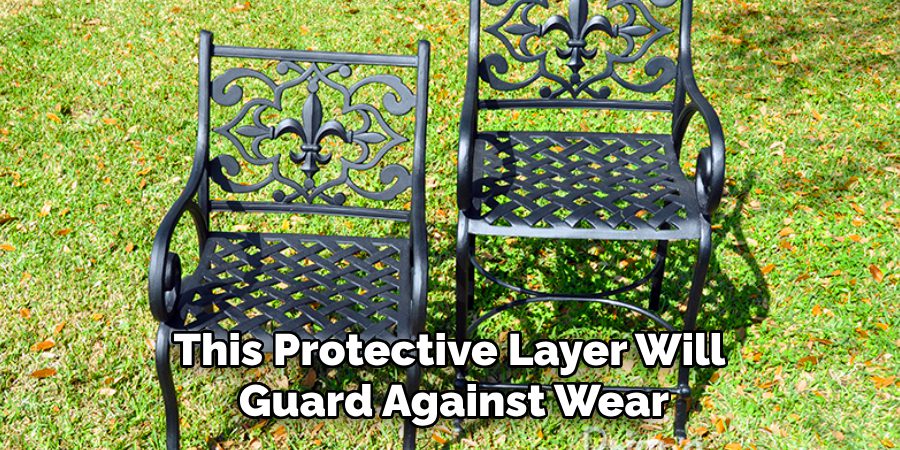
To ensure the longevity of your newly painted chairs, apply a clear sealant or topcoat. Choose a sealant that matches the type of paint you used, such as a water-based or oil-based product. Using a clean brush or spray, evenly coat the entire surface of the chairs, including all edges and corners. This protective layer will guard against wear, scratches, and exposure to moisture. Allow the sealant to dry completely as the manufacturer directs before using the chairs. This final step will enhance the durability and overall look of your project.
Step 6: Maintenance and Care
Proper maintenance is essential to keep your painted chairs looking fresh and vibrant. Regularly clean the chairs with a soft cloth or sponge and mild, soapy water to remove dirt and dust. Avoid using abrasive cleaners or scrubbers, which can damage the paint and topcoat. For outdoor chairs, consider storing them in a covered area or using protective furniture covers during harsh weather conditions to prevent fading or wear. By practicing regular upkeep, you can extend the life and beauty of your painted chairs for years to come.
Step 7: Touch-Ups and Repairs
Over time, even with proper maintenance, minor scratches or chips may appear on the painted surface. To address these, keep a small amount of leftover paint from your project for touch-ups. Clean the damaged area thoroughly and lightly sand it to create a smooth surface before applying the paint. Once the paint is dry, reapply the sealant to protect the area. Regularly inspecting your chairs for damage and addressing issues promptly will help preserve their appearance and functionality.
Step 8: Final Inspection and Enjoyment

After completing the touch-ups and ensuring all areas are properly sealed, conduct a final inspection of your chairs. Look for missed spots, uneven paint, or areas requiring extra attention. Once satisfied with the finish and durability, place your chairs in their desired location. Take a moment to admire your handiwork and enjoy your painted chairs’ refreshed look and practicality. Remember, with the proper care and maintenance, they will remain a centerpiece of comfort and style for years.
By following these easy steps, you can transform your old and worn patio chairs into beautiful, functional pieces that will enhance any outdoor space.
5 Things You Should Avoid
1. Skipping Surface Preparation: One of the biggest mistakes is neglecting to prepare the surface before painting. Dirt, rust, and old paint can prevent the new paint from adhering correctly, leading to an uneven finish.
2. Using the Wrong Type of Paint: Using the wrong type of paint, such as interior paint or paint unsuitable for metal or outdoor conditions, can result in peeling, fading, or chipping over time.
3. Ignoring Primer: Skipping the primer step can cause the paint not to bond effectively with the surface, reducing durability and leading to a less professional finish.
4. Painting in Unsuitable Weather: Painting during high humidity, rain, or direct sunlight can affect the drying process, causing unevenness or extended drying times that compromise the final result.
5. Overloading the Brush or Spray Gun: Applying too much paint at once can lead to drips, streaks, and an unappealing texture. Thin, even coats are key to achieving the best results.
What Kind of Paint Do You Use on Patio Furniture?
Selecting the correct type of paint for your patio furniture depends on several factors, including the furniture’s material and desired finish.
- Wood: For wooden patio furniture, use an exterior-grade paint specifically designed for outdoor use. Acrylic or latex paints work well and can provide a range of finishes from matte to glossy.
- Metal: Choose a rust-inhibiting paint for metal surfaces, such as oil-based enamel or spray paint formulated for outdoor use.
- Plastic: Look for specially formulated paints labeled as suitable for plastic materials. These often contain adhesion promoters and flexible polymers that allow the paint to bond effectively with the surface.
In addition, always make sure to check if your chosen paint is compatible with a primer or sealant if you plan on using it in your project. Consult with a professional at your local hardware store for further guidance on selecting the best paint for your specific patio furniture.
Conclusion
How to paint patio chairs can be a straightforward and rewarding project if you follow the proper steps and use the right materials.
Begin by preparing the surface through cleaning and, if necessary, sanding to create a smooth base for the paint to adhere. Always apply a primer that is compatible with both the material of your furniture and the paint you intend to use, as this ensures durability and a professional-looking finish. Select the appropriate paint for wood, metal, or plastic, as outlined above, to match the material of your chairs. Finally, seal your work with a protective topcoat to guard against weather and wear.
With careful preparation and attention to detail, you can transform your patio chairs into vibrant, well-protected pieces that enhance your outdoor space.

Professional Focus
Oliver Wood, a passionate patio designer, specializes in creating comfortable and inviting outdoor spaces that enhance relaxation and entertainment. His work combines a deep understanding of design with a love for nature, making him a standout professional in the field of outdoor living spaces. Through his thoughtful approach, he transforms everyday patios into extraordinary retreats for family and friends.
About the Author
Oliver Wood, a skilled patio designer, shares his expertise on outdoor living through his designs and insights. With a background in patio design and a genuine passion for creating beautiful spaces, he encourages others to invest in their outdoor environments, enhancing their homes with functional and inviting spaces for relaxation and entertainment.
Education History
University: Virginia Union University
Oliver’s education equipped him with the knowledge and skills to design patios that merge aesthetics with comfort, transforming outdoor areas into beautiful extensions of the home.
Expertise:
- Patio Design and Outdoor Living Spaces
- Functional and Aesthetic Landscaping
- Comfortable and Inviting Outdoor Environments
- Design Philosophy for Family-Oriented Spaces
- Creating Spaces for Relaxation and Entertainment
