Are you tired of struggling to open your sliding glass door? Do you have a hard time closing it all the way? Don’t worry; simple repairs can quickly fix these common problems.

Sliding glass doors are a stylish and functional addition to any home, offering easy outdoor access while allowing ample natural light to brighten indoor spaces. However, like any other component of your home, sliding glass doors can encounter wear and tear over time. Common issues include difficulty sliding, damaged tracks, or worn-out rollers. Fortunately, many of these problems can be addressed with the right tools and guidance without needing professional help.
This guide on how to repair sliding glass door will walk you through the steps to repair your sliding glass door, ensuring it operates smoothly and efficiently once again.
What Are the Causes of Sliding Glass Door Problems?
Before diving into the repair process, it’s essential to understand why your sliding glass door may be experiencing issues. Some common causes include:
- Dirt and Debris Build-up: Over time, dirt and debris can accumulate in the tracks and rollers of your sliding glass door, making it difficult to slide.
- Misaligned Tracks: If the tracks that guide your door are not adequately aligned, it can cause uneven movement or difficulty opening and closing.
- Damaged Tracks: Constant use or exposure to moisture can cause damage to the tracks, leading to problems with sliding.
- Worn-out Rollers: The rollers on which your door slides can become worn over time, resulting in difficulty opening and closing the door.
What Will You Need?
Before beginning any repair work, gathering all the necessary materials is essential. Here are some tools you’ll need to fix your sliding glass door:
- Screwdriver: To remove screws and access different parts of the door.
- Vacuum Cleaner: For thorough cleaning of tracks and rollers.
- White Lithium Grease or Silicone Spray: To lubricate the tracks and rollers for smooth movement.
- Replacement Parts: If needed, such as new rollers or a track cover.
9 Easy Steps on How to Repair Sliding Glass Door
Step 1: Remove the Door from the Tracks
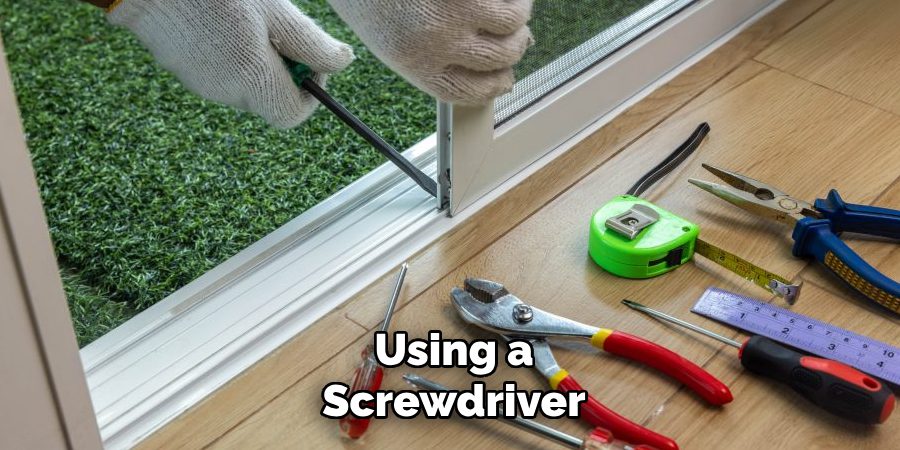
To begin, carefully remove the sliding glass door from its tracks. Start by locating the screws on the bottom or side edge of the door frame that secure it in place. Using a screwdriver, loosen these screws to release the tension on the rollers. This will make it easier to lift the door.

Once the screws are loosened, gently slide the door to the middle of the track. With the help of another person (as sliding doors can be heavy), carefully lift the door upwards to disengage it from the bottom track and then tilt the bottom edge outwards to delete it from the frame. Place the door safely on a flat, cushioned surface to prevent damage while you work on repairs.
Step 2: Inspect the Rollers
With the sliding glass door removed, examine the rollers located at the bottom edge of the door. These small wheels are responsible for the door’s smooth operation along the track. Check for any visible damage, such as cracks, flat spots, or excessive wear.
Clean the rollers thoroughly with a damp cloth to remove dirt and debris that may hinder their performance if the rollers are dirty. If the rollers are damaged or excessively worn out, they must be replaced to ensure proper functionality. Be sure to note the type and size of the rollers for a suitable replacement if necessary. This step is crucial for restoring the door’s smooth gliding action.
Step 3: Adjust the Rollers
If you determine that the rollers need to be replaced, purchase replacements that match the type and size of your existing rollers. Use a screwdriver to remove the screws holding the old rollers in place carefully. Once removed, install the new rollers by aligning them in the same position and tightening the screws securely.
If the rollers are still functional but require adjustment, locate the adjustment screws typically found on the side or bottom of the rollers. Use a screwdriver to turn the screws, raising or lowering the rollers as needed to achieve the correct height. Properly adjusted rollers allow the door to sit level and glide smoothly along the track.
Step 4: Clean and Lubricate the Track
After ensuring the rollers are properly installed or adjusted, cleaning and lubricating the track is important. Start by removing any debris, dirt, or grime from the track using a vacuum or a damp cloth. Pay special attention to the corners and edges where buildup often accumulates.

Once the track is clean, apply a silicone-based lubricant along the length of the track. Avoid using grease-based lubricants, as they can attract dirt over time. Lubricating the track will reduce friction and help the door move effortlessly when opened or closed.
Step 5: Test the Sliding Door
Once you have cleaned and lubricated the track, it’s time to test the sliding door. Gently slide the door back and forth along the track to ensure it moves smoothly without sticking or resistance. Check that the door aligns appropriately with the frame and locks securely when closed.
If you notice any issues, revisit the previous steps to make further adjustments or clean problematic areas. Regular testing and maintenance can help ensure your sliding door operates efficiently for years to come.
Step 6: Maintain Regular Upkeep
To keep your sliding door functioning seamlessly, establish a routine maintenance schedule. Inspect the track and rollers every few months for dirt buildup or wear, and clean or lubricate as necessary. Regularly check the door’s alignment and ensure the locks are secure. By addressing minor issues promptly and performing consistent upkeep, you can extend the lifespan of your sliding door and avoid costly repairs in the future.
Step 7: Replace Damaged Components
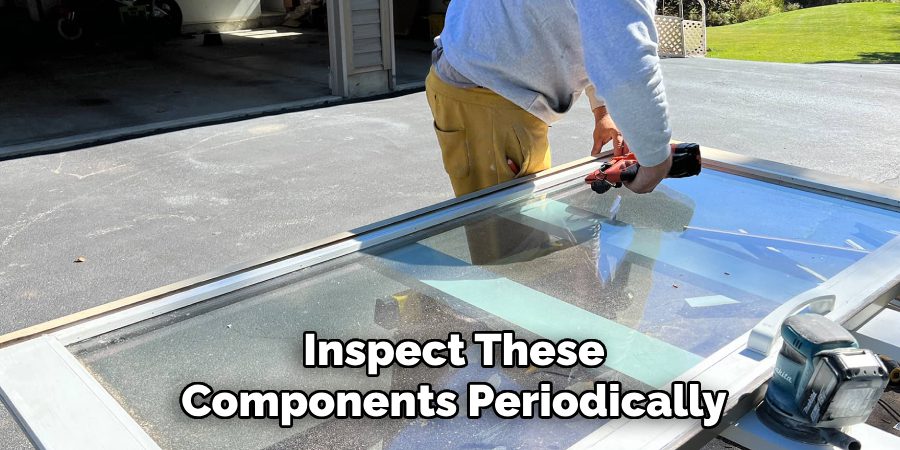
Over time, certain parts of your sliding door, such as rollers, seals, or handles, may wear out or become damaged. Inspect these components periodically and replace any that show significant signs of deterioration. For instance, worn rollers can cause the door to stick or scrape, while damaged seals can lead to drafts or energy inefficiency.

Consult your door’s manufacturer manual for compatible replacement parts, and if necessary, seek professional assistance to ensure proper installation. Addressing damaged components promptly will keep your sliding door operating optimally and maintain its overall performance.
Step 8: Ensure Proper Insulation
A well-insulated sliding door can significantly improve your home’s energy efficiency and comfort. Check the door’s weatherstripping and seals regularly for gaps, cracks, or wear that could allow drafts or moisture to enter.
Replace damaged weatherstripping as needed and ensure a tight seal when closing the door. Additionally, consider adding insulated curtains or blinds to enhance thermal efficiency further. Paying attention to insulation reduces energy costs and helps maintain a comfortable indoor environment year-round.
Step 9: Lubricate Moving Parts
Proper lubrication is essential to ensure the smooth operation of your sliding door’s moving components. Over time, dirt and debris can accumulate in the tracks or rollers, leading to resistance and wear. Use a silicone-based lubricant, as it is less likely to attract dust and grime compared to oil-based products.
Apply the lubricant to the rollers, tracks, and any other moving parts, wiping away any excess with a clean cloth. Regularly maintaining lubricated components will reduce friction, prolong the life of your door, and improve its overall performance. Remember to avoid over-lubrication, as it can lead to sticky residues.
By following these steps and incorporating regular maintenance into your routine, you can ensure your sliding glass door remains in optimal condition for years.
5 Things You Should Avoid
- Forcing the Door Open or Closed: Trying to force a stuck sliding glass door can cause significant damage to the door’s track, rollers, or even the glass itself. Always handle the door carefully to avoid worsening the issue.
- Ignoring Dirt and Debris: Neglecting to clean the track before attempting a repair can lead to further blockages and damage. Before making adjustments, ensure the track is free from dirt, dust, and debris.
- Using the Wrong Tools: Using incorrect or improvised tools can damage components like screws, rollers, or seals. Always use proper tools designed explicitly for sliding door repairs.
- Skipping Roller Maintenance: Rollers play a crucial role in smoothly operating sliding glass doors. Failing to inspect, clean, or replace worn rollers can result in unnecessary strain and further damage to the door.
- Applying Excessive Lubricant: Overusing lubricant can attract dust and dirt, creating a sticky buildup over time. Use moderate silicone-based lubricant to ensure smooth operation without clogging the tracks.

By avoiding these common mistakes, you can prolong the lifespan of your sliding glass door and save yourself from potentially costly repairs.
Conclusion
How to repair sliding glass door requires a combination of careful preparation, proper tools, and attention to detail.
You can ensure that your repairs are effective and long-lasting by avoiding common mistakes such as ignoring cleaning, using incorrect tools, or neglecting components like rollers. Always take the time to diagnose the root cause of the issue before starting and follow manufacturer guidelines for replacement parts or adjustments.
You can restore your sliding glass door to smooth and efficient operation with patience and the right approach.

Professional Focus
Oliver Wood, a passionate patio designer, specializes in creating comfortable and inviting outdoor spaces that enhance relaxation and entertainment. His work combines a deep understanding of design with a love for nature, making him a standout professional in the field of outdoor living spaces. Through his thoughtful approach, he transforms everyday patios into extraordinary retreats for family and friends.
About the Author
Oliver Wood, a skilled patio designer, shares his expertise on outdoor living through his designs and insights. With a background in patio design and a genuine passion for creating beautiful spaces, he encourages others to invest in their outdoor environments, enhancing their homes with functional and inviting spaces for relaxation and entertainment.
Education History
University: Virginia Union University
Oliver’s education equipped him with the knowledge and skills to design patios that merge aesthetics with comfort, transforming outdoor areas into beautiful extensions of the home.
Expertise:
- Patio Design and Outdoor Living Spaces
- Functional and Aesthetic Landscaping
- Comfortable and Inviting Outdoor Environments
- Design Philosophy for Family-Oriented Spaces
- Creating Spaces for Relaxation and Entertainment
