Are you tired of walking on your concrete patio and feeling every bump and crack under your feet? A rough concrete patio not only affects the overall look of your outdoor space, but it can also be uncomfortable to walk on.

How to smooth rough concrete patio can transform its appearance and enhance its functionality. Over time, concrete surfaces may develop uneven areas, causing discomfort while walking or creating a less attractive finish. You can improve the patio’s safety, aesthetics, and durability by leveling and polishing the surface. Whether you’re preparing the patio for a fresh coat of paint, planning to lay tiles, or simply want a smoother finish, this process can be achieved with the right tools and techniques.
In the following sections, we’ll explore the steps to smooth a rough concrete patio with ease effectively.
What Are the Benefits of Smoothing Rough Concrete Patio?
Before we dive into the process, let’s first understand why it is important to smooth rough concrete patio. Here are some benefits that you can expect from a smooth concrete surface:
- Enhanced Safety: Uneven surfaces can pose a tripping hazard, especially for children and elderly individuals. By smoothing your concrete patio, you can reduce the risk of accidents and ensure a safe outdoor environment.
- Improved Aesthetics: A smooth concrete surface looks more visually appealing compared to a rough one. It can also make your outdoor space feel larger and more inviting.
- Longer Lifespan: Smoothing rough concrete helps remove minor cracks and imperfections, preventing them from worsening over time.
These are just a few of the many benefits of smoothing a rough concrete patio. So, let’s get started with the process.
What Will You Need?
To smooth a rough concrete patio, you’ll need the following tools and materials:
- Concrete Grinder: A concrete grinder is the most essential tool in this process. It helps grind away any uneven spots, bumps, or ridges on the surface.
- Diamond Grinding Wheels: These specialized grinding wheels have diamond segments for efficient and precise smoothing of concrete surfaces.
- Dust Mask and Goggles: Since the grinding process can create a lot of dust and debris, it’s essential to protect yourself with a dust mask and goggles to prevent inhaling harmful particles.
- Protective Clothing: Wear long sleeves, pants, and closed-toe shoes to protect your skin from debris or dust while grinding.
- Garden Hose: You’ll need a garden hose to wet the concrete surface and keep it from overheating during the grinding process.
- Concrete Patching Compound: This will fill in any larger cracks or holes on the patio’s surface.
Now that you have all the necessary tools and materials, let’s move on to smoothing a rough concrete patio.
9 Easy Steps on How to Smooth Rough Concrete Patio
Step 1: Clean and Prepare the Surface

Start by thoroughly cleaning the concrete patio to remove dirt, debris, grease, or stains. Use a broom or a stiff brush to sweep away loose debris; for more challenging spots, you can use a pressure washer. If oil or grease stains exist, apply a concrete cleaner or degreaser to these areas, scrubbing with a stiff-bristle brush to lift the residue. After cleaning, rinse the surface thoroughly with water and let it dry completely.
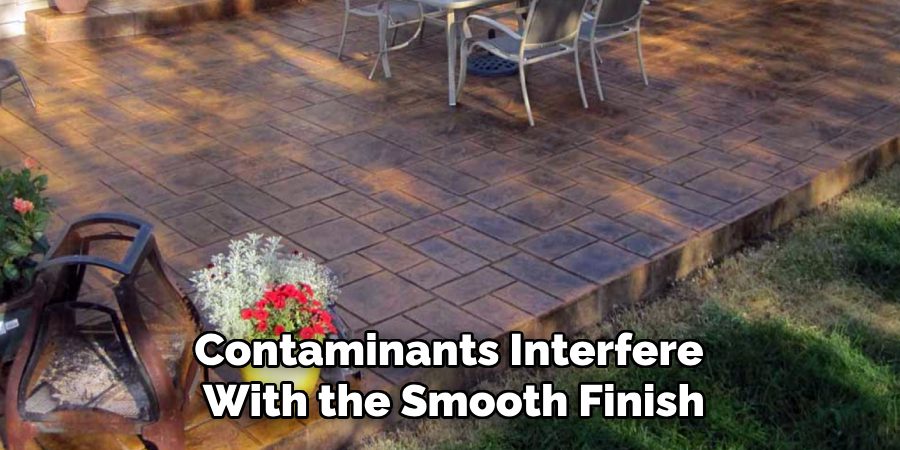
This step is crucial as it ensures the grinding process is effective and no contaminants interfere with the smooth finish. Inspect the surface for any large cracks or holes, and use the concrete patching compound to repair them. Allow the patched areas to cure and dry per the manufacturer’s instructions before proceeding. A well-prepared surface is key to achieving a smooth and even finish on your patio.
Step 2: Grind the Concrete Surface
Once the surface is clean and prepped, it’s time to grind the concrete. Use a concrete or handheld angle grinder fitted with a diamond grinding wheel. Begin at one end of the patio and work systematically across the surface in even overlapping passes. Keep the grinder moving to avoid creating low spots or uneven areas. Apply additional pressure for rough patches or imperfections, but be cautious not to grind too profoundly.
Periodically stop to clear away dust with a shop vacuum or broom to see your progress. Focus on achieving a smooth, consistent finish, ensuring that the surface is level and free of sharp edges or rough spots. Switch to a finer grit to refine the finish for a polished look.
Step 3: Apply a Bonding Agent

Before applying the overlay or decorative coating, it’s crucial to use a bonding agent to ensure proper adhesion to the concrete surface. Choose a high-quality concrete bonding agent suitable for your project and follow the manufacturer’s instructions for application. Typically, this involves using a brush, roller, or sprayer to coat the entire surface evenly.
Ensure there are no puddles or excess buildup, and allow the bonding agent to become tacky before proceeding. This step helps create a strong connection between the old surface and the new material, ensuring durability and a long-lasting finish.
Step 4: Mix and Apply the Overlay
Once the bonding agent is tacky, prepare the overlay material according to the manufacturer’s instructions. This typically involves mixing the compound with water in a clean bucket until the consistency is smooth and free of lumps. Use a drill with a mixing paddle for efficiency and consistency. Pour the mixture onto the prepared surface and spread evenly with a trowel, squeegee, or gauge rake.
Work methodically to eliminate air pockets and apply the overlay to the desired thickness. Pay attention to edges and corners for a uniform finish. Depending on the product, consider using a broom or decorative tool to add texture before the overlay begins to set.
Step 5: Cure and Seal the Overlay
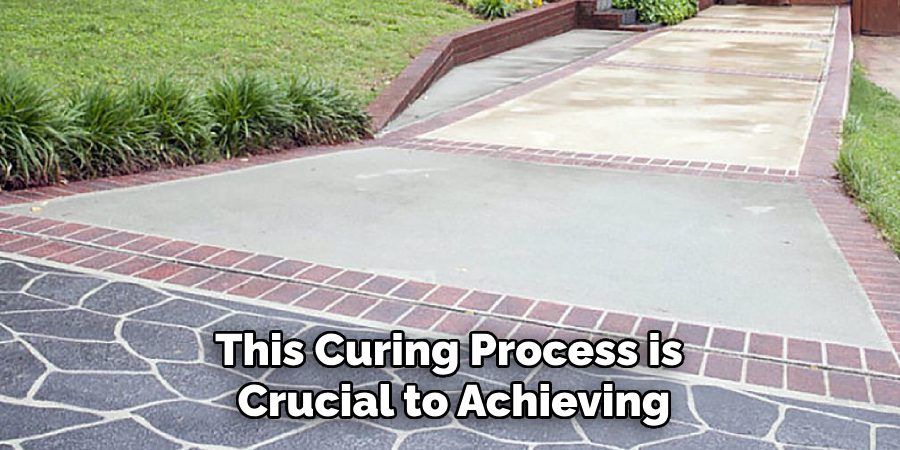
After applying the overlay, allow it to cure as specified by the manufacturer’s guidelines. This curing process is crucial to achieving the desired strength and durability of the surface. Protect the area from foot traffic, moisture, or extreme temperatures during this time.
Once the overlay has fully cured, apply a suitable sealant to enhance its durability, resist stains, and improve the overall appearance. Use a roller or sprayer to apply the sealant evenly, ensuring full coverage. Allow the sealant to dry completely before returning the area to regular use.

Step 6: Maintenance and Care
Regular maintenance is essential to ensure the overlay’s longevity and optimal performance. Sweep or wash the surface periodically to remove dirt and debris that may cause wear over time. Avoid using harsh chemicals or cleaning agents that could damage the sealant. For high-traffic areas, consider reapplying the sealant as the manufacturer recommends to maintain protection and appearance. Address any cracks or chips promptly to prevent further damage and preserve the surface’s integrity.
Step 7: Troubleshooting Common Issues
Despite careful application, issues may occasionally arise with the overlay. Common problems include uneven surfaces, bubbles, or discoloration. If you notice uneven areas, use a grinder or sander to level the surface and reapply a thin overlay if necessary. For bubbles, ensure the surface is properly prepared and free of contaminants; puncture tiny bubbles and resurface if needed.
Discoloration may occur due to incorrect mixing or environmental factors – address this by following the manufacturer’s instructions for mixing and curing conditions. Proper attention to these details can ensure a smooth and lasting finish.
Step 8: Keep an Eye Out for Cracks
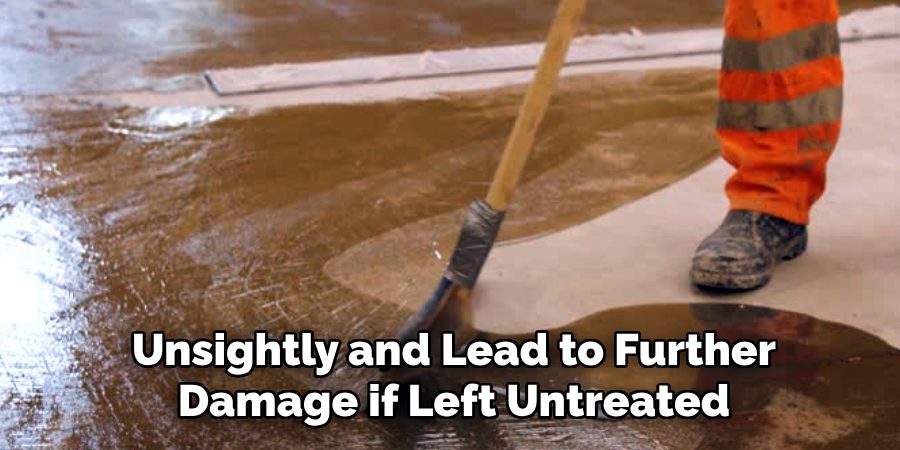
Cracks may appear over time on concrete surfaces, even when properly installed. These can be unsightly and lead to further damage if left untreated. Regularly inspect the surface for cracks and address them promptly with a suitable concrete repair product. If the cracks are significant, hiring a professional to assess and repair the issue may be necessary.

Step 9: Consider Decorative Options
Consider adding decorative elements such as color or patterns to take your smooth concrete patio to the next level. This can be achieved by using colored sealants, adding aggregates like pebbles or shells into the overlay mix, or incorporating stamped designs. Consult a professional or research different techniques and products to find the best option for your desired look and budget.
By following these steps and tips, you can transform your old, worn concrete patio into a beautiful and durable outdoor space.
5 Things You Should Avoid
- Skipping Surface Preparation: Neglecting to clean and prepare the concrete surface properly can lead to poor results. Residual dirt, debris, or oil can prevent the smoothing materials from adhering effectively.
- Using the Wrong Tools: Attempting to smooth the concrete without the proper tools, such as a high-quality concrete grinder or trowel, can result in uneven or unsatisfactory finishes.
- Not Wearing Protective Gear: Failing to wear safety equipment, like goggles and masks, can expose you to harmful dust and debris generated during the process.
- Ignoring Weather Conditions: Attempting to smooth concrete during unsuitable weather, such as excessive heat or rain, can interfere with the materials’ setting and drying process.
- Rushing the Drying Time: Cutting corners by not allowing adequate time for the concrete to cure can compromise the durability and appearance of the final surface. Always follow the recommended curing times for the products you use.
Conclusion
How to smooth rough concrete patio requires careful preparation, the right tools, and attention to detail.
You can achieve a polished and durable finish by thoroughly cleaning the surface, using appropriate equipment, and adhering to safety and environmental considerations. Avoid rushing the process, particularly during curing, as patience and precision are essential for long-lasting results.
With these steps, your patio can be transformed into a sleek and visually appealing space that enhances your outdoor area.

Professional Focus
Oliver Wood, a passionate patio designer, specializes in creating comfortable and inviting outdoor spaces that enhance relaxation and entertainment. His work combines a deep understanding of design with a love for nature, making him a standout professional in the field of outdoor living spaces. Through his thoughtful approach, he transforms everyday patios into extraordinary retreats for family and friends.
About the Author
Oliver Wood, a skilled patio designer, shares his expertise on outdoor living through his designs and insights. With a background in patio design and a genuine passion for creating beautiful spaces, he encourages others to invest in their outdoor environments, enhancing their homes with functional and inviting spaces for relaxation and entertainment.
Education History
University: Virginia Union University
Oliver’s education equipped him with the knowledge and skills to design patios that merge aesthetics with comfort, transforming outdoor areas into beautiful extensions of the home.
Expertise:
- Patio Design and Outdoor Living Spaces
- Functional and Aesthetic Landscaping
- Comfortable and Inviting Outdoor Environments
- Design Philosophy for Family-Oriented Spaces
- Creating Spaces for Relaxation and Entertainment
