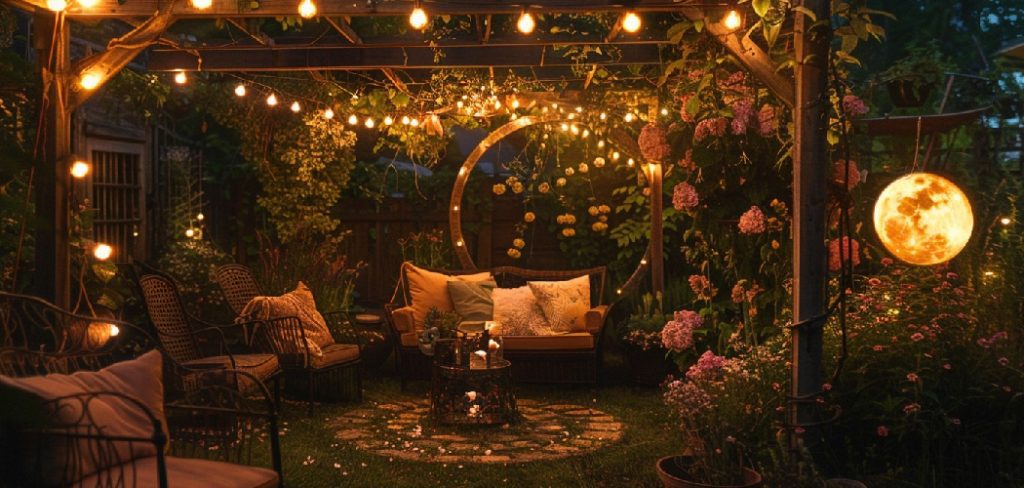
Patio lights are a fantastic way to enhance any outdoor space’s ambiance, whether hosting a lively gathering, celebrating a special event, or simply enjoying a cozy evening at home. Their warm glow creates a welcoming atmosphere, making patios more functional and visually appealing. However, the process of hanging patio lights often raises concerns, particularly when it comes to using nails. Driving nails into walls or ceilings can lead to permanent damage, compromise the integrity of surfaces, and is not ideal for renters or those looking to maintain a pristine exterior.

This guide focuses on creative and practical solutions for anyone asking “how to hang patio lights without nails.” You’ll discover step-by-step methods that are secure and effective and preserve your space’s beauty. These ideas provide the flexibility you need to transform your patio without causing unnecessary harm to your property.
Choosing the Right Type of Patio Lights
Selecting the right type of patio lights is essential for creating the desired ambiance and achieving the perfect balance between functionality and aesthetics. Different lighting options cater to varying needs and style preferences, so it’s important to consider the type of atmosphere you want to create.
String Lights
String lights are a classic choice for patios, offering versatility and charm. They’re available in LED and incandescent bulbs, allowing you to choose energy-efficient options or a traditional feel. These lights can be draped across structures, wrapped around posts, or even hung between trees for a magical effect.
Lanterns
Lanterns are an excellent decorative choice for those who want to add a touch of elegance and character to their patio. They come in battery-powered or solar options, making them an eco-friendly and convenient solution. Lanterns can be placed on tables, hung from hooks, or positioned along pathways to enhance your outdoor décor.
Fairy Lights
For a delicate, twinkling effect, fairy lights are an ideal option. They are small and lightweight, perfect for creating a whimsical and cozy atmosphere. Fairy lights work well draped over furniture, intertwined with plants, or arranged in jars for a creative touch.
Rope Lights
Rope lights offer a flexible and durable lighting solution, making them great for outlining patio structures or framing walkways. Their continuous, diffused glow adds a modern touch while being easy to install and handle. These lights are particularly effective for emphasizing the architectural features of your space.

How to Hang Patio Lights Without Nails: Using Adhesive Hooks for Hanging
Step 1: Selecting the Right Adhesive Hooks
When hanging lights on your patio, starting with the right adhesive hooks is essential. Opt for outdoor-rated, waterproof hooks that can stand up to the elements. Additionally, check the weight capacity of the hooks to ensure they can safely support your chosen lights. For heavier lighting options like rope lights or larger lanterns, look for hooks with a higher weight tolerance to prevent accidents or damage.
Step 2: Cleaning the Surface
A clean surface is crucial for a secure bond when using adhesive hooks. Begin by wiping down the area where the hooks will be applied with rubbing alcohol. This step removes dust, dirt, and other contaminants that could weaken the adhesive. Avoid using soap or other cleaning agents, as they may leave a residue that interferes with proper adhesion. Allow the surface to dry completely before moving on to the next step.
Step 3: Attaching the Hooks
Once the surface is prepared, evenly space the adhesive hooks along the intended hanging path. Measure and plan the spacing to ensure a polished look. After attaching the hooks, press them firmly against the surface to secure them in place. It’s vital to allow the adhesive to cure for at least one hour before adding lights to ensure maximum holding power. Following these steps will provide a reliable and attractive setup for your patio lighting.
How to Hang Patio Lights Without Nails: Using Gutter Clips for Roof or Fence Hanging
Step 1: Choosing the Right Gutter Clips
Selecting the proper type of gutter clips is crucial when hanging string lights along your roof or fence. Opt for plastic clips specifically designed for string lights, as these reduce the risk of causing scratches, dents, or other damage to your gutters or fence. These clips are lightweight, versatile, and easy to find at most home improvement stores. Be sure to purchase enough clips to cover the length of your planned light setup, keeping in mind that evenly spaced clips provide better support.
Step 2: Attaching the Clips to the Gutter
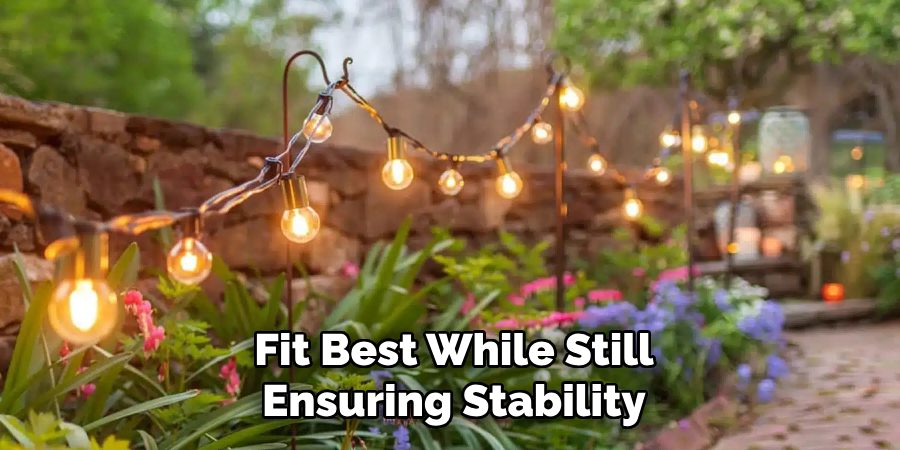
To attach the gutter clips, slide them carefully over the gutter’s edge or roofline. Ensure each clip is securely fastened and aligned to provide a stable grip. If you’re attaching them to a fence, use the clips to clamp along the top edge or wherever they fit best while still ensuring stability. Spacing is key—measure ahead and space the clips evenly to maintain a uniform appearance and proper distribution of weight.

Step 3: Hanging the Lights
It’s time to hang your string lights with the clips in place. Secure the cord of the lights by gently tucking it into the hook portion of each clip. Work your way along the roofline or fence, ensuring the spacing remains consistent, and there’s no excessive sagging. If adjustments are needed, avoid tugging harshly on the light cord or clips to prevent damage. Following these steps will give you a neat and professional-looking light display, perfect for enhancing your outdoor space.
Using Zip Ties or Twist Ties for Railings and Fences
Step 1: Choosing the Right Ties
Selecting the appropriate tie when securing lights to railings or fences is essential. Plastic zip ties are ideal for a secure, long-term hold, offering durability and a tight grip that won’t loosen over time. Reusable twist ties are a great choice for a more flexible and adjustable option. They allow you to adjust the positioning of the lights easily and are perfect for temporary setups.
Step 2: Wrapping the Lights Around Railings or Posts
Begin by positioning your string lights around the desired section of the railing or fence. Secure the wire by looping a zip tie or twist tie around the lights and the railing to hold them firmly in place. Be sure to place ties regularly to maintain consistent spacing and prevent sagging. Once the ties are secure, use scissors or pliers to trim any excess material from the zip ties for a clean, polished appearance. This method ensures the lights stay in place and provides a neat and professional finish to your outdoor display. With the right ties and careful spacing, you can achieve a beautifully illuminated railing or fence for any occasion.
Using Tension Rods or Poles for Freestanding Lights
Step 1: Installing Tension Rods
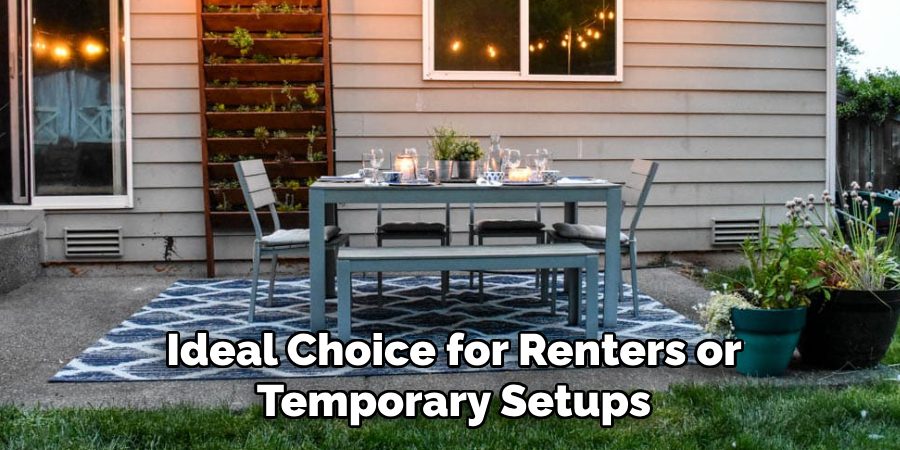
Tension rods are a practical solution for patios with adjacent walls or covered spaces. Begin by selecting tension rods that are long enough to span between two secure surfaces. Extend the rods until they fit snugly in place, ensuring a stable and secure hold. These rods work well for hanging string lights without needing permanent fixtures, making them an ideal choice for renters or temporary setups. Double-check the positioning and stability of the rods before proceeding to hang your lights.

Step 2: Attaching the Lights
Once the tension rods are securely installed, drape your string lights along the length of the rods. Use small clips, twist ties, or any flexible fasteners to attach the lights to the rods, ensuring they stay in place. Carefully distribute the lights evenly for a balanced and visually appealing appearance. Adjust as needed to create the desired look while keeping the spacing consistent.
Step 3: Using Poles for an Open Patio
For open patios without adjacent walls, freestanding poles are a great option. Insert poles into sturdy weighted bases or large planters filled with soil or gravel to provide stability. Once the poles are set, attach hooks or clips to the top of each pole, which will serve as anchor points for hanging the string lights. Drape the lights between the poles, creating a cozy and charming canopy effect. This method is both versatile and customizable, perfect for enhancing any outdoor space.
Using Outdoor Cable Guides or Wire for Extra Support
For a more durable and professional setup, outdoor cable guides or wire can provide added stability for your string lights. This method is beneficial for larger spaces or when you need to reduce sagging.
Step 1: Install Outdoor-Rated Wire Between Two Anchor Points
Begin by identifying two sturdy anchor points, such as fence posts, walls, or trees. Ensure the anchor points are strong enough to support the weight of both the wire and the lights. Attach outdoor-rated wire securely between these points using eye screws or other appropriate hardware. Stretch the wire taut to create a straight and stable guide for your lights.
Step 2: Use Carabiners or Hooks to Attach Lights to the Wire
Once the wire is in place, use carabiners, hooks, or zip ties to attach your string lights to it. This method keeps your lights firmly secured while allowing for easy adjustments if needed. Ensure the lights are evenly spaced for a neat and polished appearance.
Step 3: Tighten the Wire to Prevent Sagging
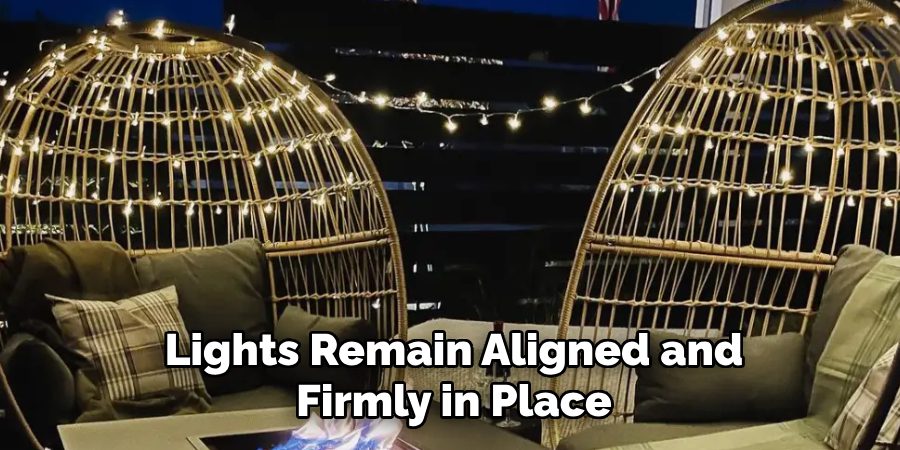
Finally, tighten the wire using turnbuckles or similar tensioning tools. A taut wire prevents sagging and ensures that your lights remain aligned and firmly in place. This extra support enhances your setup’s functionality and creates a sleek, professional look for your outdoor lighting arrangement.

Conclusion
Learning how to hang patio lights without nails offers a variety of creative and damage-free solutions. Adhesive hooks, gutter clips, zip ties, tension rods, and cable guides are versatile methods to suit different patio setups. Each option provides a secure way to hang lights while preserving your patio’s surfaces. The right method depends on your patio type and the weight of your lights, so take time to evaluate your needs. Experiment with designs to transform your outdoor space into a warm and inviting area. With these techniques, you can achieve stunning results effortlessly and without permanent alterations.

Professional Focus
Oliver Wood, a passionate patio designer, specializes in creating comfortable and inviting outdoor spaces that enhance relaxation and entertainment. His work combines a deep understanding of design with a love for nature, making him a standout professional in the field of outdoor living spaces. Through his thoughtful approach, he transforms everyday patios into extraordinary retreats for family and friends.
About the Author
Oliver Wood, a skilled patio designer, shares his expertise on outdoor living through his designs and insights. With a background in patio design and a genuine passion for creating beautiful spaces, he encourages others to invest in their outdoor environments, enhancing their homes with functional and inviting spaces for relaxation and entertainment.
Education History
University: Virginia Union University
Oliver’s education equipped him with the knowledge and skills to design patios that merge aesthetics with comfort, transforming outdoor areas into beautiful extensions of the home.
Expertise:
- Patio Design and Outdoor Living Spaces
- Functional and Aesthetic Landscaping
- Comfortable and Inviting Outdoor Environments
- Design Philosophy for Family-Oriented Spaces
- Creating Spaces for Relaxation and Entertainment
