Painting a patio table is a great way to refresh its look and protect it from the elements. Whether you’re updating an old piece of furniture or personalizing a new one, this project can add style and durability to your outdoor space. With the right materials, a little preparation, and some patience, you can achieve a professional-looking finish that will last for years. This guide will walk you through each step of the process to help you achieve the best results.
Materials Needed
Before you begin, gather the necessary materials to ensure a smooth painting process. Here’s what you’ll need:
- Sandpaper (medium and fine grit)
- A clean cloth or tack cloth
- Mild soap and water
- Primer suitable for outdoor furniture
- Outdoor paint (weather-resistant)
- Paintbrushes or a paint roller
- Drop cloth or newspaper
- Painter’s tape
- Clear sealant or topcoat (optional for extra durability)
Best Types of Paint for Outdoor Furniture
Choosing the right type of paint is crucial for ensuring your patio table withstands outdoor conditions and maintains its appearance over time. Here are the best options for outdoor furniture:
- Acrylic Latex Paint: This is a versatile and durable option that adheres well to most surfaces. It’s resistant to cracking, peeling, and fading, making it ideal for furniture exposed to varying weather conditions. Look for acrylic latex paint labeled specifically for outdoor use.
- Enamel Paint: Enamel paints provide a hard, glossy finish that offers excellent durability. They are resistant to moisture, sunlight, and wear, making them an excellent choice for metal or wooden patio tables.
- Spray Paint: For those looking for a quick and smooth application, spray paint can be a convenient option. Choose a spray paint designed for outdoor furniture to ensure maximum adhesion and weather resistance.
- Chalk Paint with a Sealant: Chalk paint can give your patio table a charming, vintage look, but it lacks weather resistance on its own. If you choose chalk paint, make sure to finish with a waterproof sealant to protect your work.
Selecting the right paint ensures your patio table not only looks great but also holds up against the elements for years to come.
10 Methods How to Paint a Patio Table
1. Choose the Right Paint for the Material
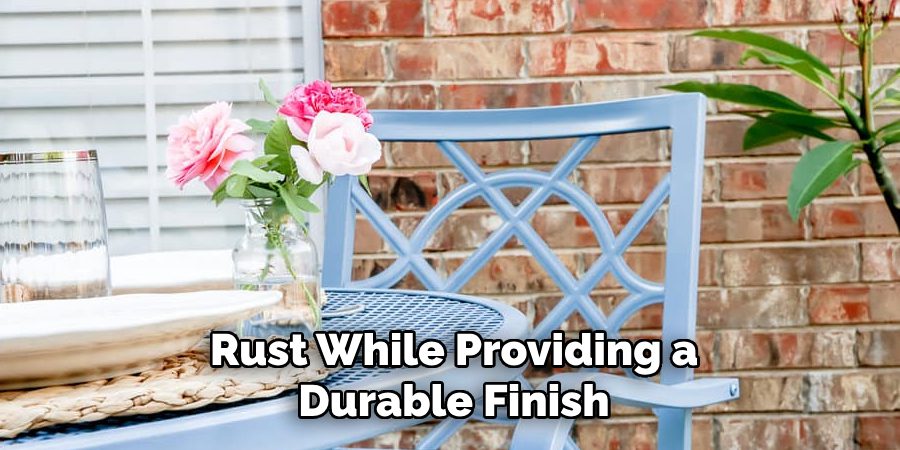
The first step in painting a patio table is selecting the right type of paint for the material of your table. Different materials require specific paints that adhere well and provide lasting protection against weather and wear. For metal tables, an enamel or rust-resistant spray paint is ideal as it helps prevent rust while providing a durable finish. For wooden tables, choose a high-quality exterior wood paint or a polyurethane finish for added protection. Plastic tables typically require a special plastic primer followed by a spray paint designed for plastics to ensure the paint sticks.
2. Gather the Necessary Tools and Supplies
Before you begin painting your patio table, gather all the tools and supplies you’ll need. This includes paint, primer, brushes, rollers, drop cloths, painter’s tape, sandpaper or a power sander, a paint tray, and a paint stirrer. If you’re using spray paint, ensure you have proper ventilation and wear a protective mask. For metal tables, you may need a rust remover, and for wooden tables, a wood filler may be necessary to patch any cracks or dents. Using the right tools ensures that the paint goes on smoothly and that the finish lasts longer.
3. Prepare the Table Surface
Proper surface preparation is one of the most important steps in the painting process. If the table has any old paint, rust, or rough patches, they must be removed before applying a fresh coat. Start by cleaning the table thoroughly to remove dirt, dust, and grime. For metal tables, use a wire brush or a power sander to remove any rust or chipped paint. For wooden tables, sand the surface to remove any old paint or finish and to smooth out rough patches. If the table has dents or cracks, use a wood filler for wooden tables or a metal filler for metal tables to smooth out the surface.
4. Apply a Primer
Applying a primer is a critical step in preparing the table for paint. Primer ensures that the paint adheres well to the surface and provides a uniform base for the paint color. For metal tables, use a rust-inhibiting primer, as this will help prevent future rusting and improve the paint’s adhesion.
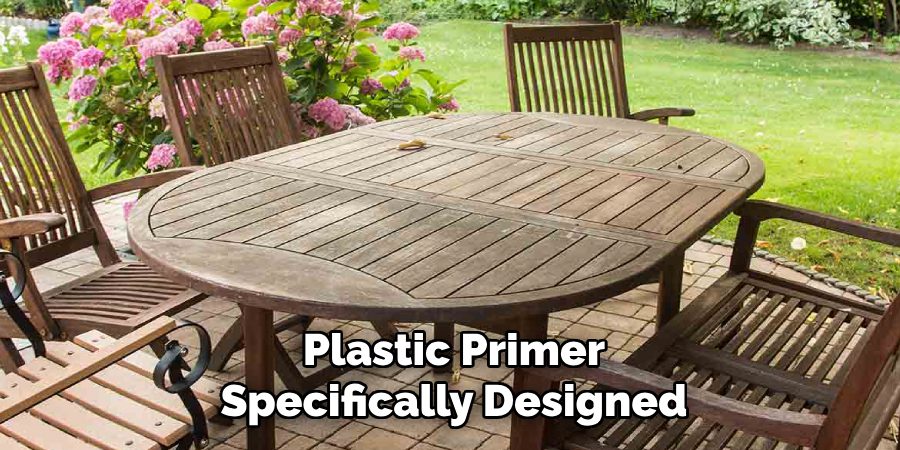
Wooden tables benefit from an oil-based or latex primer that seals the wood and prevents paint from absorbing unevenly. For plastic tables, use a plastic primer specifically designed to bond with plastic surfaces. Apply the primer in even coats using a brush or spray can, following the grain of the wood for a more consistent finish.
5. Choose the Right Location for Painting
When painting your patio table, choose a well-ventilated, dust-free area to work in. If you’re using spray paint, work outdoors or in a well-ventilated garage to avoid inhaling fumes. Lay down a drop cloth or plastic sheeting to protect the surrounding area from paint splatters. If possible, move the table to a location where it can remain undisturbed until the paint has dried. This will help avoid dust or debris settling on the wet paint and ruining the finish. Additionally, choose a dry, mild day to paint your table to avoid complications with humidity or rain that could interfere with the drying process.
6. Use Thin, Even Coats of Paint
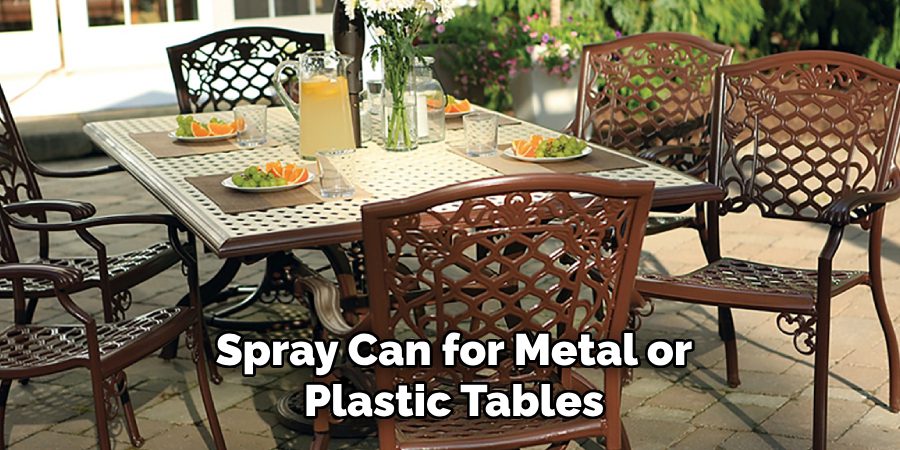
When it’s time to apply the paint, avoid the temptation to apply a thick coat, as this can lead to drips and an uneven finish. Instead, apply several thin, even coats of paint, allowing each coat to dry fully before applying the next one. Use a paintbrush or roller for wooden tables and a spray can for metal or plastic tables. If you’re using a paintbrush, use long, smooth strokes following the grain of the wood. For spray paint, hold the can about 6 to 12 inches from the surface and spray in short, controlled bursts. Be sure to cover all sides and crevices, especially the legs and underside of the table, to ensure full coverage.
7. Sand Between Coats for a Smooth Finish
To achieve a smooth, flawless finish, lightly sand the table between each coat of paint. Use fine-grit sandpaper (around 220-grit) to gently scuff the surface and remove any imperfections or brush strokes from the previous coat. Sanding between coats helps the next layer of paint to adhere more effectively and results in a smoother, more even finish. Be sure to clean the surface with a damp cloth after sanding to remove any dust before applying the next coat of paint.
8. Seal the Paint for Protection
Once the final coat of paint has dried, it’s important to seal the paint with a clear protective finish, especially if your patio table will be exposed to the elements. A polyurethane sealer or an acrylic sealer is ideal for this purpose. Use a brush or spray to apply the sealer evenly across the entire table, following the grain of the wood. For metal tables, choose a clear enamel or rust-resistant sealer to provide additional protection against rust and weather damage. Sealing the paint helps to protect the surface from scratches, fading, and water damage, ensuring that the table stays looking great for longer. Allow the sealer to dry completely before using the table.
9. Reassemble and Touch Up
After the paint has dried and cured, reassemble any parts of the table that were removed during the preparation or painting process. This may include removing painter’s tape from edges, reattaching any legs or brackets, or adding decorative features. Once the table is fully assembled, check for any areas that may need a touch-up. This could include spots where the paint may have been missed or areas where the finish isn’t as smooth as you would like. If necessary, use a small brush or a fine-tipped spray can to carefully fix these areas.
10. Maintain the Painted Table
Once your patio table is painted and fully dry, it’s important to maintain the finish to ensure it remains beautiful and durable. Regular cleaning is key to keeping the paint looking fresh. For wooden tables, use a gentle wood cleaner and soft cloth to wipe down the surface, and reapply the sealer every couple of years if necessary. For metal tables, periodically check for any signs of rust or chipping, especially if it’s exposed to moisture. Touch up any worn areas with the same paint used for the table.
Conclusion
Painting a patio table is a relatively simple but effective way to revitalize your outdoor furniture, giving it a fresh look and increasing its durability. By following these ten methods—from selecting the right paint to proper surface preparation and applying protective finishes—you can achieve a professional-quality result that will allow you to enjoy your patio table for many seasons to come. So, there you have it – a quick and easy guide on how to paint a patio table.

Professional Focus
Oliver Wood, a passionate patio designer, specializes in creating comfortable and inviting outdoor spaces that enhance relaxation and entertainment. His work combines a deep understanding of design with a love for nature, making him a standout professional in the field of outdoor living spaces. Through his thoughtful approach, he transforms everyday patios into extraordinary retreats for family and friends.
About the Author
Oliver Wood, a skilled patio designer, shares his expertise on outdoor living through his designs and insights. With a background in patio design and a genuine passion for creating beautiful spaces, he encourages others to invest in their outdoor environments, enhancing their homes with functional and inviting spaces for relaxation and entertainment.
Education History
University: Virginia Union University
Oliver’s education equipped him with the knowledge and skills to design patios that merge aesthetics with comfort, transforming outdoor areas into beautiful extensions of the home.
Expertise:
- Patio Design and Outdoor Living Spaces
- Functional and Aesthetic Landscaping
- Comfortable and Inviting Outdoor Environments
- Design Philosophy for Family-Oriented Spaces
- Creating Spaces for Relaxation and Entertainment
