Sliding patio doors are a beautiful addition to any home, bringing in natural light and providing easy access to outdoor spaces. However, they can also become a source of drafts, dust, and moisture if improperly sealed, reducing energy efficiency and increasing utility bills. This is where weather stripping comes in as a highly effective solution. By creating a tight seal around the edges of your door, weather stripping improves insulation, helping to maintain consistent indoor temperatures while lowering heating and cooling costs. Additionally, it enhances overall comfort by keeping unwanted elements out of your home.

This guide will provide detailed, step-by-step instructions on how to weather strip sliding patio doors effectively. Whether you’re tackling this project for the first time or replacing worn-out seals, these steps will ensure you achieve a better seal and enjoy the benefits of a more energy-efficient and comfortable living space.
Understanding Different Types of Weather Stripping
Common Weather Stripping Materials
When sealing sliding patio doors, selecting the right type of weather stripping is crucial. Below are some commonly used materials and their characteristics:
- Foam Tape – This is one of the easiest installation options and works well for minor gaps. Foam tape is adhesive-backed and provides a simple solution for improving insulation. However, it may not hold up as well in high-traffic areas or under frequent use.
- V-strip (Tension Seal) – Known for its durability and flexibility, V-strip is ideal for sealing the edges of sliding doors. It compresses when the door is closed, creating a tight seal while maintaining smooth door operation.
- Felt Strips – Felt is an affordable material used for weather stripping. While easy to apply, it isn’t as durable as other options and may require frequent replacement, especially in areas with heavy use.
- Door Sweeps – Door sweeps are highly effective at sealing the bottom of doors to keep out drafts and moisture. They are usually made of rubber or vinyl and attach to the bottom edge of the door.
Choosing the Right Weather Stripping for a Sliding Door
When selecting weather stripping for a sliding patio door, it’s essential to prioritize options that maintain ease of use and door functionality. Materials like V-strip and foam tape are generally recommended for sliding doors, as they don’t obstruct the

door’s movement while sealing gaps effectively. Consider the size of the gaps, the type of material your door is made from, and the climate conditions in your area to ensure you choose the most suitable weather stripping for your needs.
Gathering Tools and Materials
Before starting your weather stripping installation, gathering the necessary tools and materials is crucial to ensure a smooth and efficient process. Having everything prepared in advance will save time and help avoid interruptions.
Essential Tools
- Measuring Tape – Accurately measure gaps and areas where weather stripping will be applied to ensure a proper fit.
- Scissors or Utility Knife – These are needed to cut the weather stripping material to the correct size.
- Screwdriver – Depending on the type of weather stripping or door sweeps used, a screwdriver may be required to secure certain components.
- Adhesive – For some types of weather stripping, adhesive backing or separate glue ensures a secure surface attachment.
Materials Needed
- Chosen Weather Stripping Type – Make sure you have the appropriate weather stripping material based on the type and location of your door.
- Alcohol Wipes – Use these to clean the surfaces where the weather stripping will be applied. This ensures better adherence and removes dust or grease.
- Replacement Tracks (if needed) – For sliding doors, worn tracks may need to be replaced to improve door alignment and maximize the effectiveness of the weather stripping.
By organizing these tools and materials beforehand, you’ll be ready to install the weather stripping efficiently, providing your home with better insulation and protection against drafts and moisture.
Preparing the Sliding Door for Weather Stripping
Step 1: Cleaning the Door Frame and Tracks
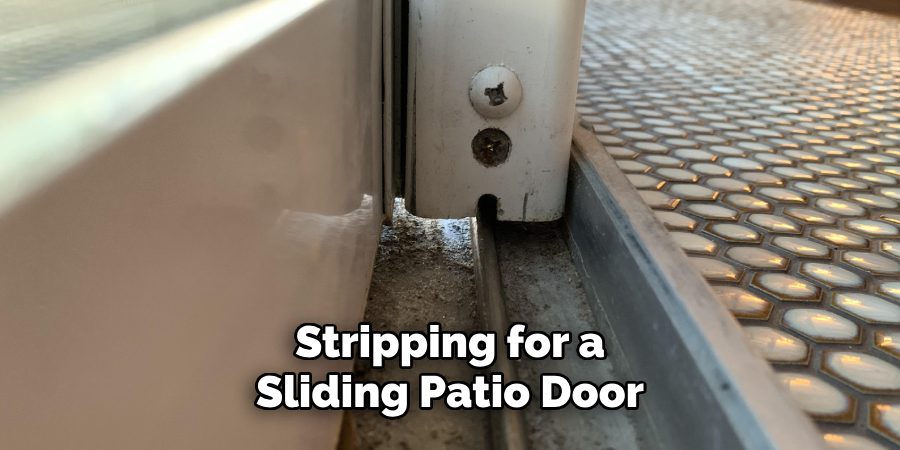
Before applying weather stripping, it’s essential to clean the door frame thoroughly and tracks to ensure proper adhesion. Begin by removing any dust, dirt, and debris using a vacuum or a soft brush. This will clear away loose particles that could interfere with the weather stripping installation. For a deeper clean, use alcohol wipes or a mild detergent with a damp cloth to gently wipe down the surfaces. Pay special attention to the corners and edges of the tracks, as these areas often accumulate stubborn grime. Allow the cleaned surfaces to dry completely before proceeding, as moisture can reduce the effectiveness of the adhesive.
Step 2: Inspecting for Gaps and Leaks
Once the cleaning is complete, carefully inspect the sliding door and surrounding areas for potential drafts, gaps, and leaks. Open and close the door to identify areas where cold air seeps in or where moisture might enter. Pay particular attention to

areas where the existing weather stripping appears worn or damaged. Look for cracks, uneven alignment, or gaps between the door and its frame. Identifying these problem areas early will help you focus on the most vulnerable sections when applying new weather stripping. If the old weather stripping is still present but no longer effective, remove it entirely before continuing with the installation process to avoid obstructing the new materials.
How to Weather Strip Sliding Patio Door: Installing Weather Stripping on the Door Frame
Step 1: Measuring and Cutting the Weather Stripping
Begin by measuring the edges of the door frame to determine the length of weather stripping needed. Use a measuring tape to measure the frame’s vertical and horizontal edges carefully. Once you have the measurements, use a utility knife or scissors to cut the weather stripping strips to size. Be precise; poorly cut strips may lead to gaps or misfits, weakening the sealing effect. If you are using adhesive-backed weather stripping, peel back a small section of the adhesive lining to ensure correct placement before fully attaching the strip.
Step 2: Attaching the Strips to the Frame
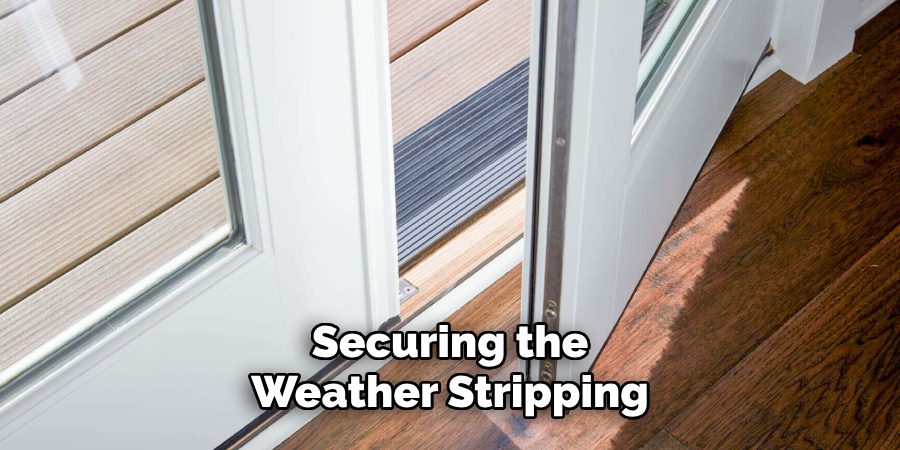
With the weather stripping properly measured and cut, attach the strips along the edges of the vertical door frame. Start at the top corner, aligning the edge of the strip with the frame. Gradually press the adhesive side against the frame, working downward to ensure it adheres evenly. Apply gentle pressure along the length of each strip to secure it firmly in place. Repeat this process for the horizontal edges, taking special care with the corners to create a tight, continuous seal. Make sure there are no air gaps or loose sections, as these can compromise the insulation.
Step 3: Ensuring Smooth Door Operation
After securing the weather stripping, test the sliding door’s operation to confirm it moves smoothly without resistance. Open and close the door multiple times, checking for any snagging or interference caused by the new strips. If resistance is noted,

make minor adjustments or trim the edges to ensure an optimal fit. This step ensures the seal is effective while maintaining ease of use. Once verified, your sliding door will be well-insulated and ready to withstand drafts and external elements.
Sealing the Bottom and Top of the Door
Installing a Door Sweep at the Bottom
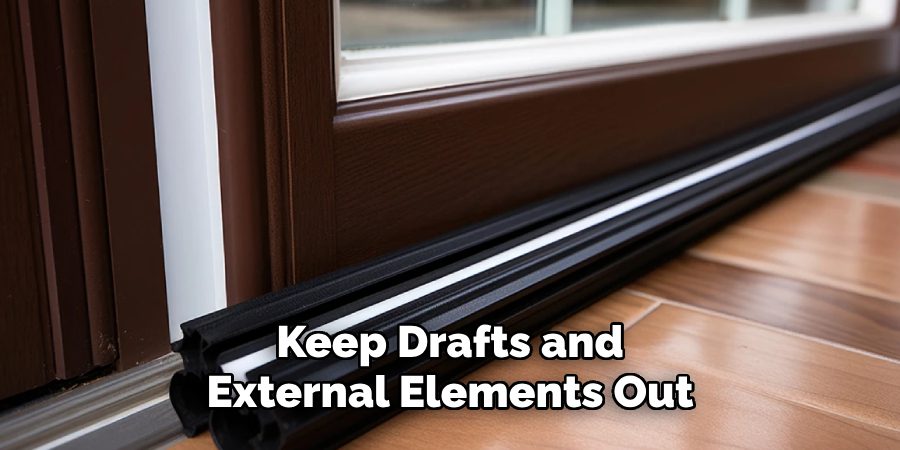
Attach a door sweep to its bottom edge to block drafts from beneath the door. Door sweeps are typically made of rubber or bristles and are designed to create a barrier against airflow while allowing the door to operate smoothly. Begin by measuring the width of the door and cutting the sweep to the appropriate length if necessary. Align the sweep with the bottom edge and use screws or adhesive, depending on the type of sweep, to secure it in place. Ensure it fits snugly against the floor without hindering the sliding motion. A properly installed door sweep can significantly improve insulation and energy efficiency.
Sealing the Top Edge with a V-Strip
Install a flexible V-strip seal to stop air leaks from the top of the door. These strips are designed to compress when the door is closed, forming a tight seal to keep drafts and external elements out. First, clean and dry the top edge of the door frame to

ensure proper adhesion. Cut the V-strip to match the length of the top opening, then peel off the backing to expose the adhesive side. Attach the strip along the edge, pressing firmly to secure it in place. The flexibility of the V-strip allows it to maintain a consistent seal as the door opens and closes.
Checking for Proper Alignment
After installing the door sweep and V-strip, test the door’s alignment and functionality. Open and close the door, ensuring that both seals remain undisturbed and perform their function effectively. Adjust the placement if needed to maintain smooth operation. Proper alignment ensures maximum insulation and keeps your space draft-free.
Final Adjustments and Maintenance Tips
Testing the Door for Leaks
Once you’ve installed the weather stripping, testing its effectiveness in stopping drafts is important. A simple way to do this is by using a candle or an incense stick. Light the candle or stick and carefully move it around the edges of the sliding patio door. If the flame flickers or the smoke wavers, it may indicate air leakage. Adjust the weather stripping as necessary to ensure a perfect seal and eliminate drafts.
Replacing Weather Stripping When Needed
Over time, weather stripping may wear out or lose its effectiveness. Inspect the seals every few years for signs of damage, cracking, or separation from the frame. Replace any worn-out weather stripping promptly to maintain insulation and energy efficiency. Choosing durable, high-quality materials can extend the lifespan of your seals.
Keeping the Track Clean for Better Efficiency
A clean track is essential for the smooth operation of your sliding patio door and to maximize the effectiveness of the weather stripping. Regularly remove dirt, dust, and debris from the track using a vacuum or soft brush. This helps prevent sticking and ensures the door closes tightly, maintaining the integrity of the seal.
Conclusion
Knowing how to weather strip sliding patio door installations is essential for improving energy efficiency and creating a comfortable home environment. By following the key steps—cleaning, measuring, installing, and testing—you can effectively seal your door against drafts and external elements. Regular maintenance and timely replacements ensure long-term benefits, keeping energy costs low and your home cozy year-round. Prioritize upkeep, and your weather-stripping efforts will continue to deliver results for years to come.
Professional Focus:
Arden Bernier is dedicated to exploring and advancing patio design and maintenance, combining practical knowledge with innovative solutions. Specializing in outdoor living spaces, he provides expert advice on patio fixes, landscaping, and sustainable outdoor design. With a focus on creating functional, aesthetic, and durable outdoor environments, Arden empowers homeowners to transform their patios into beautiful and relaxing retreats.
Vision:
To inspire and assist homeowners in creating functional, aesthetically pleasing outdoor spaces. Arden encourages creativity and practical problem-solving in patio design, making outdoor living more accessible and enjoyable for everyone.
Education:
- Bachelor of Arts (BA) in Environmental Design – University of California, Berkeley.
- Master of Science (MS) in Landscape Architecture – University of Southern California.
- Specialized training in sustainable landscape design, outdoor space planning, and eco-friendly materials.
Recognition:
- Author at PatioFixes.com, providing expert advice on patio maintenance and design.
- Featured in online platforms and home improvement blogs for valuable tips on patio fixes and outdoor living.
- Recognized for his contributions to making outdoor spaces more eco-friendly and sustainable.
Expertise:
Patio expert with a focus on creating functional, beautiful, and durable outdoor living spaces. Specialization includes:
- Patio design and construction
- Outdoor furniture and décor
- Landscaping and sustainable patio solutions
- Outdoor maintenance and repair techniques
